- Published on
creating webtoon assets with AI
- Authors
- Name
- Mason
- 3D Artist
Creating Webtoon Assets for Clip Studio Paint with AI
Hello, I'm Mason from the RealDraw 3D Team. I specialize in background creation and modeling using Unreal Engine.
With the recent surge of various 3D generative tools, I want to go beyond simply using the software. Today, I’ll walk you through the workflow of how to post-process these outputs and refine them into production-ready Webtoon assets.
Before We Get Started
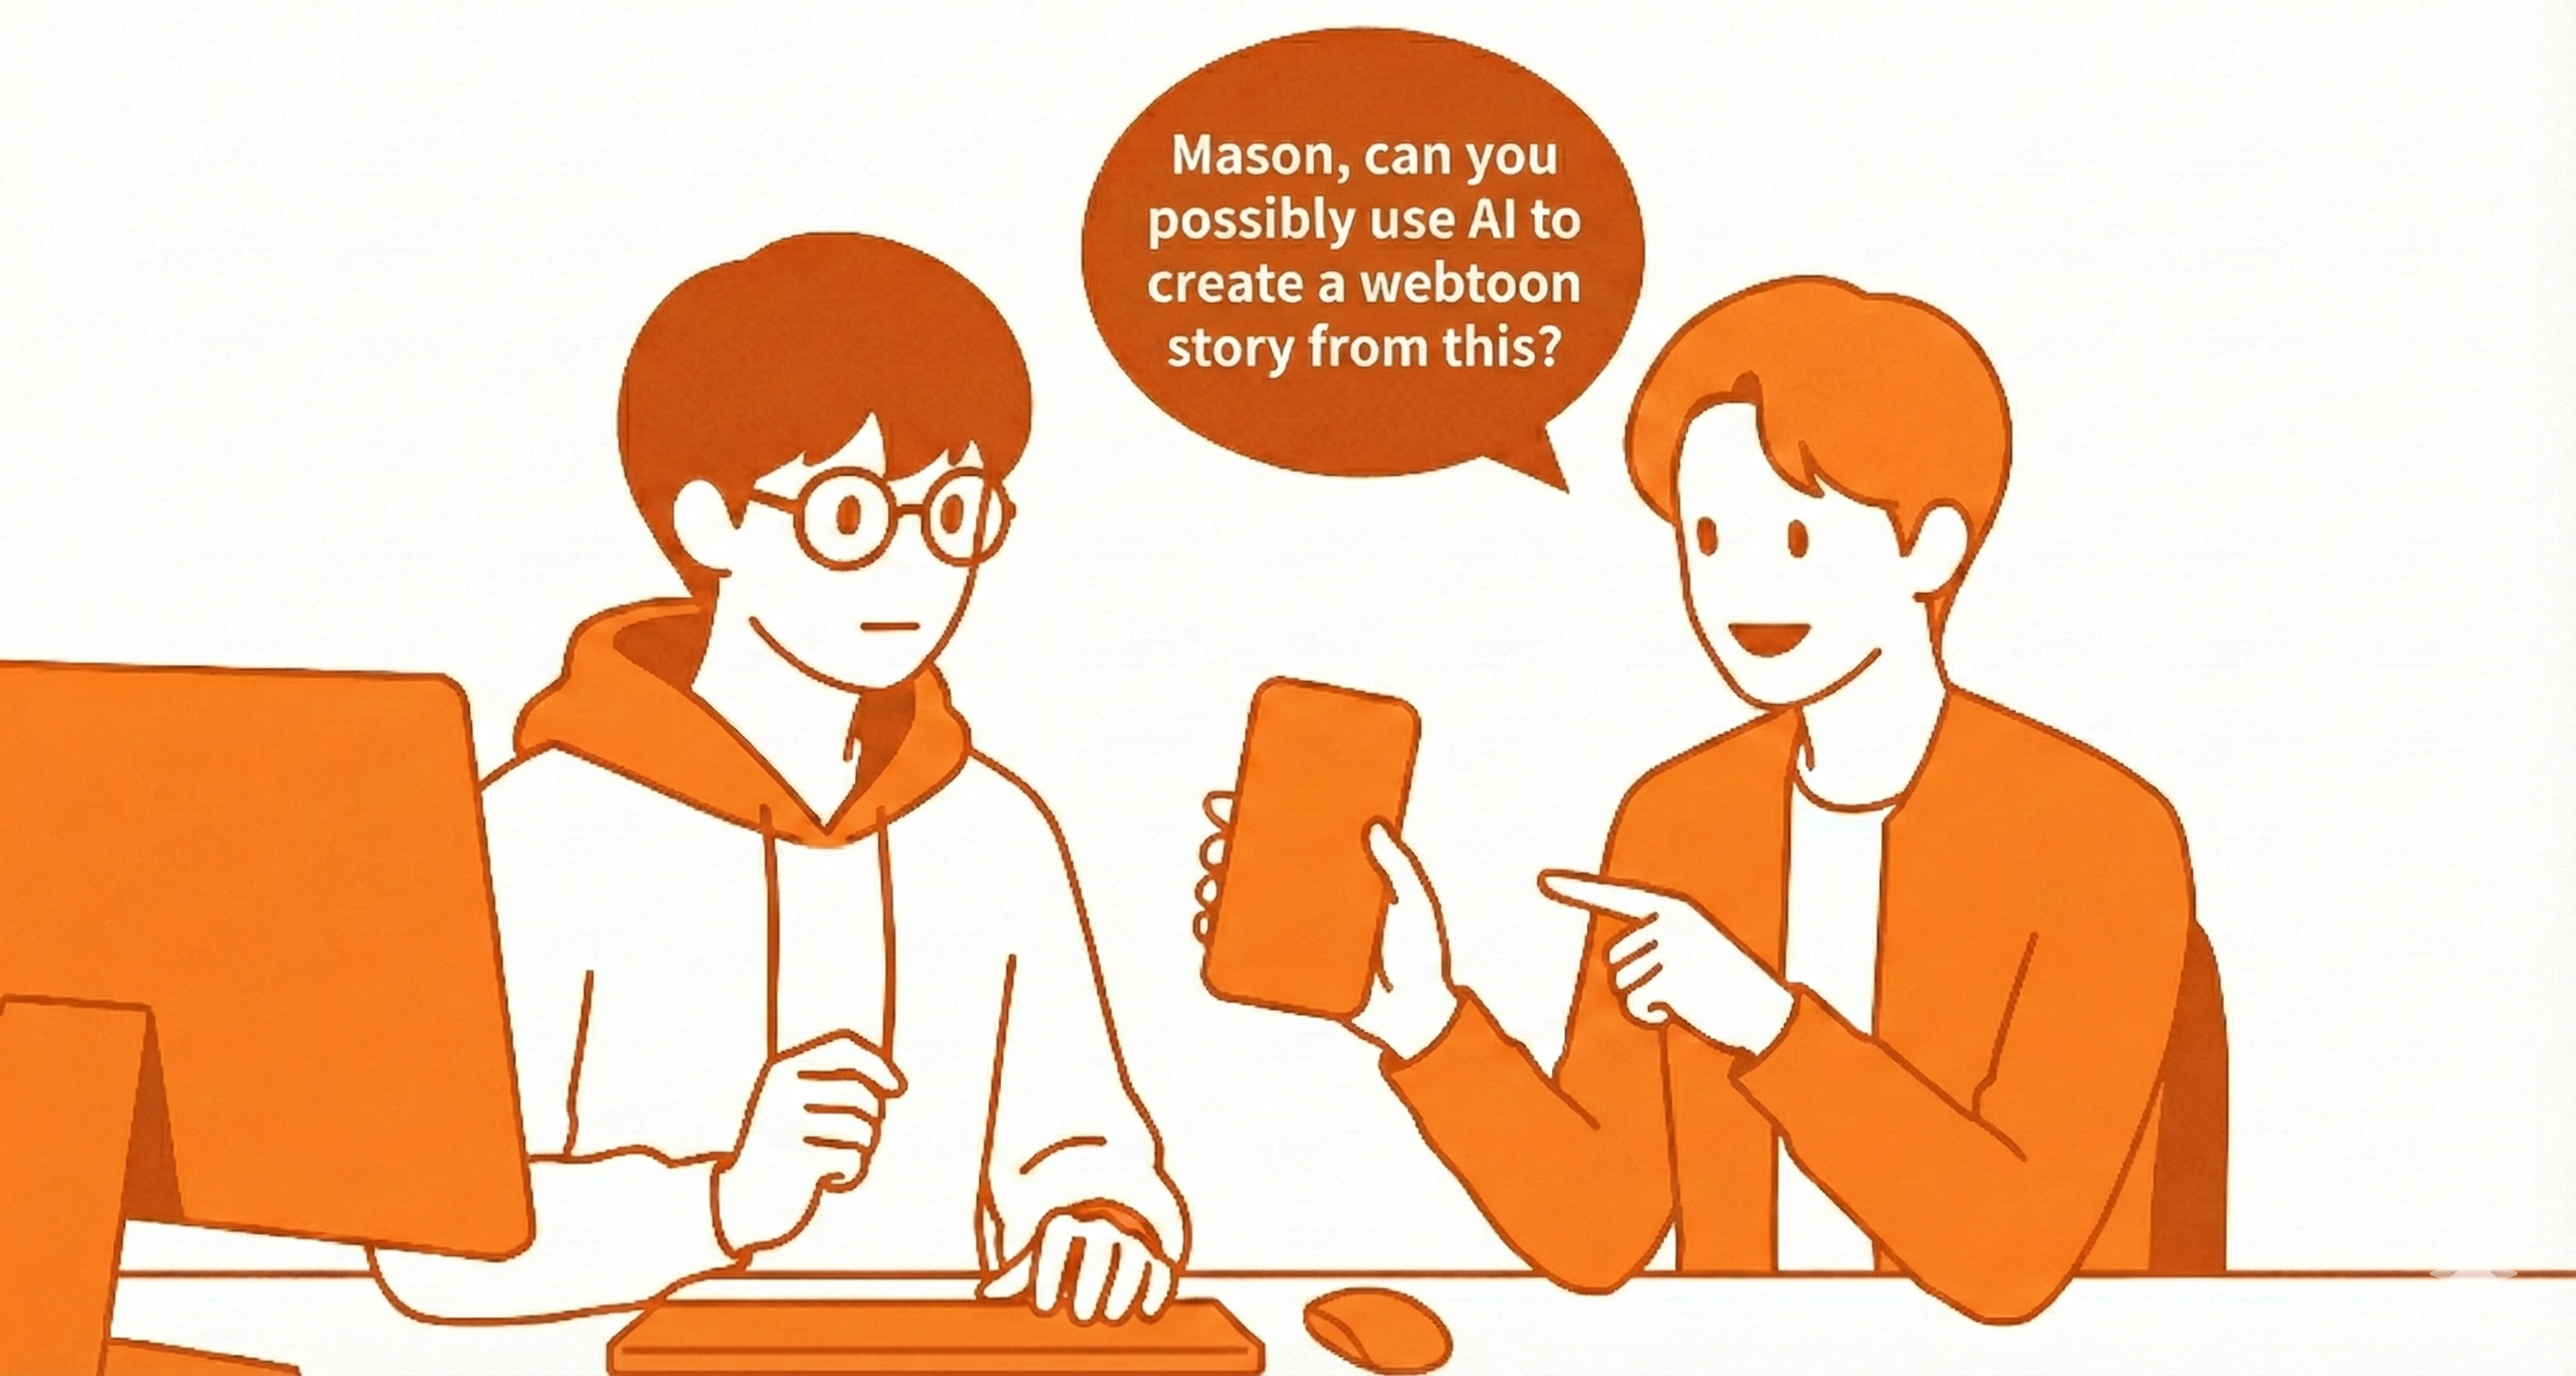
When an artist asked if I could quickly create a pair of 3D sunglasses for a Webtoon using AI, the first word that crossed my mind was 'Optimization'.
Of course, developers are aware of this issue and do provide built-in features like 'Smart Topology'. However, the results often fell short of my expectations. Plus, there was no guarantee that burning through tokens to regenerate the model would yield the clean topology I needed.
So, I decided to take a hybrid approach: generate the base with AI, then fix the issues manually using 3D software. Before diving into production, I wanted to see how well current AI tools could capture forms, so I tested three different engines to gauge their performance.
Comparative Test of 3D AI Engines
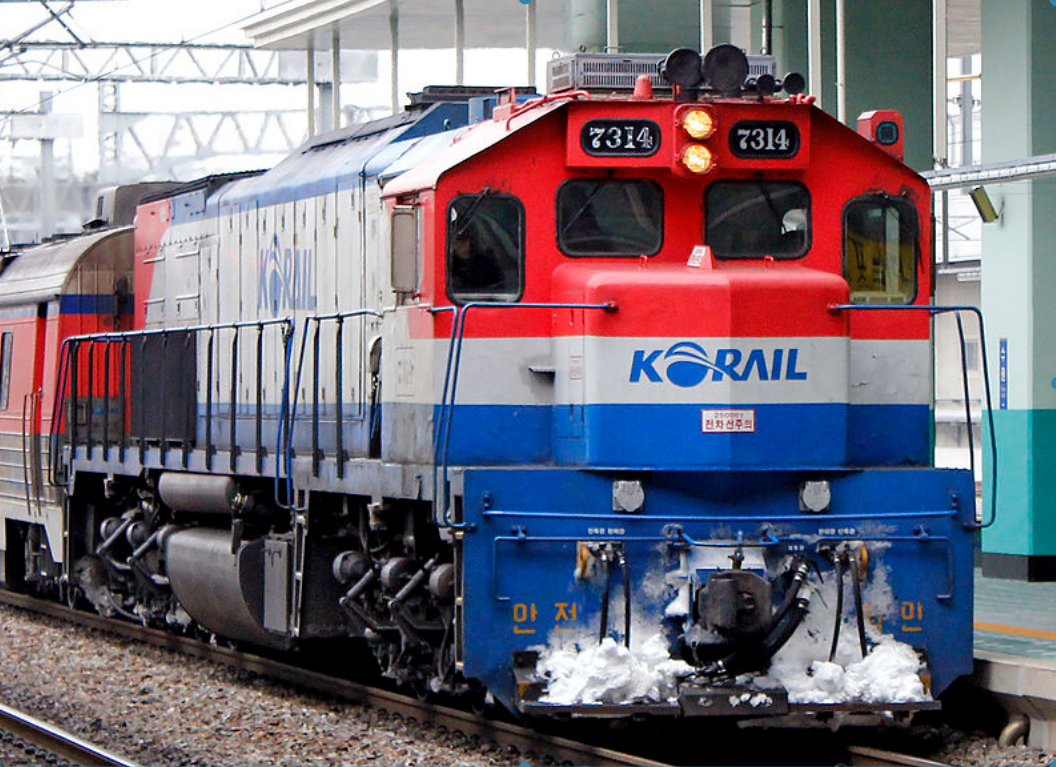
Let's see how accurately these tools can reconstruct the form of a complex object—like the freight train shown earlier—using just a single input image.
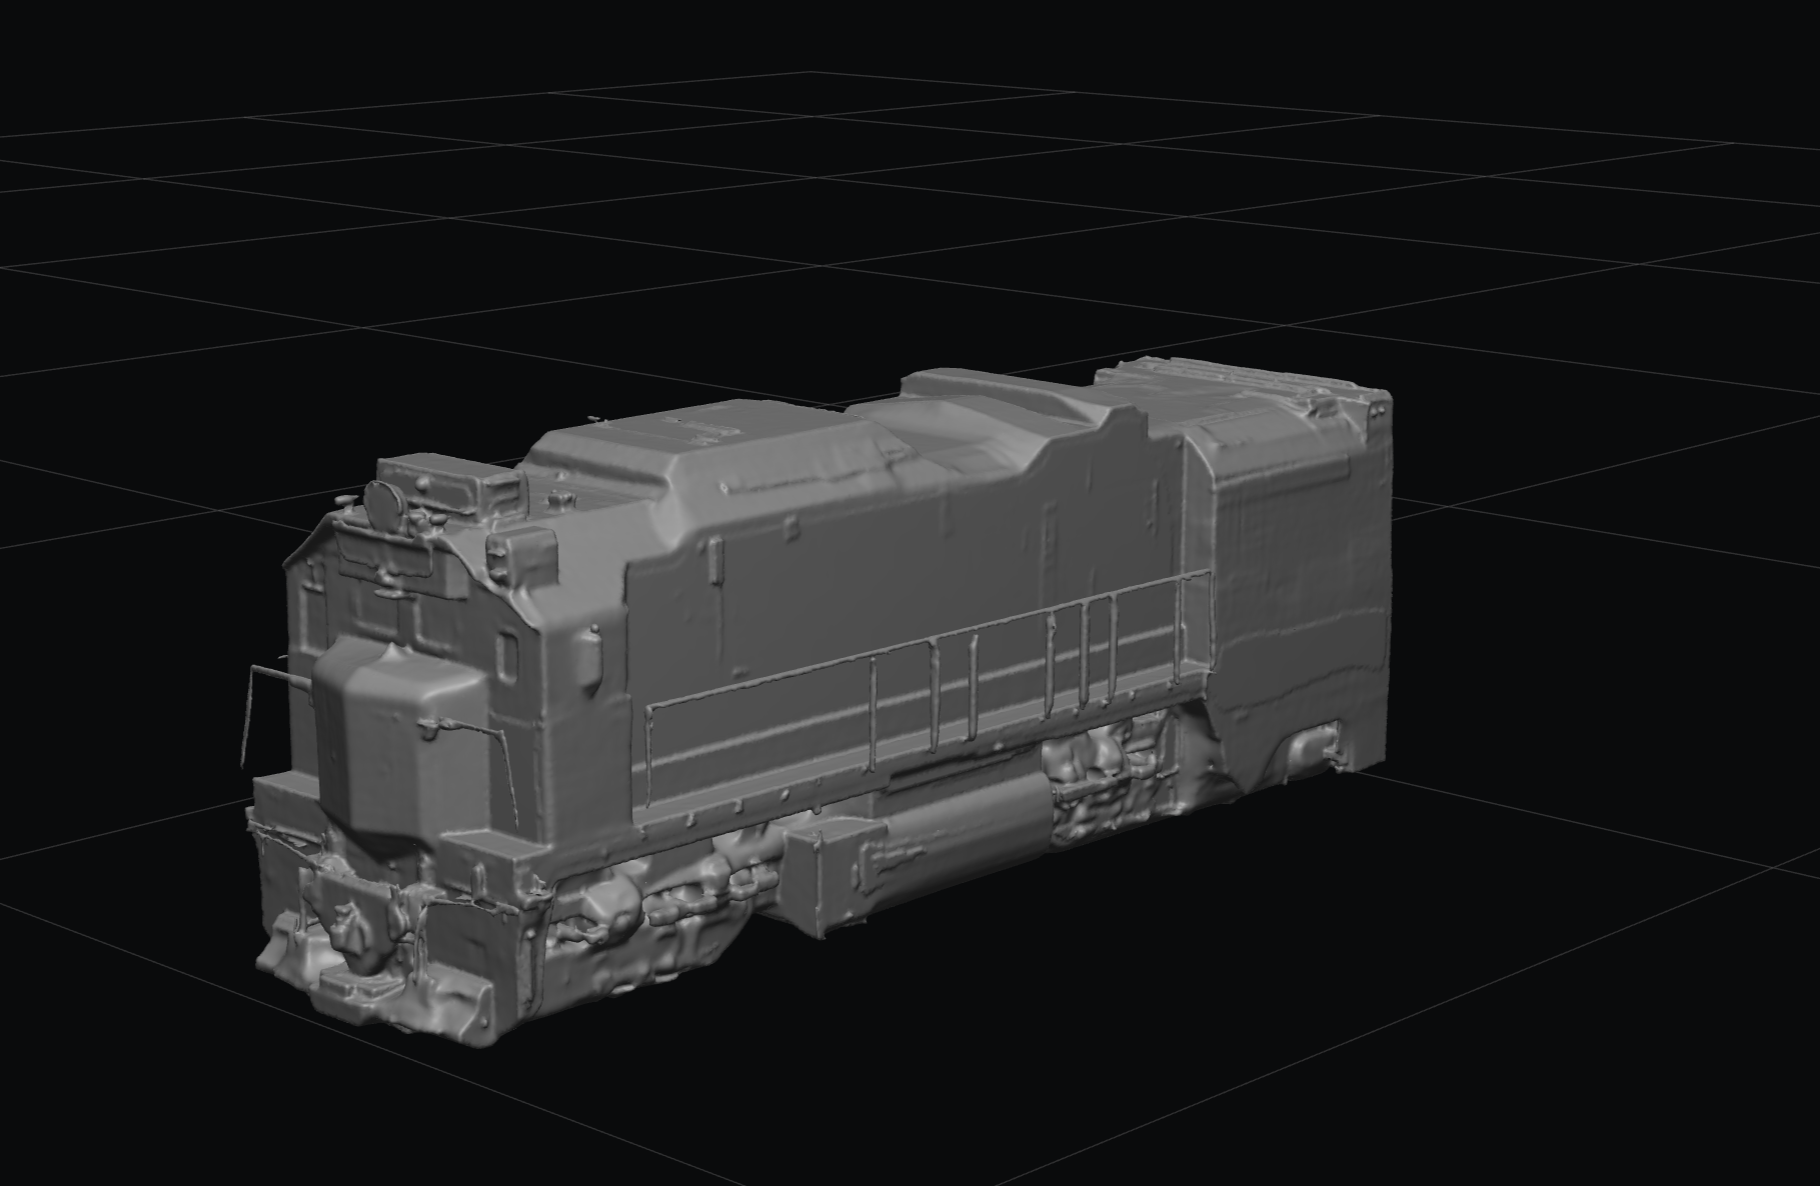
MESHY AI
First up is the widely known MESHY AI. It took about 30 seconds to generate. While it faithfully captured the original silhouette without adding excessive details, it seems to have struggled with the complex wheel structure at the bottom.
There are some bubble-like artifacts floating around the model, so cleaning up the surface is going to be a bit of a hassle.
VRCRO 3D

Next is VARCO 3D AI. This engine was developed by the renowned game developer NCSOFT and is built on a large language model (LLM).
Interestingly, it analyzes the input image and even automatically generates a project name for you.

However, the front guardrail and the wheels failed to form correctly, appearing crushed or as if they had melted.
Just like with MESHY AI, it seems there are clear limitations when it comes to capturing the details of complex structures—like a train—from a single source image.
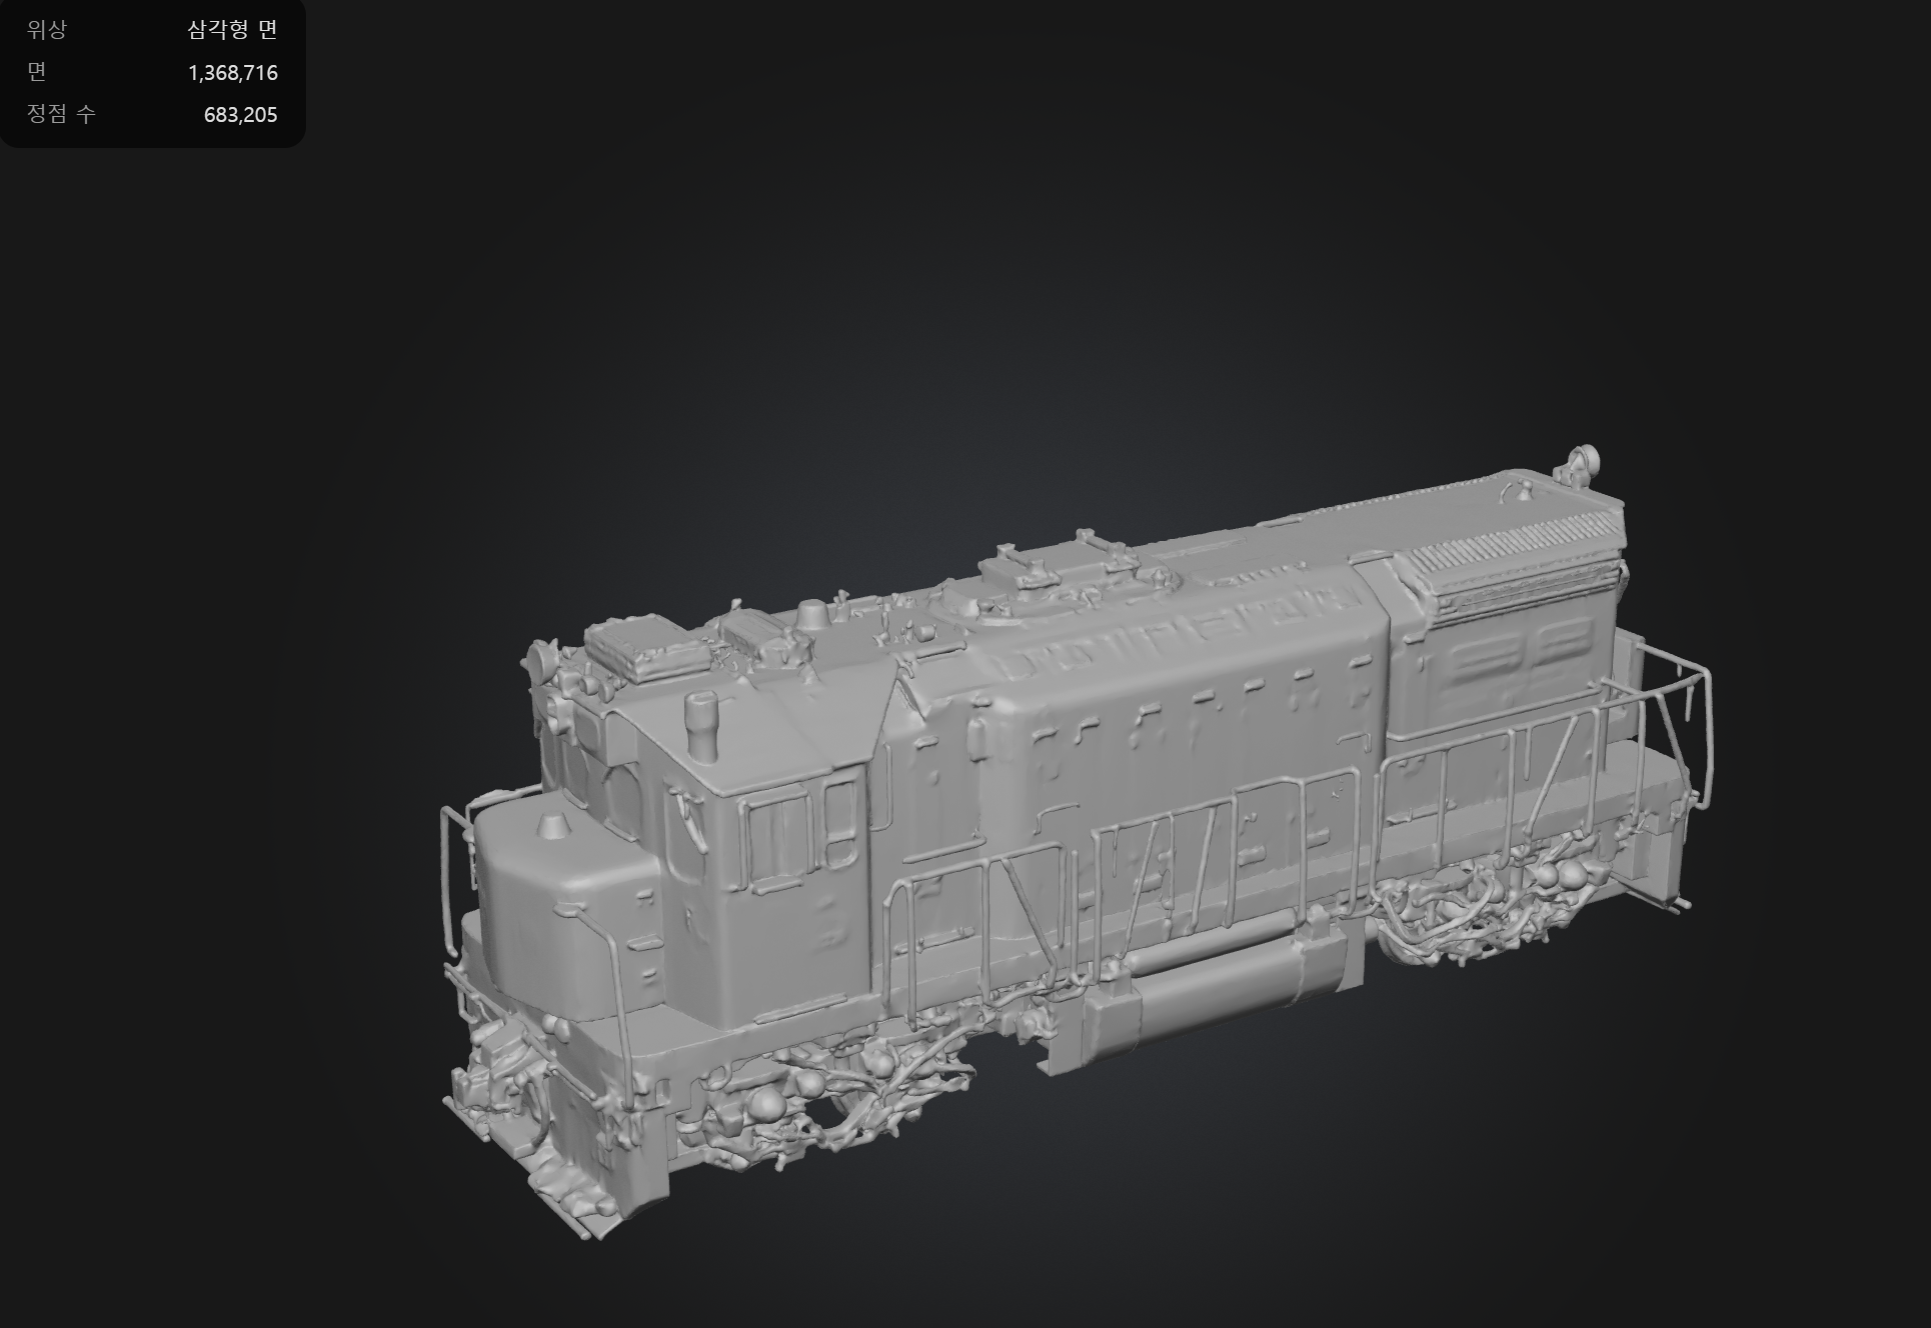
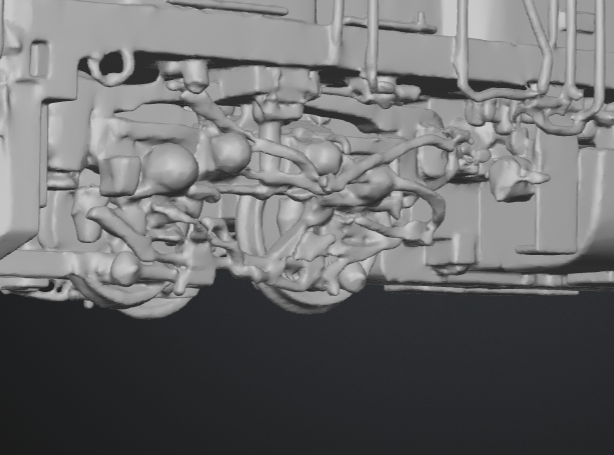
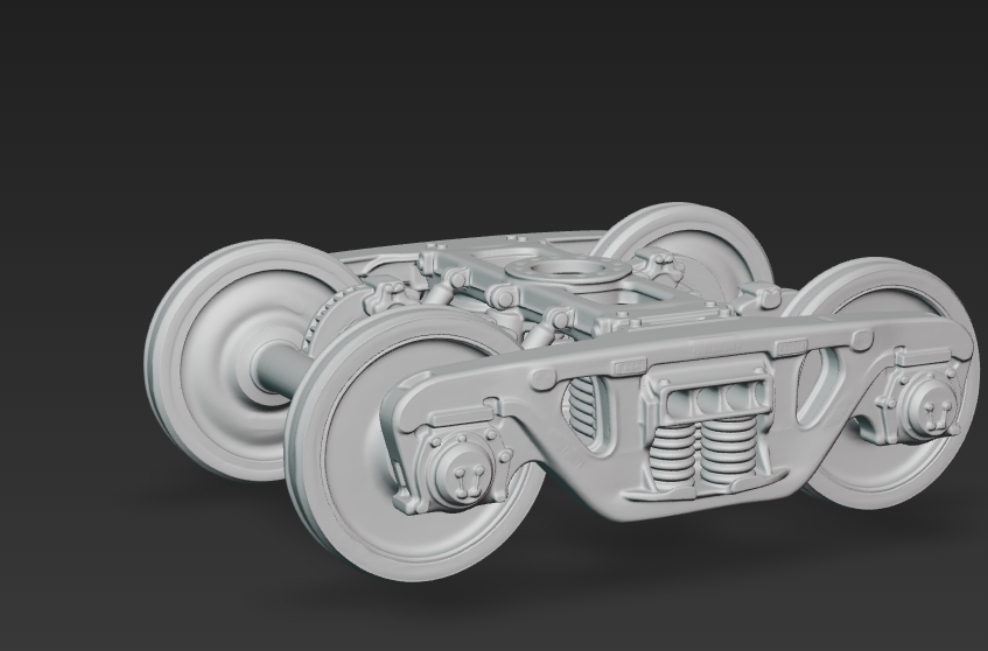
Hunyan3D
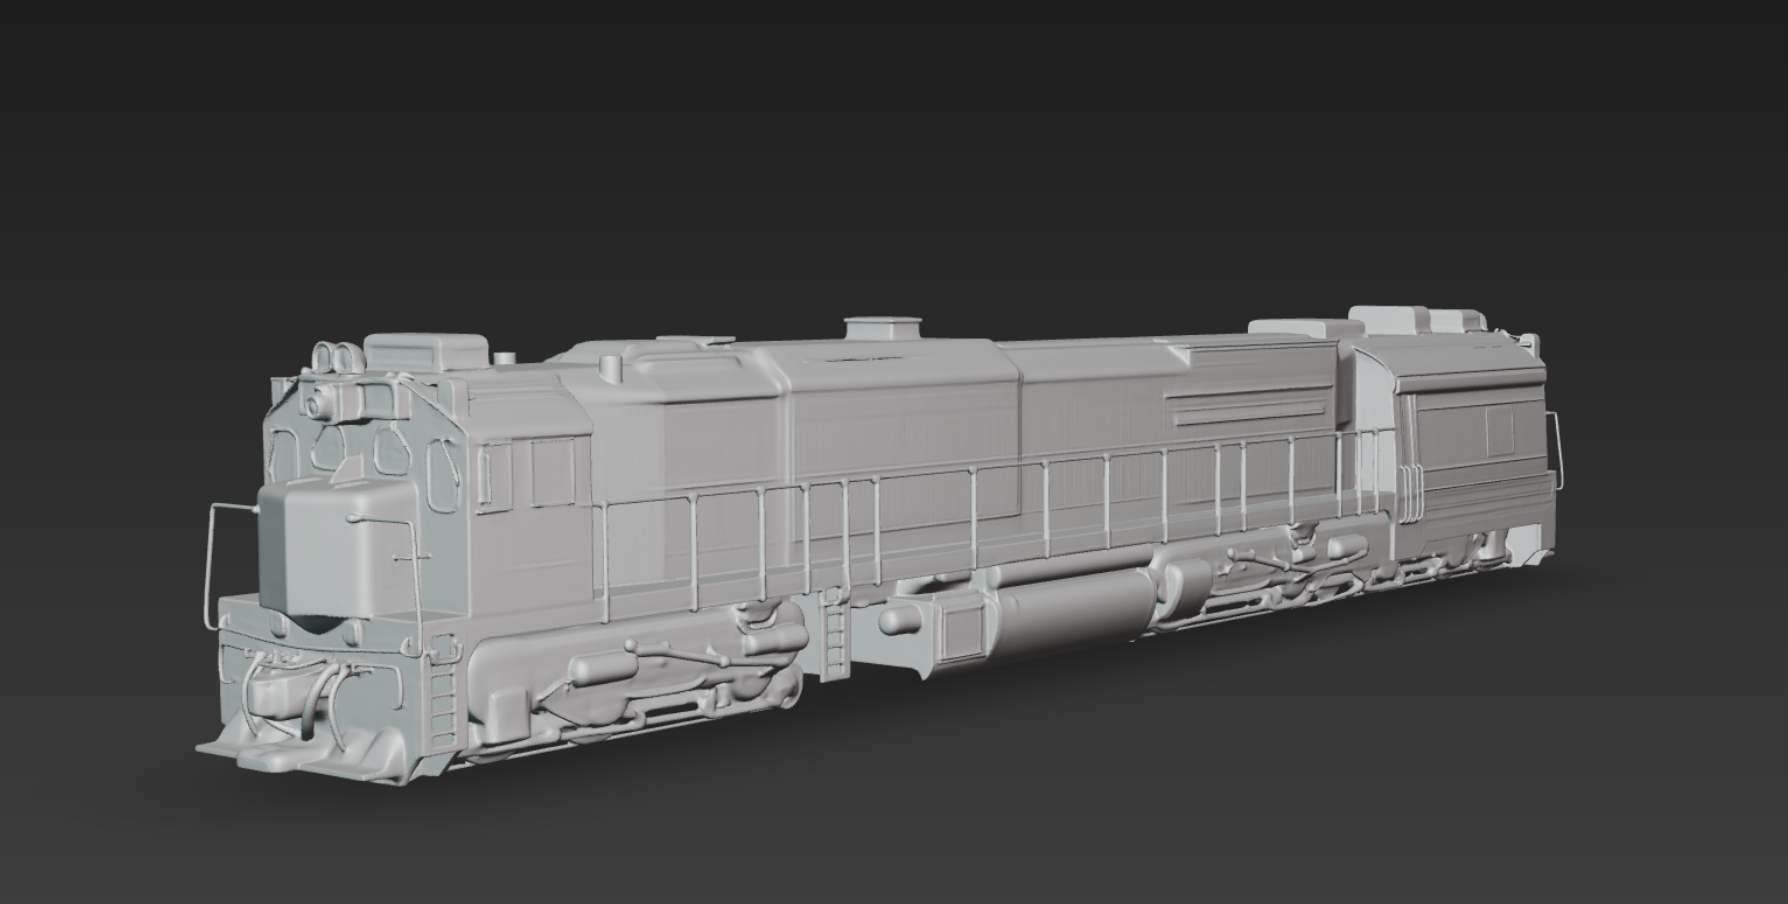
Here is the object generated by Tencent's Hunyuan 3D. What impressed me was that, unlike other models, the surface wasn't rough. It displayed a clean polish characteristic of hard-surface modeling.
Existing engines often struggle with objects made of thin lines, failing to gauge the thickness accurately and causing the structure to collapse. If you're a ZBrush user, you’ve likely experienced the mesh thinning and tearing when using the Smooth brush on DynaMesh. A similar error often occurs during AI generation.
(Tip: In ZBrush, enabling 'Backface Masking' allows you to clean up the surface without affecting the geometry on the other side.)
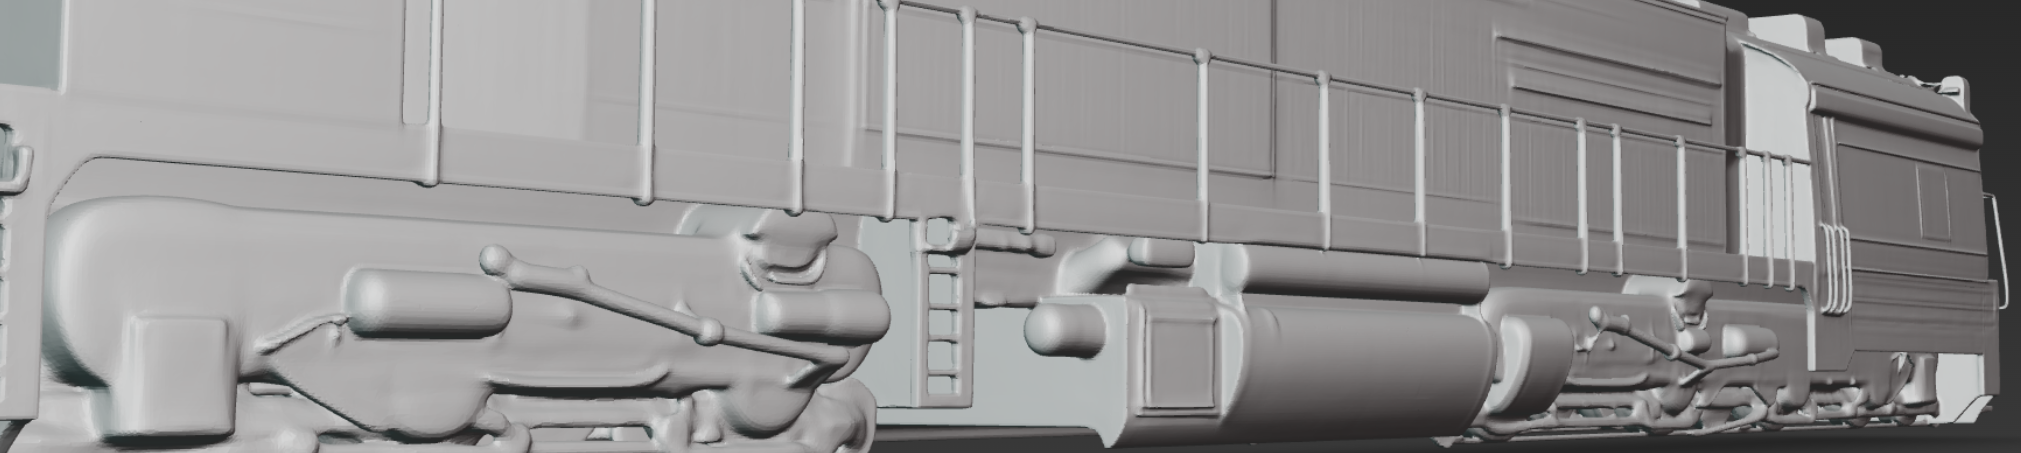
However, in this test, I was quite satisfied to see that thin lines and object thickness were preserved without damage, even from a single input image. That said, it was a bit disappointing that the details on the wheels came out rather flat.
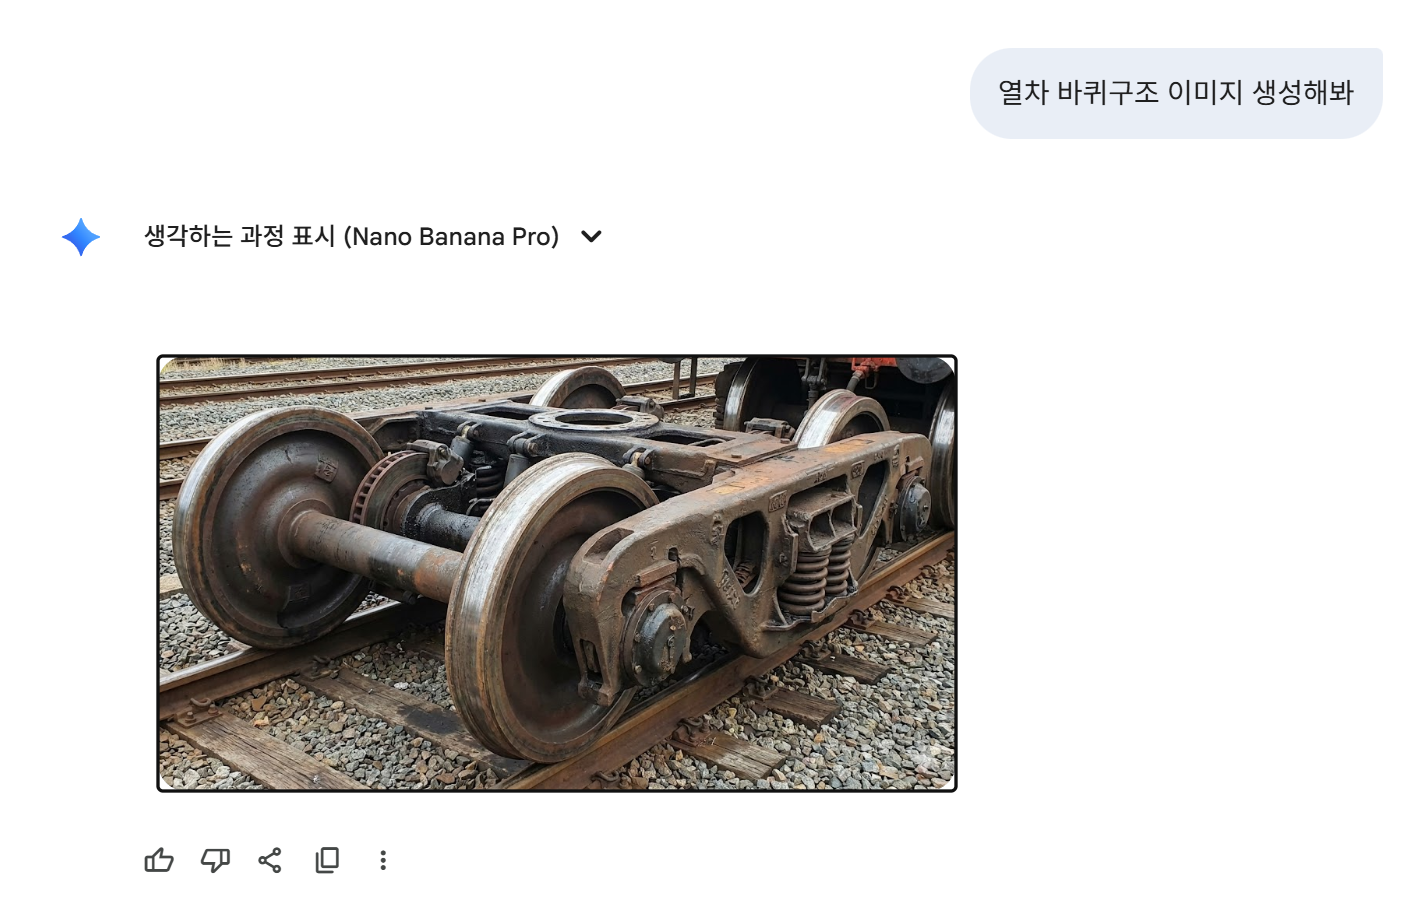
To address this, I decided to leverage 'NanoBanana' to selectively regenerate just the wheel section with greater detail. I concluded that I could enhance the overall quality by importing this refined part back into the 3D AI software and merging it with the original model.
Let me show you an example to demonstrate how this workflow helps.
Can AI-Generated Assets Be Used Straight Out of the Box?
I will use the freight train generated by Hunyuan 3D as our example.
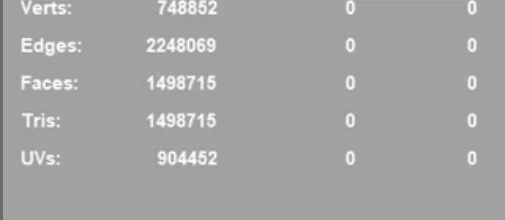

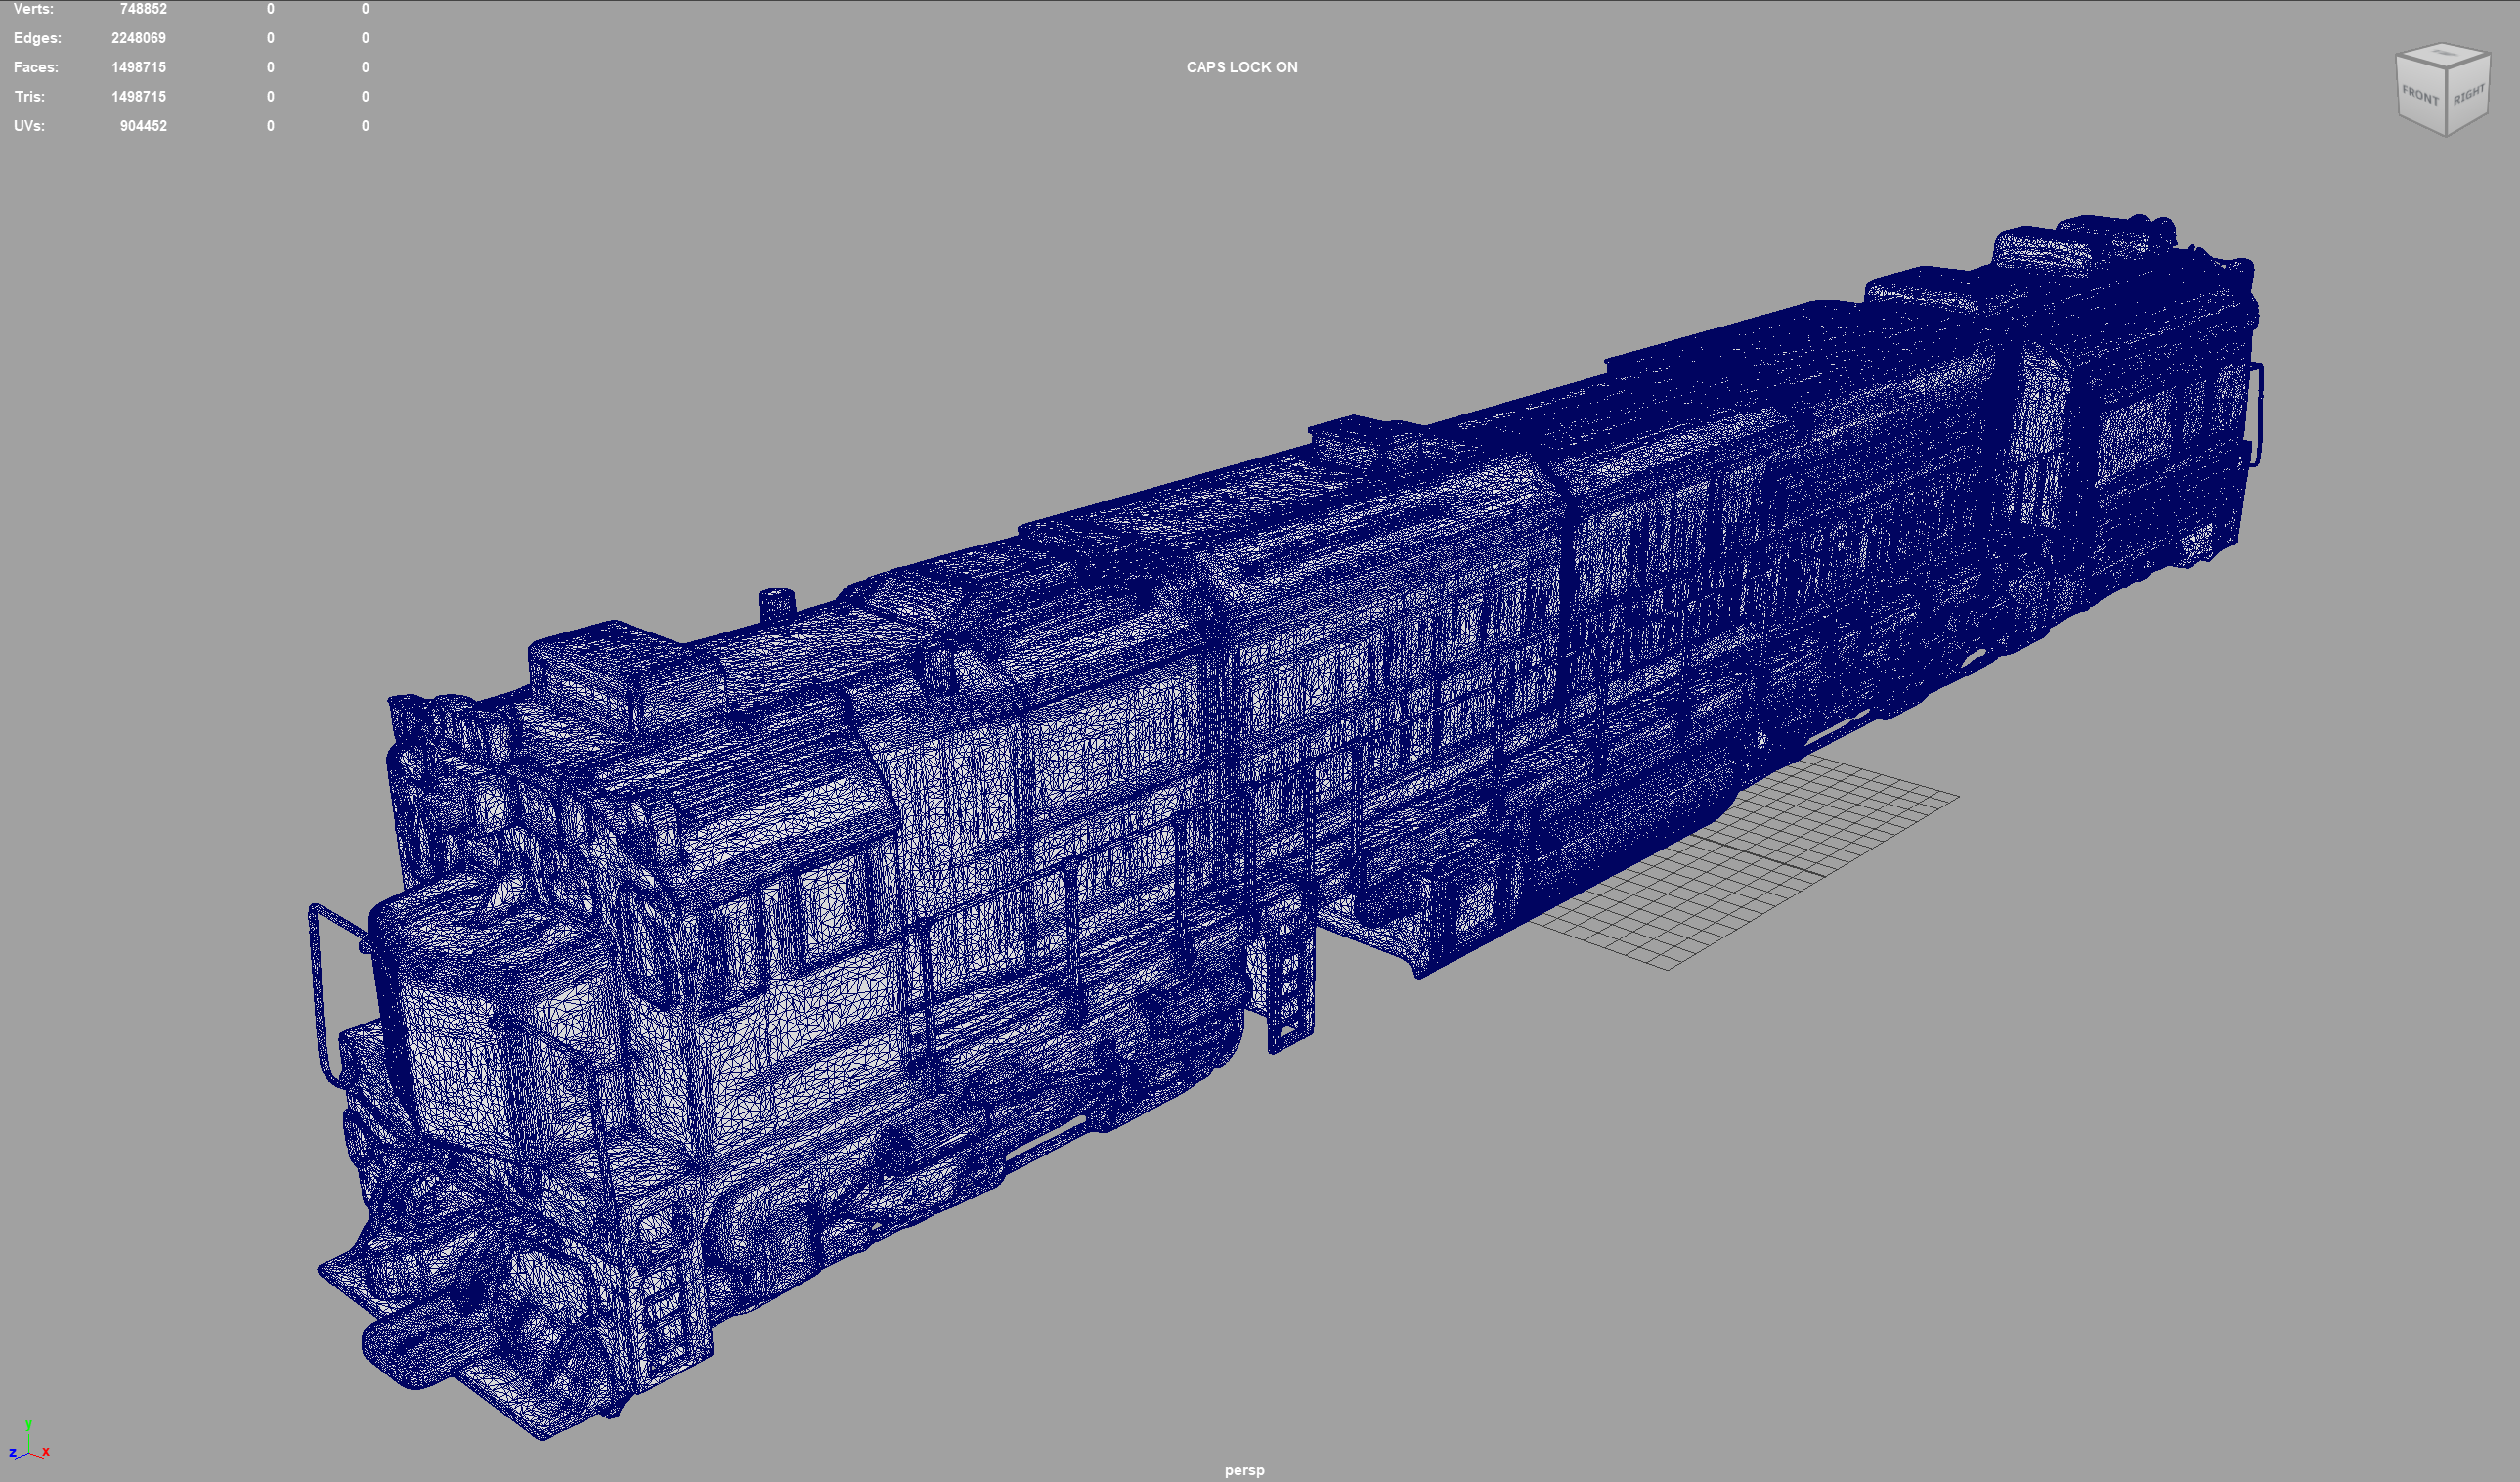
Even considering that a freight train is a complex structure, the form isn't perfect, and the file size hits a massive 130MB due to the unoptimized mesh.
Since Clip Studio Paint, like Photoshop, is primarily a 2D-focused tool, using such heavy assets is impractical for Webtoon production—even for smaller props like sunglasses.
Conversely, if these topology issues can be resolved to some extent, I believe AI could significantly lighten the workload for modelers. Detailed props could serve as 'blocking' references to establish proportions before starting actual work. For level design, we could populate a scene entirely with AI assets during the grayscale phase to check silhouettes and adjust the layout efficiently.
We typically expect tech cycles to take 1 to 3 years, but AI is evolving at such a breakneck pace that it feels new every month. I’m really excited to see how AI-integrated modeling workflows will diversify in the near future.
So, How Can We Effectively Utilize AI for Webtoon Assets?
However, since the sunglasses asset needed to be produced immediately, I had to devise an optimization workflow right away.
I decided to make ZBrush my primary tool, given its strengths in defining structure and automatic retopology, while utilizing Maya for final topology cleanup and finishing touches.
Using the AI-generated freight train shown earlier as an example, let me explain the two key ZBrush features I utilized for this task.
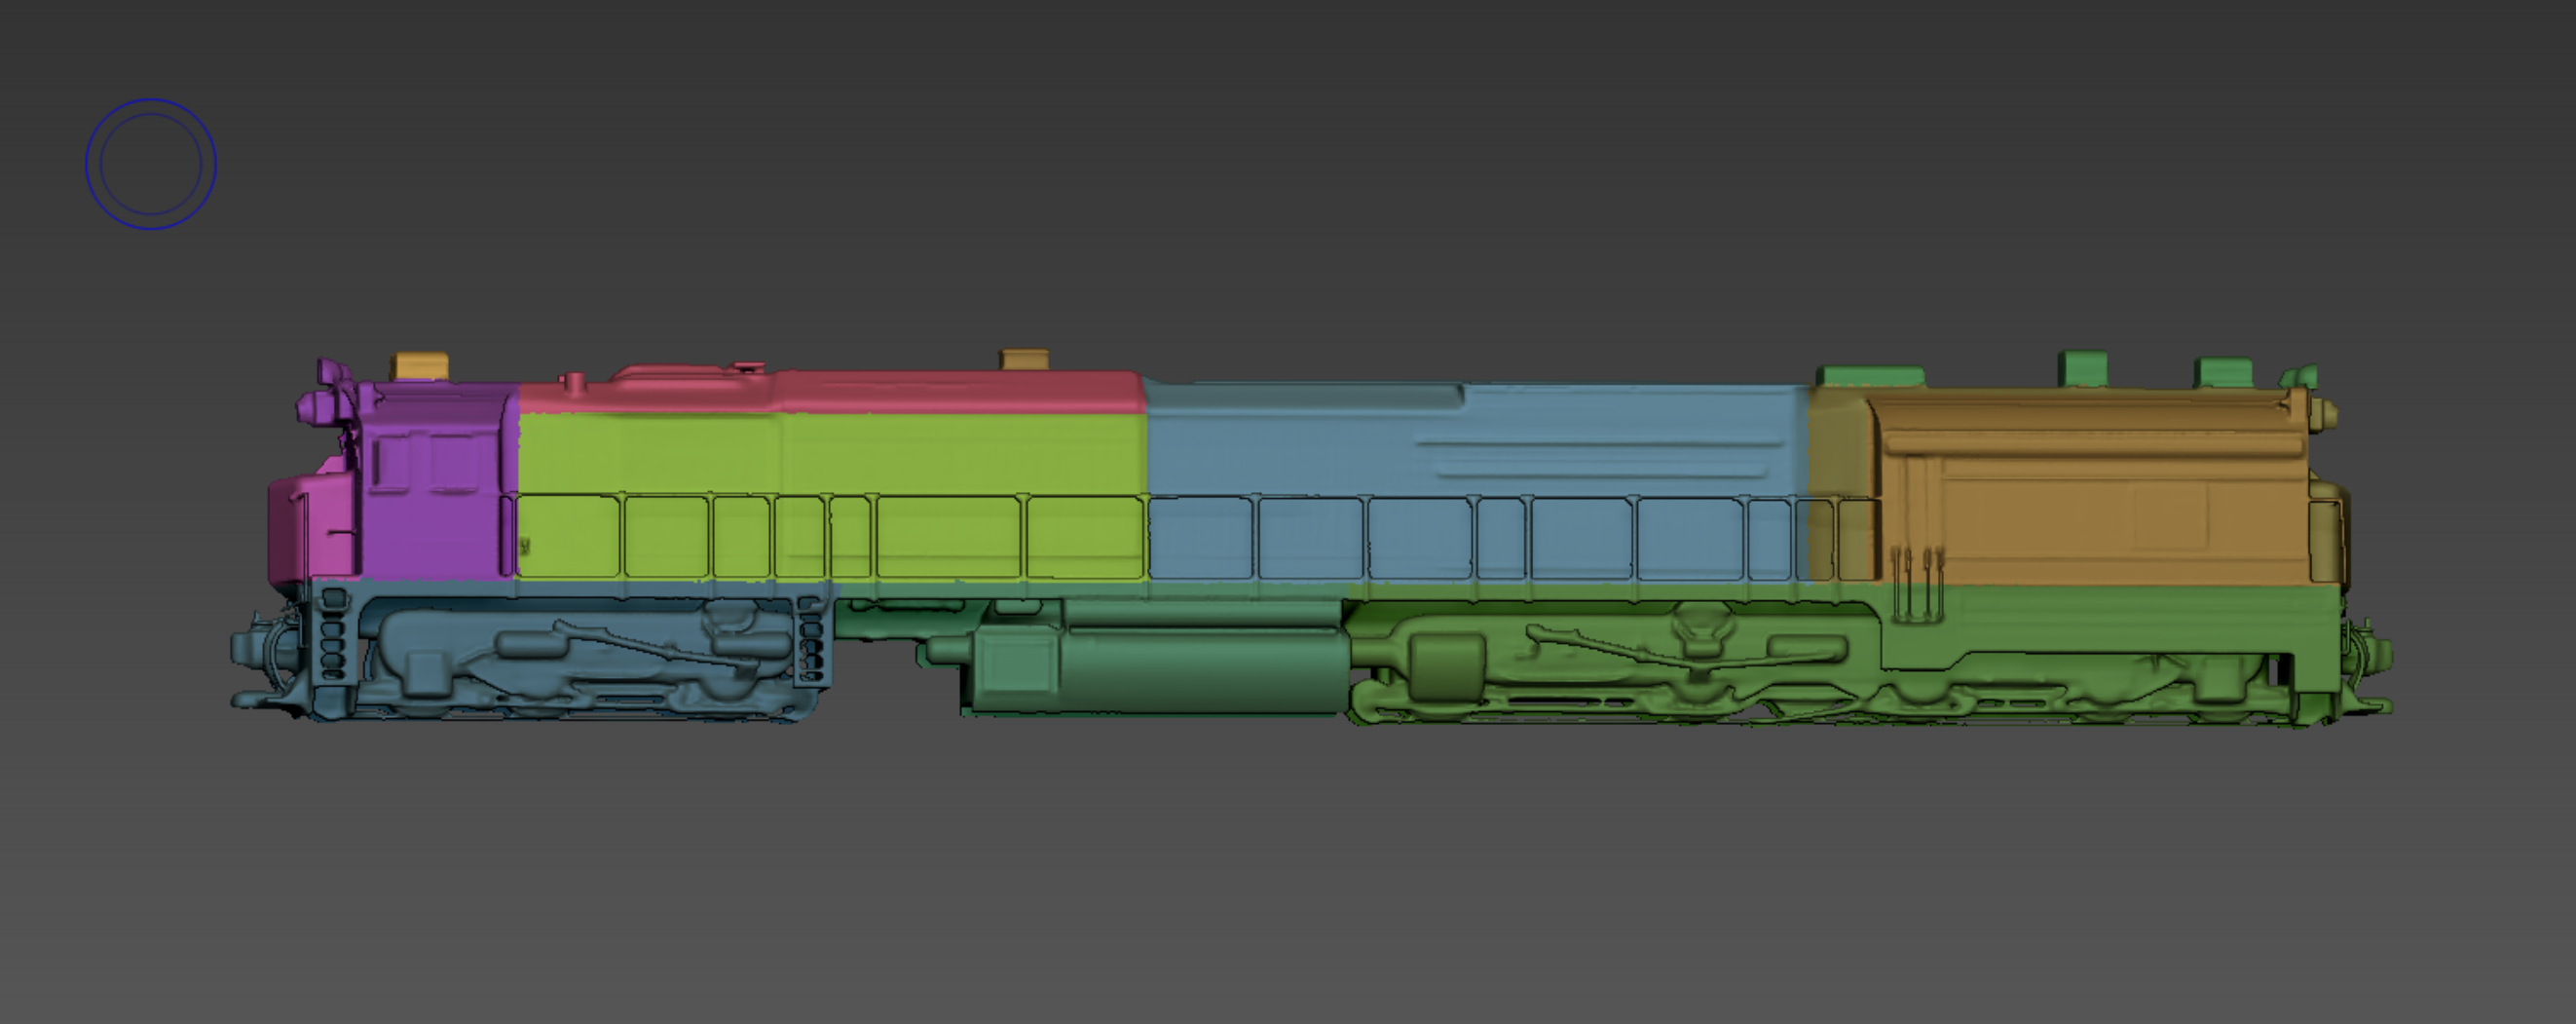
1. Structuring (Grouping & Masking)
AI typically outputs the entire model as a single, merged mesh. By utilizing ZBrush’s 'Masking' and 'PolyGroups' features, you can isolate distinct components—such as separating the wheels from the train carriage.
This approach not only makes the editing process significantly smoother but also allows you to preserve and fully utilize the intricate details generated by the AI.
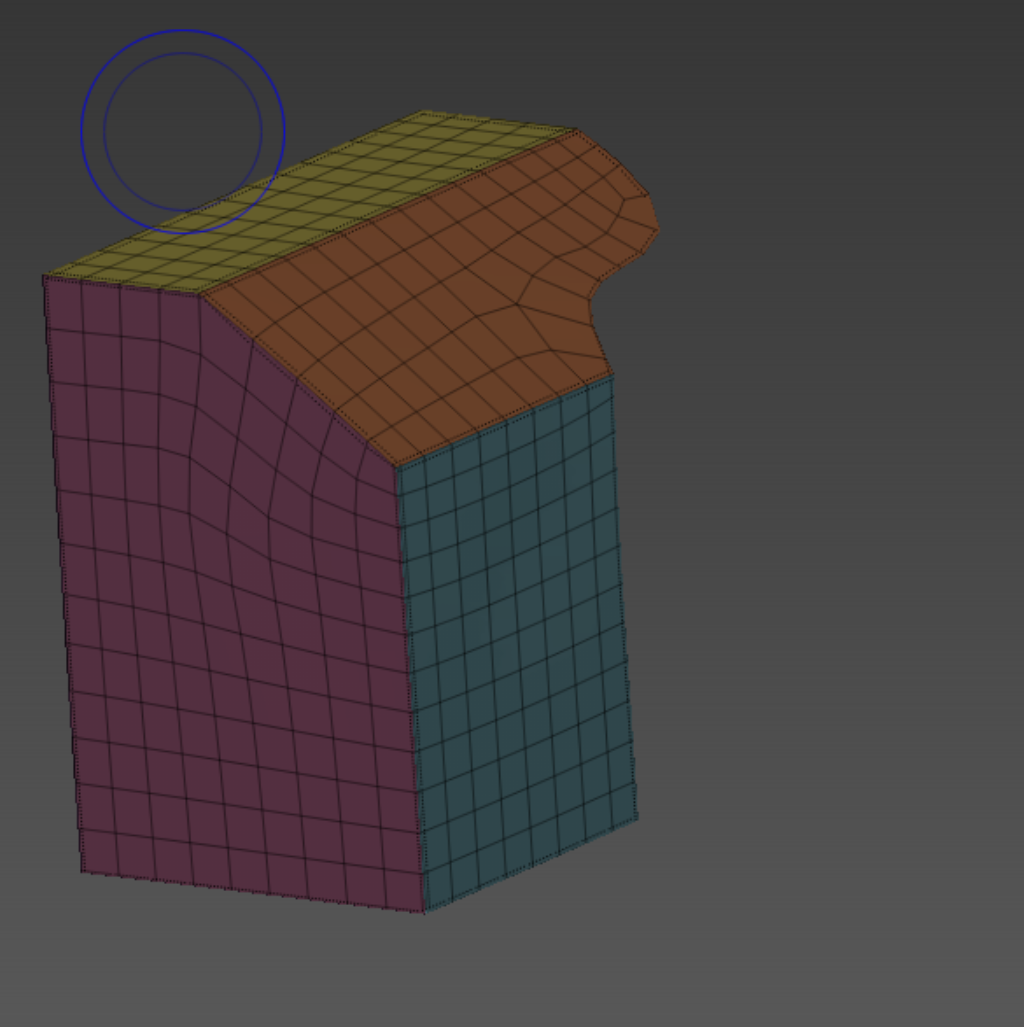
2. Automatic Retopology (ZRemesher)
Before diving into detailed manual refinement, applying ZRemesher with guide curves allows you to rapidly convert the irregular, dense topology into a clean, uniform quad-based base mesh.
This process drastically cuts down production time.
The Workflow
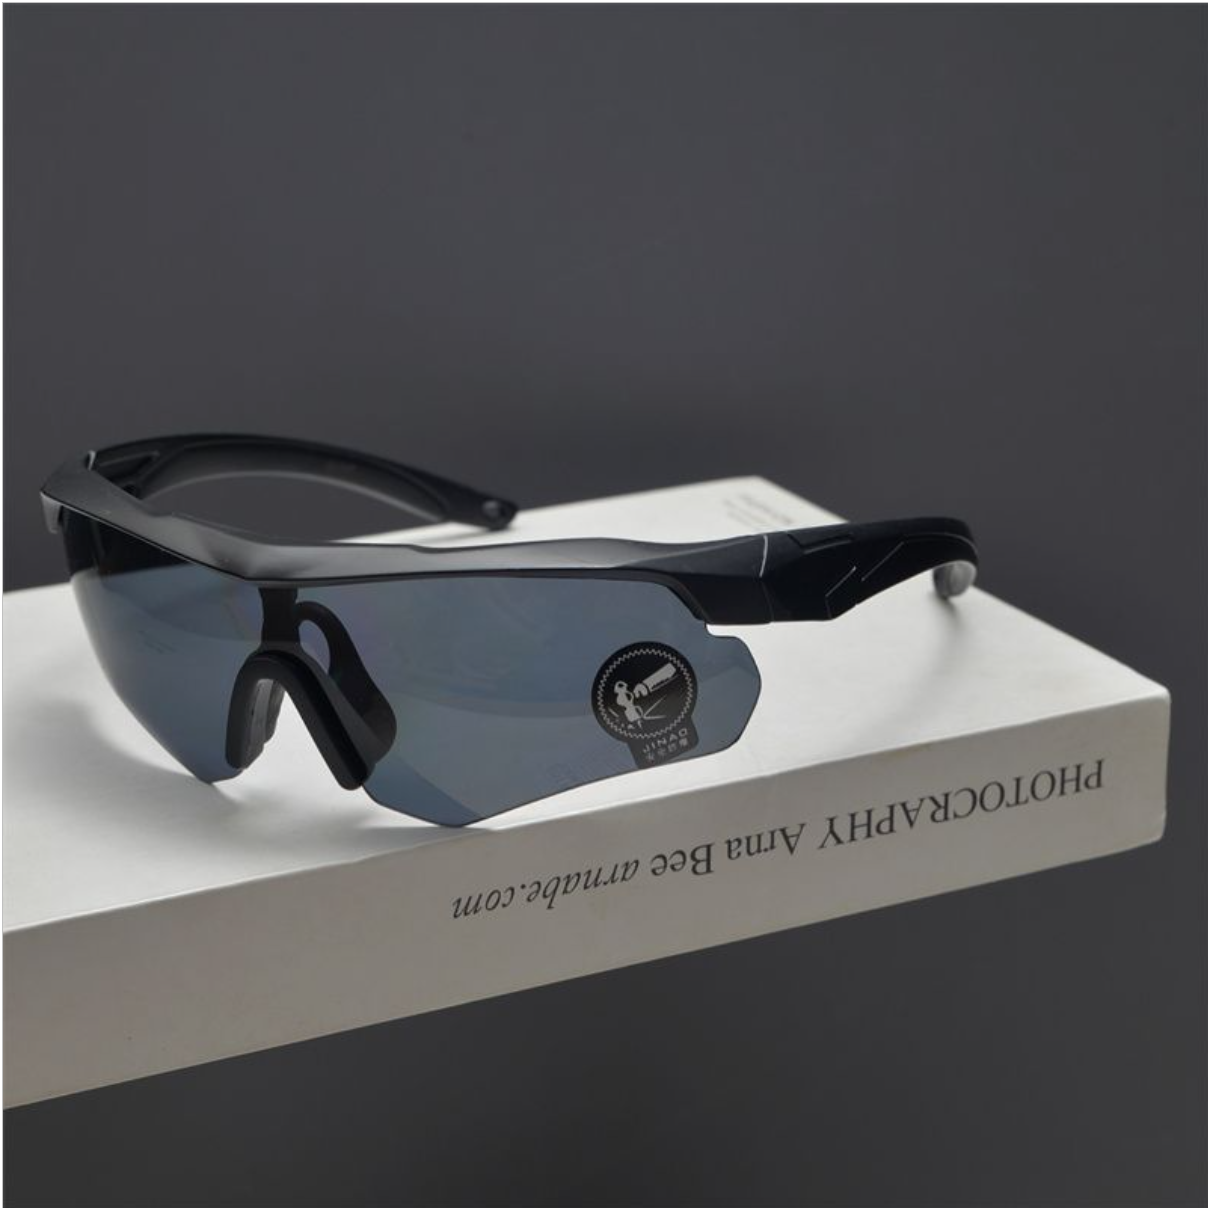
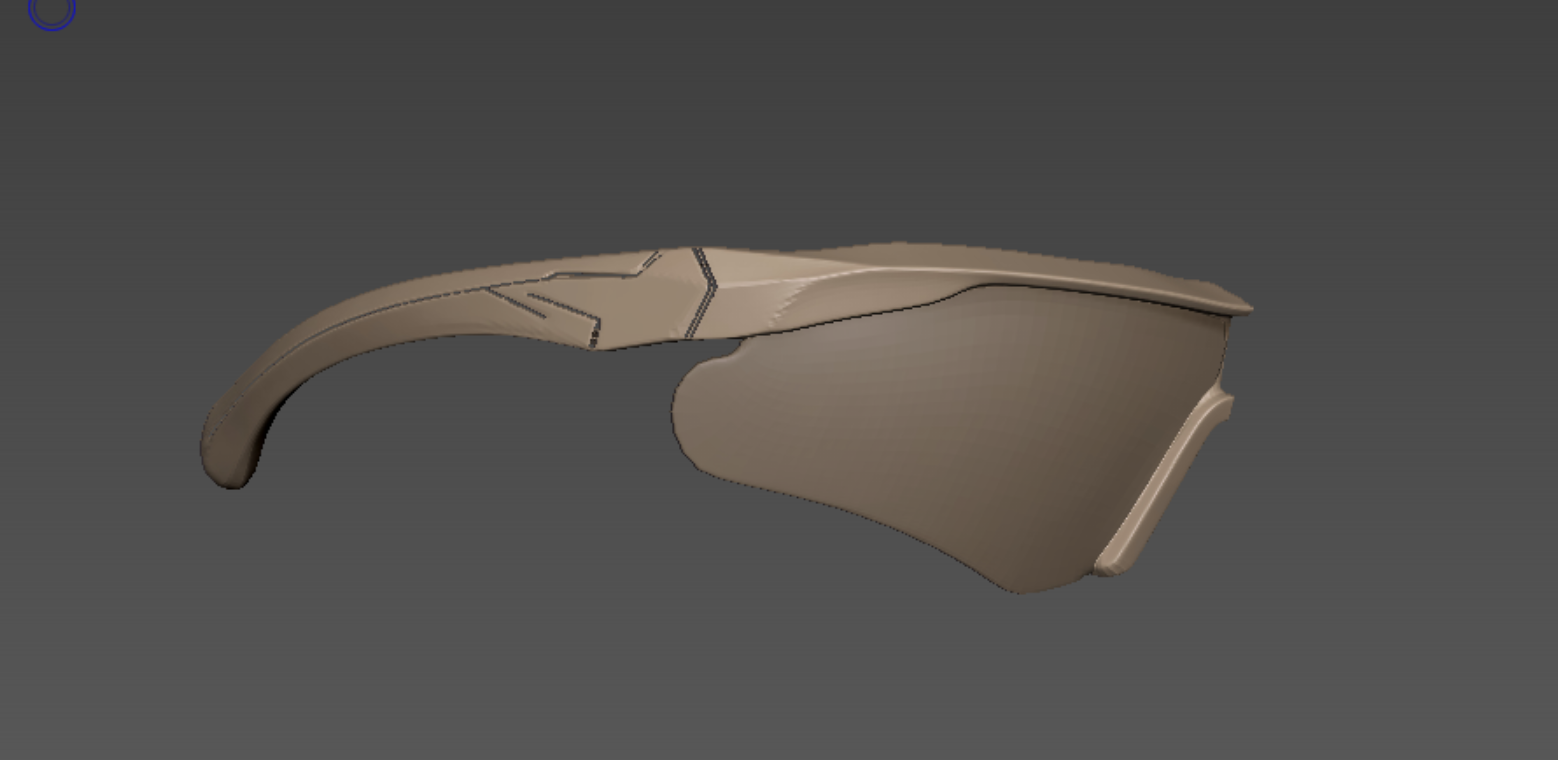
First, here is the reference image I received. Let's generate the model using Hunyuan 3D.
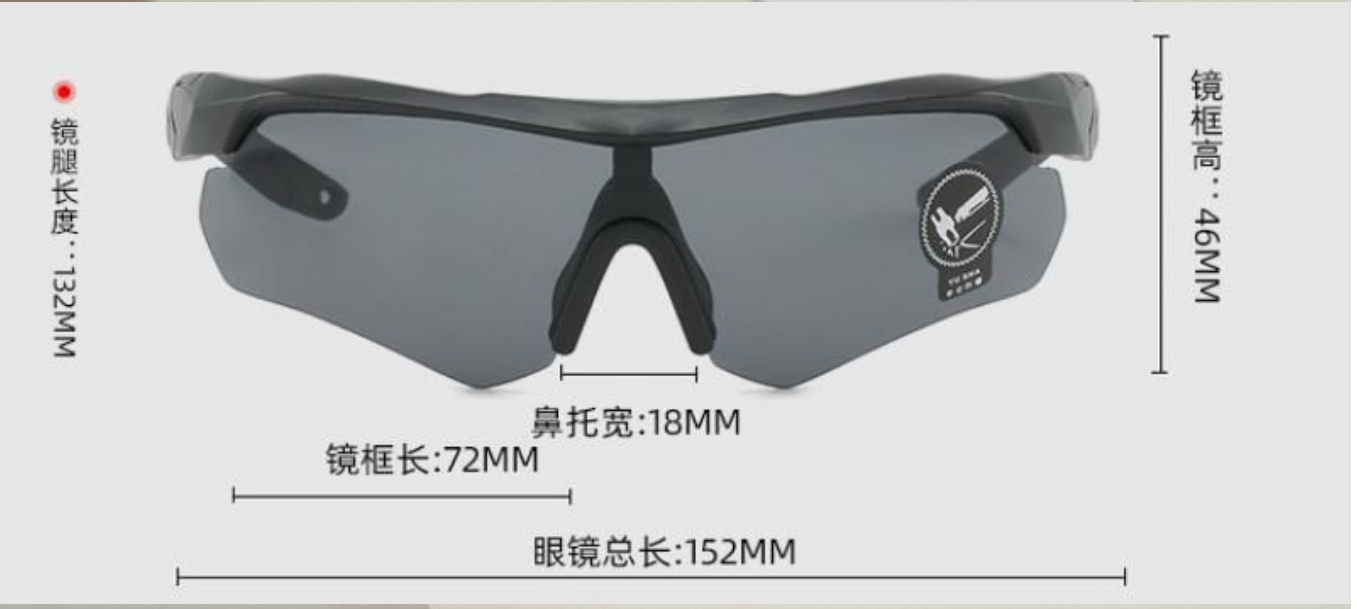
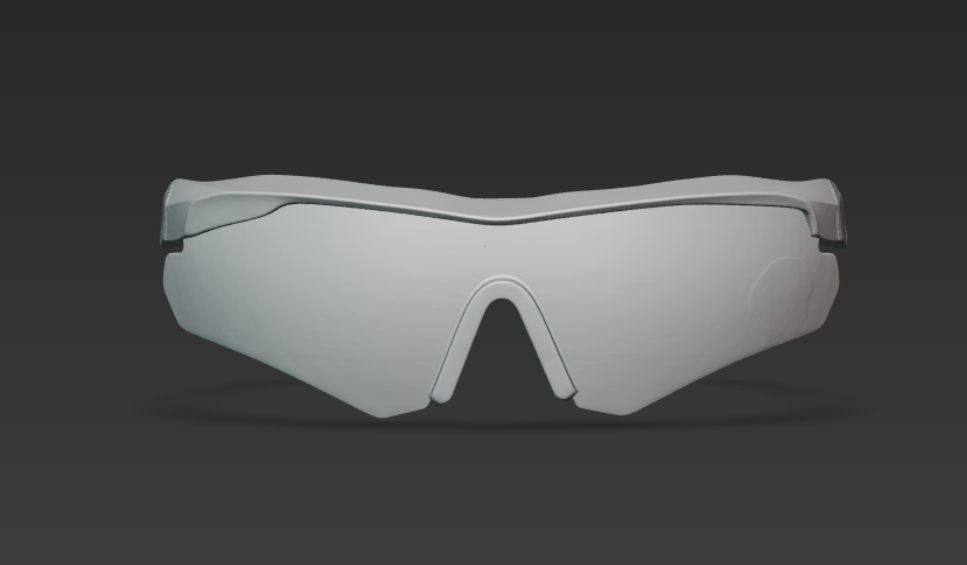
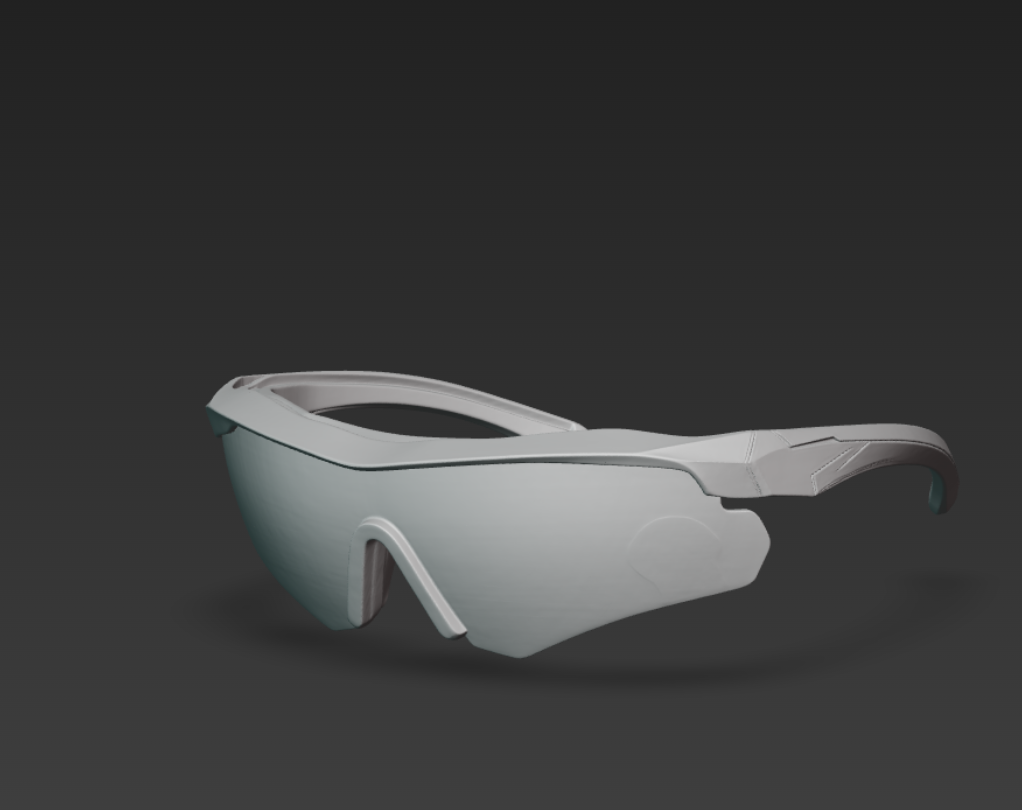
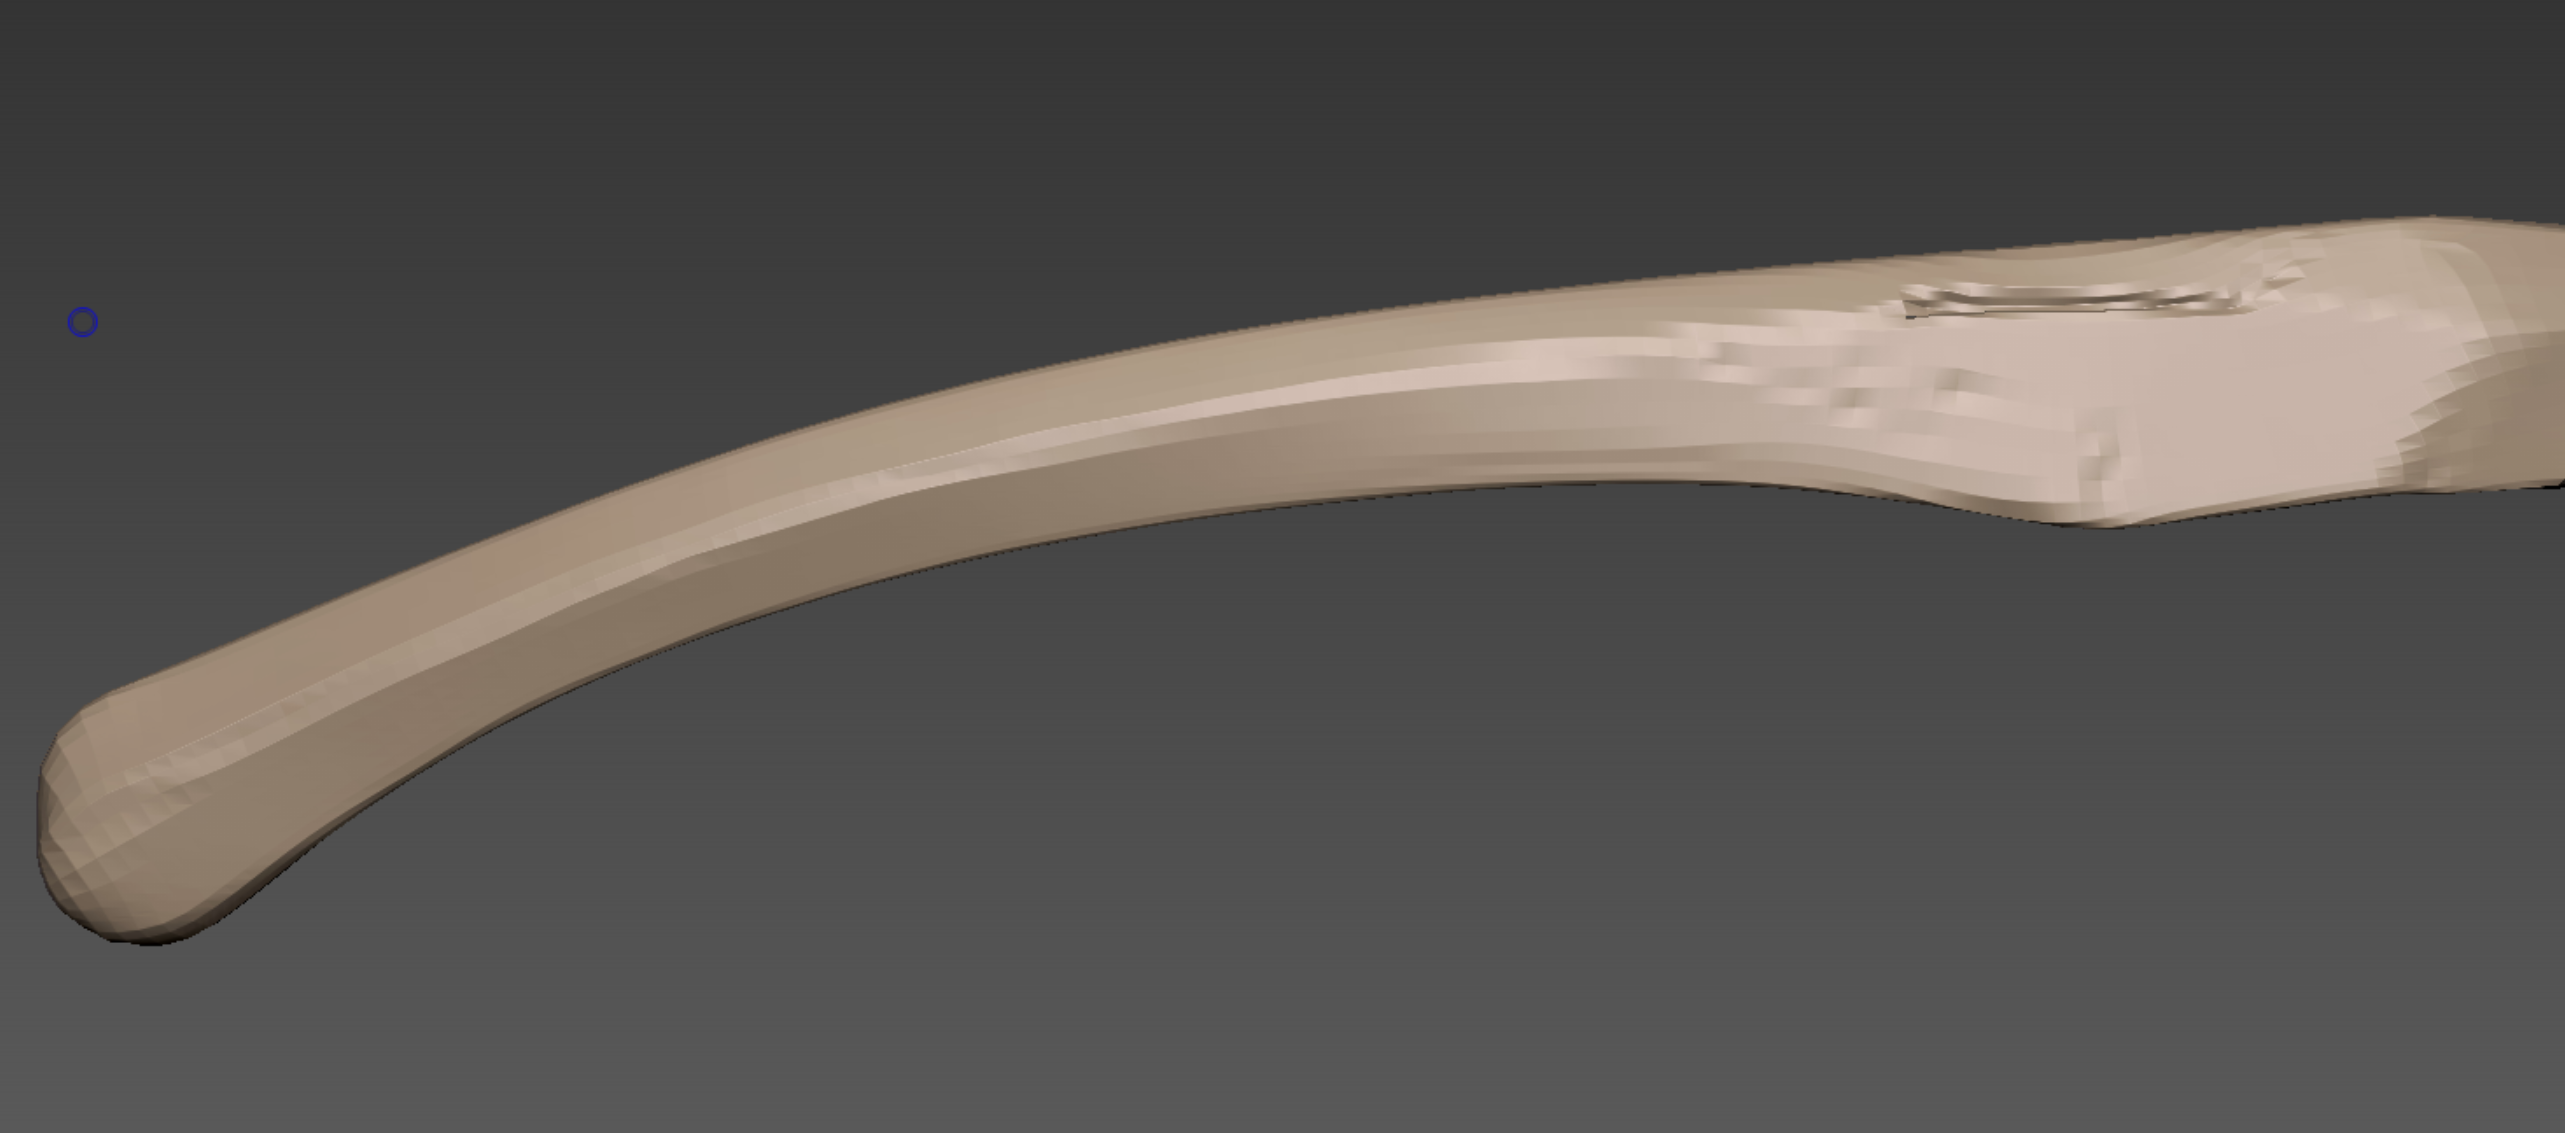
Since it's not as complex as the train, the result is quite accurate even with a single input image. Now, let's export it as an FBX file and open it in ZBrush. The file size is around 120MB.

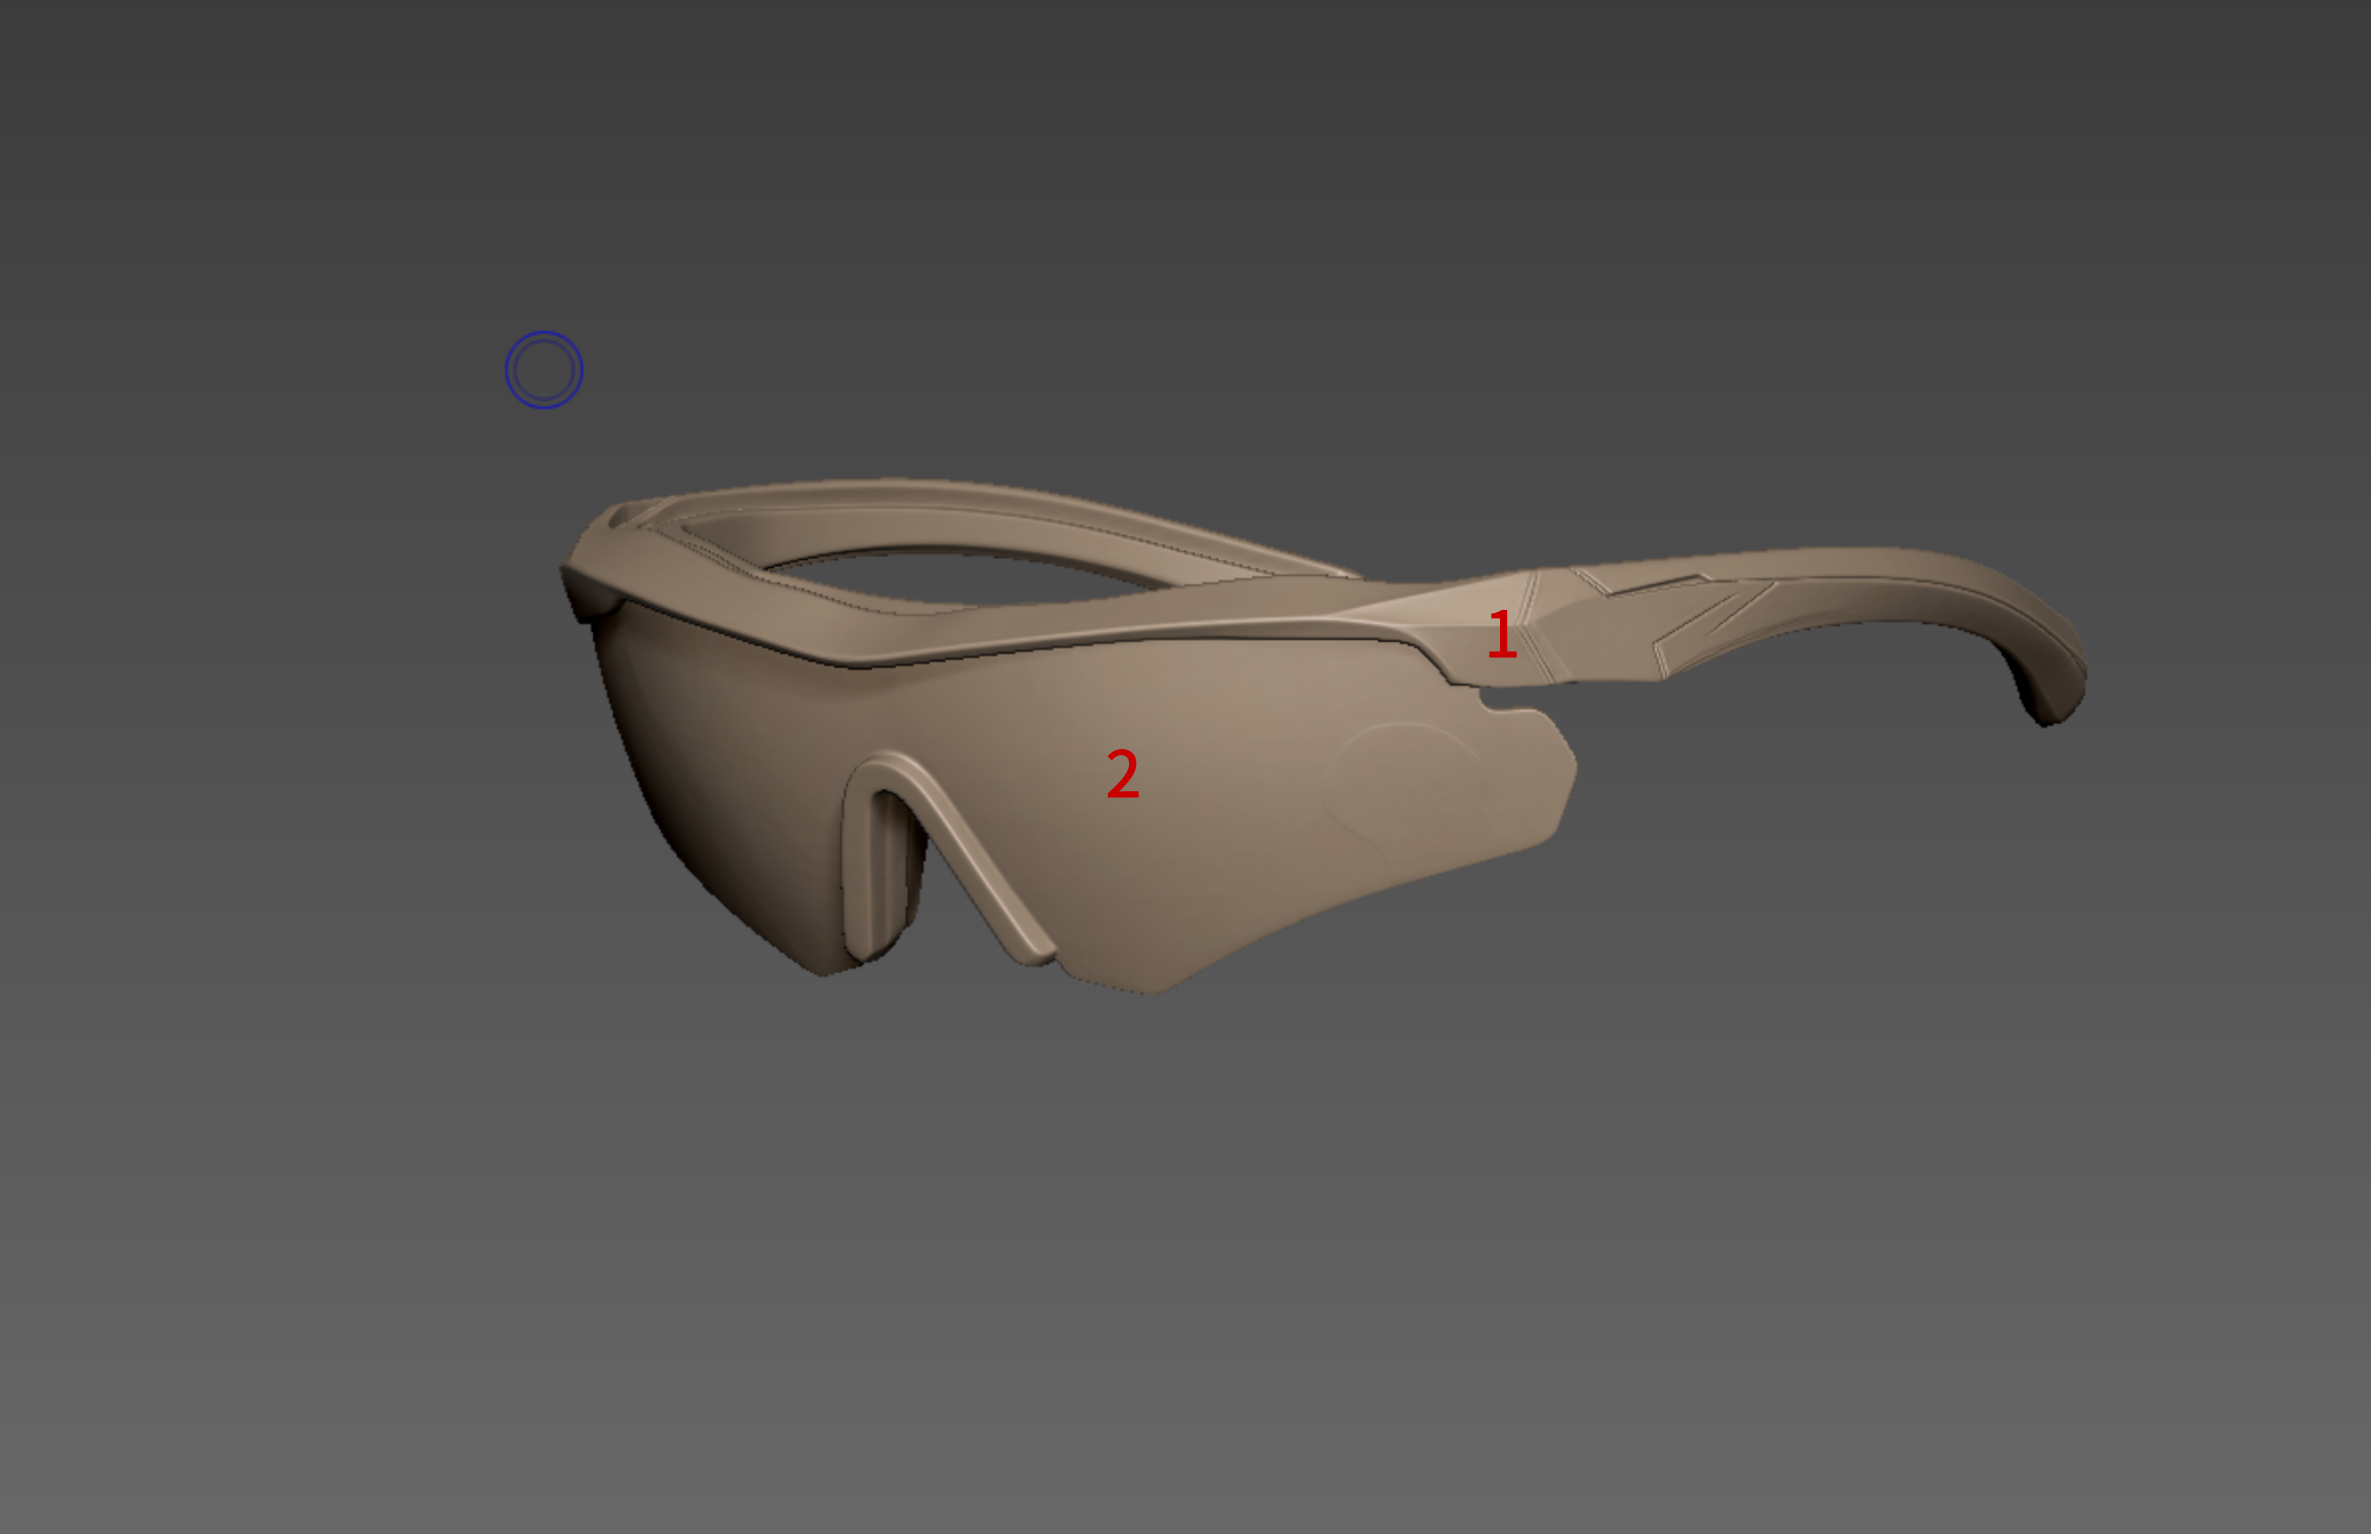
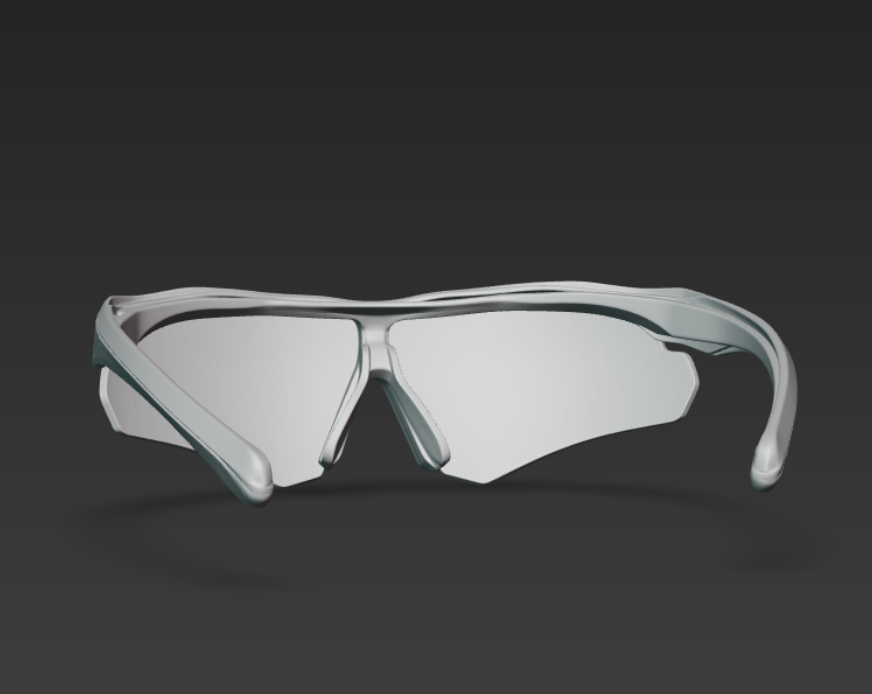
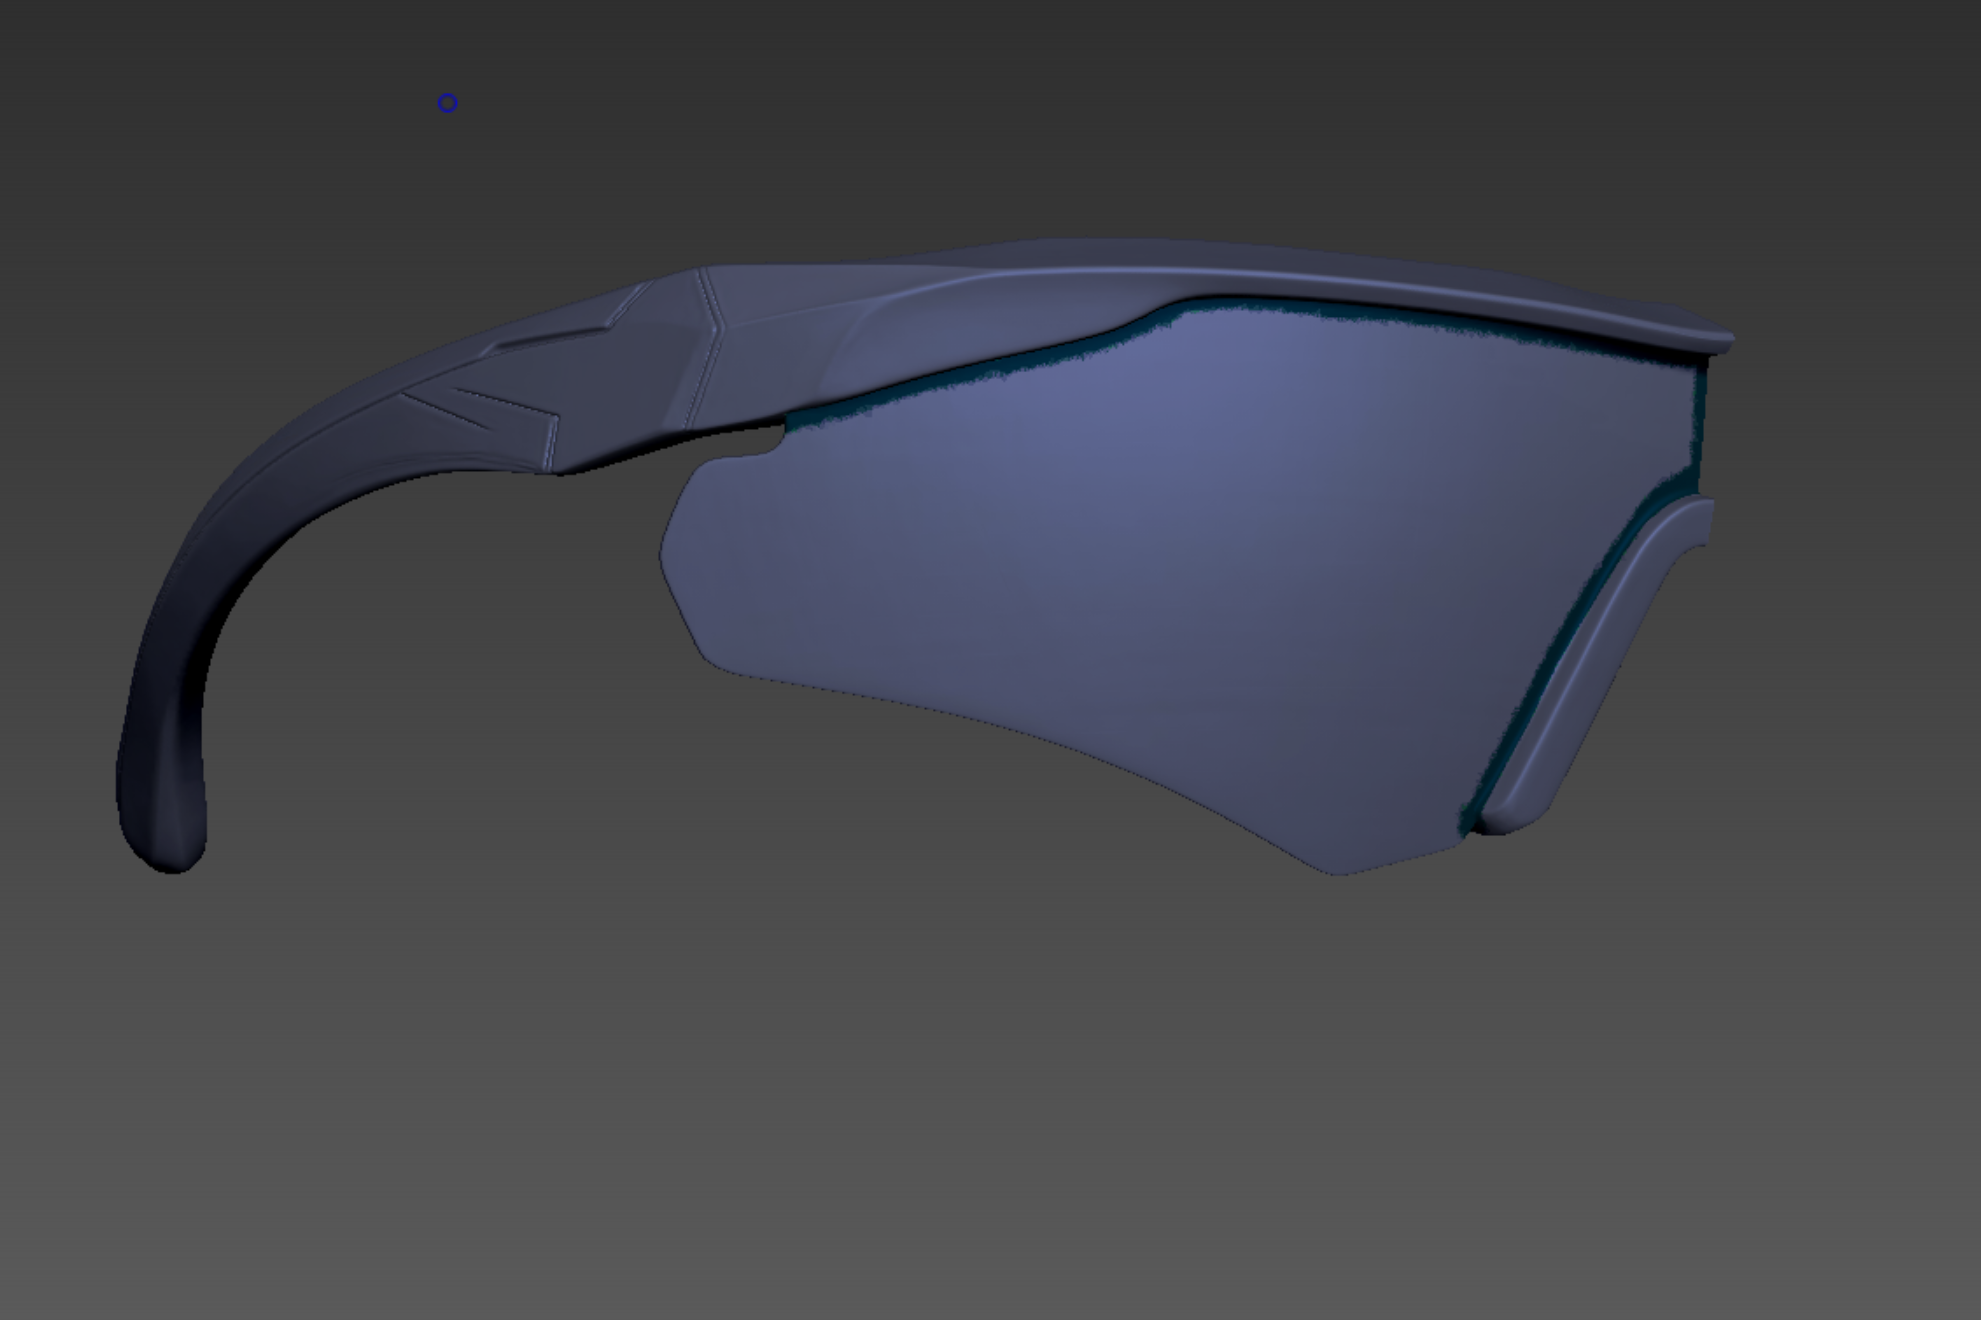
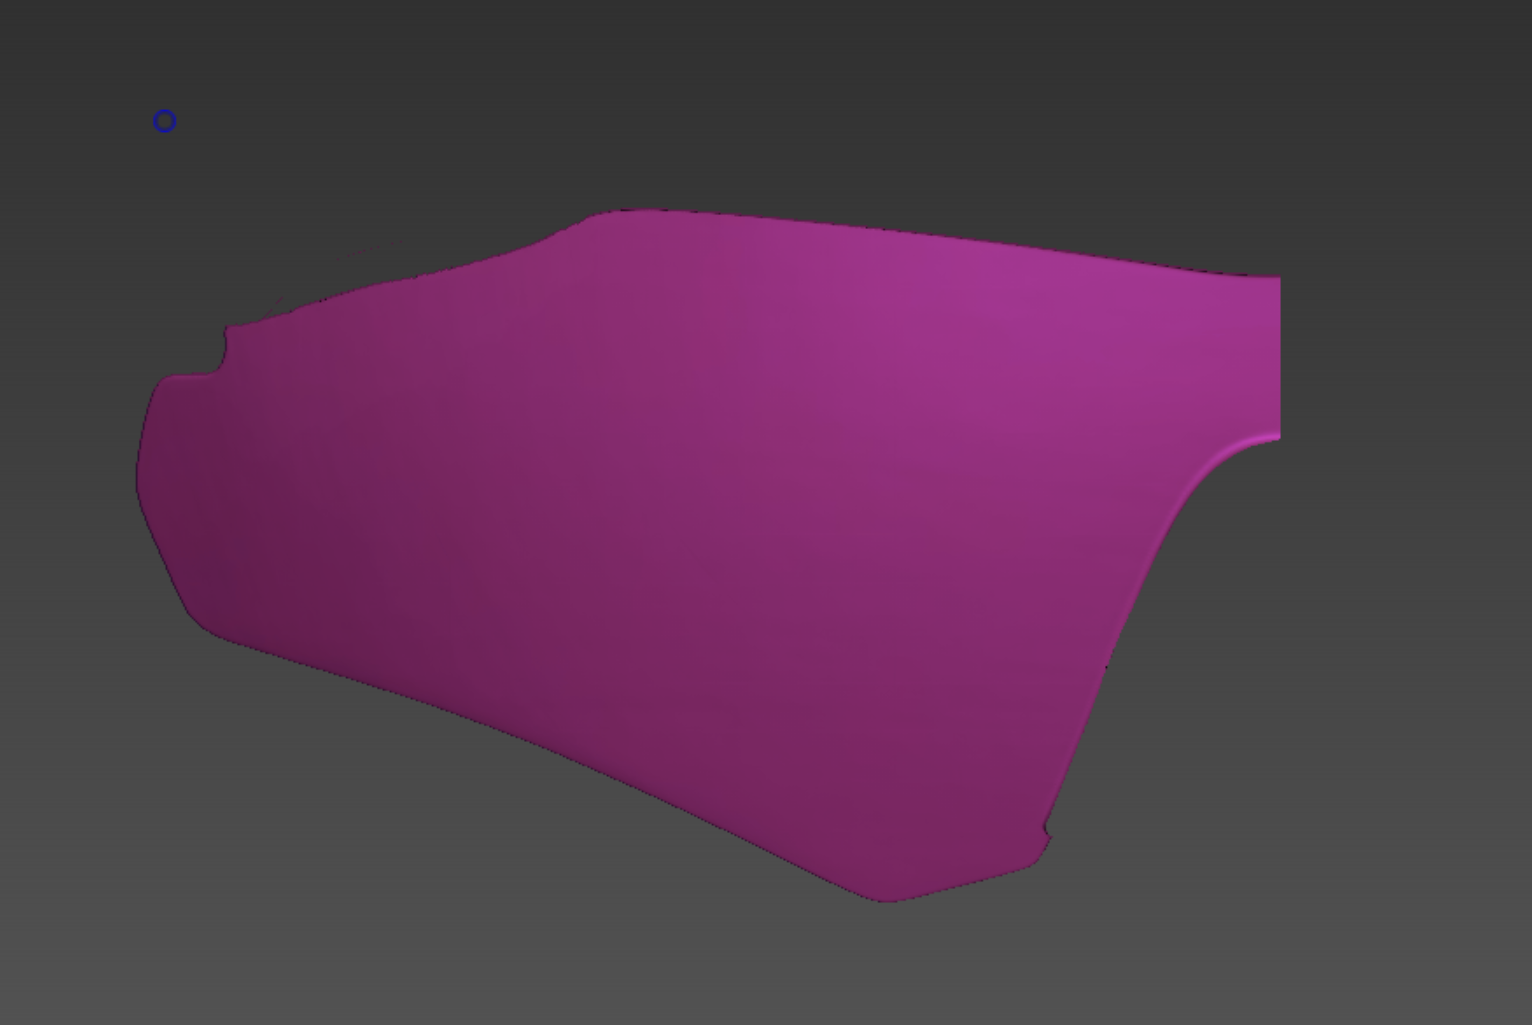
Here is the view from the ZBrush viewport. First, I’m going to separate the merged AI model into two parts—the lenses and the frames—using the Grouping function I mentioned earlier.
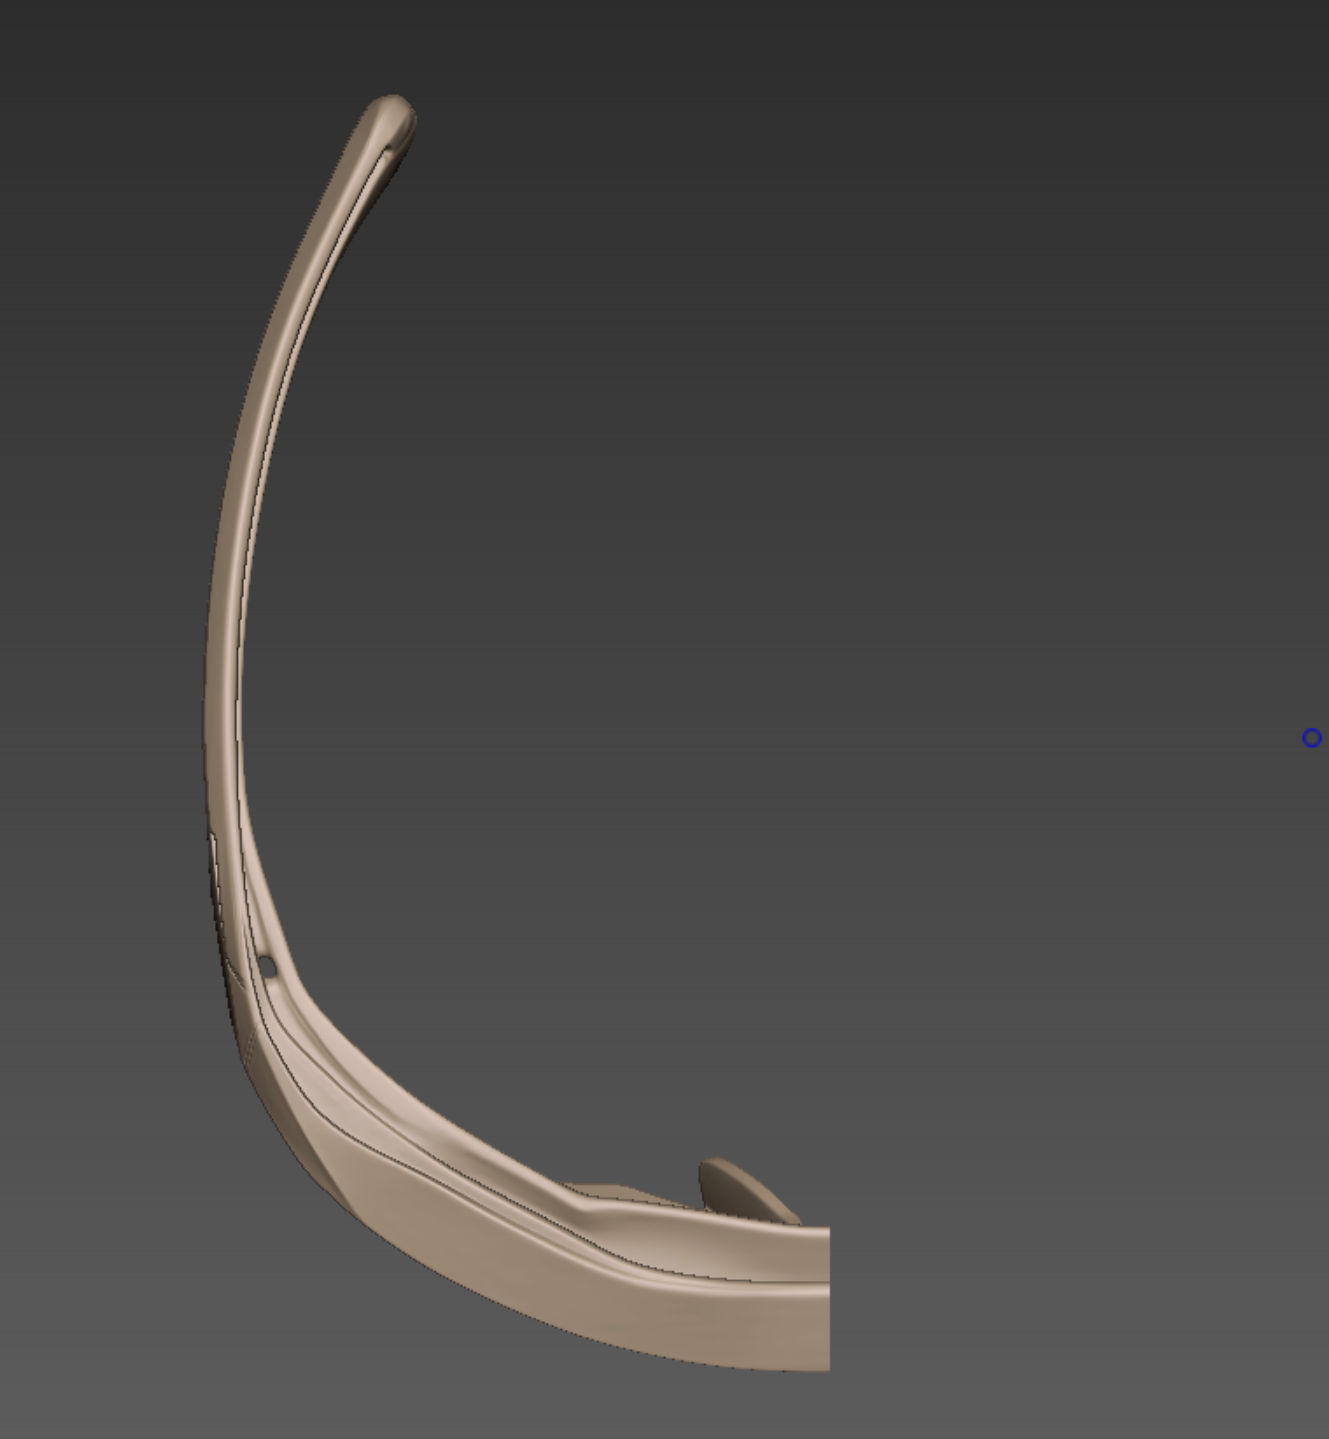
Because the object is symmetrical, we can generate the other side later using the 'Mirror' function. To make the workflow more efficient, let's delete one half for now.
The feature we'll be using here is 'PolygroupIt', found under ZPlugin. Simply draw lines to mark the desired areas and click 'PolygroupIt From Paint'. This will automatically generate Polygroups based on your Polypaint strokes.
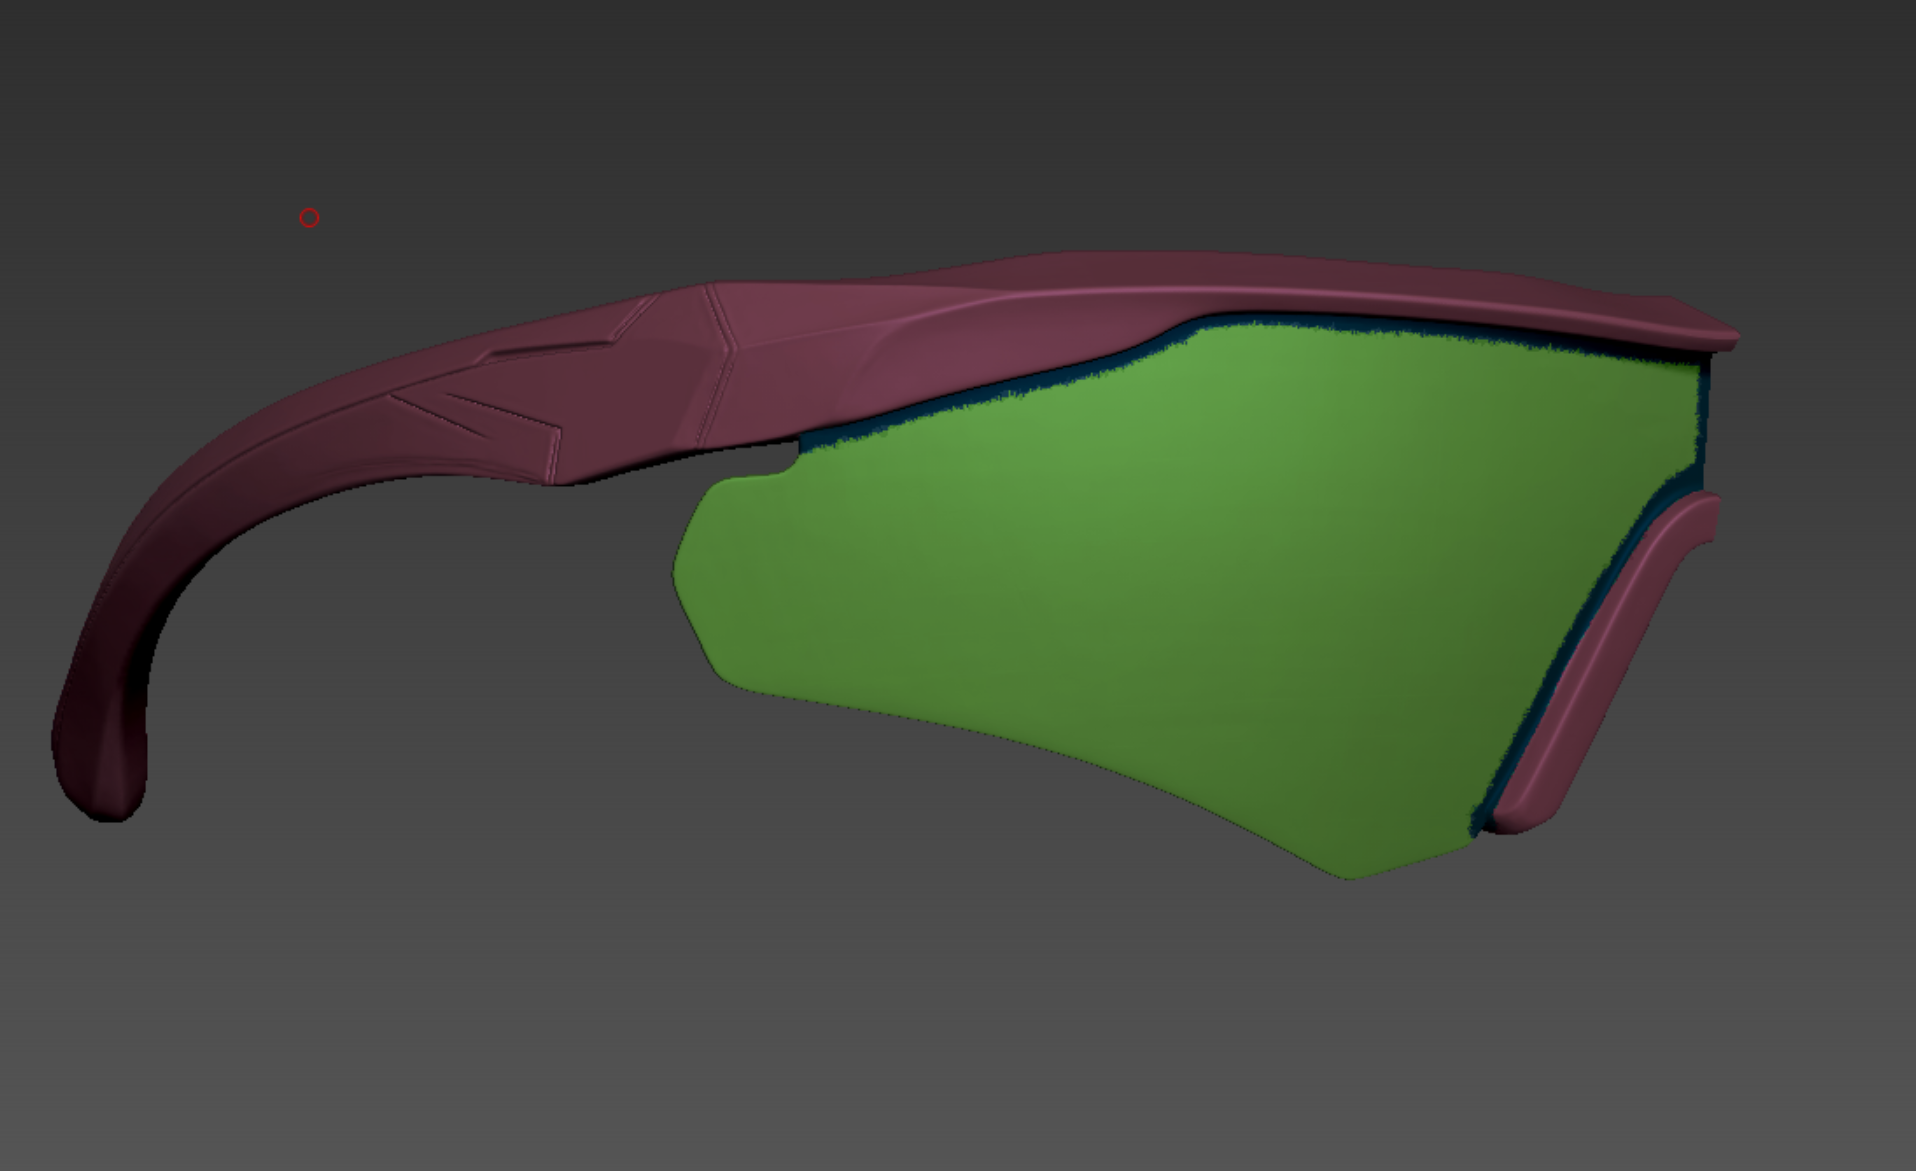
Since the boundaries we drew earlier exist, using Auto Groups will split the mesh into separate groups based on those lines.
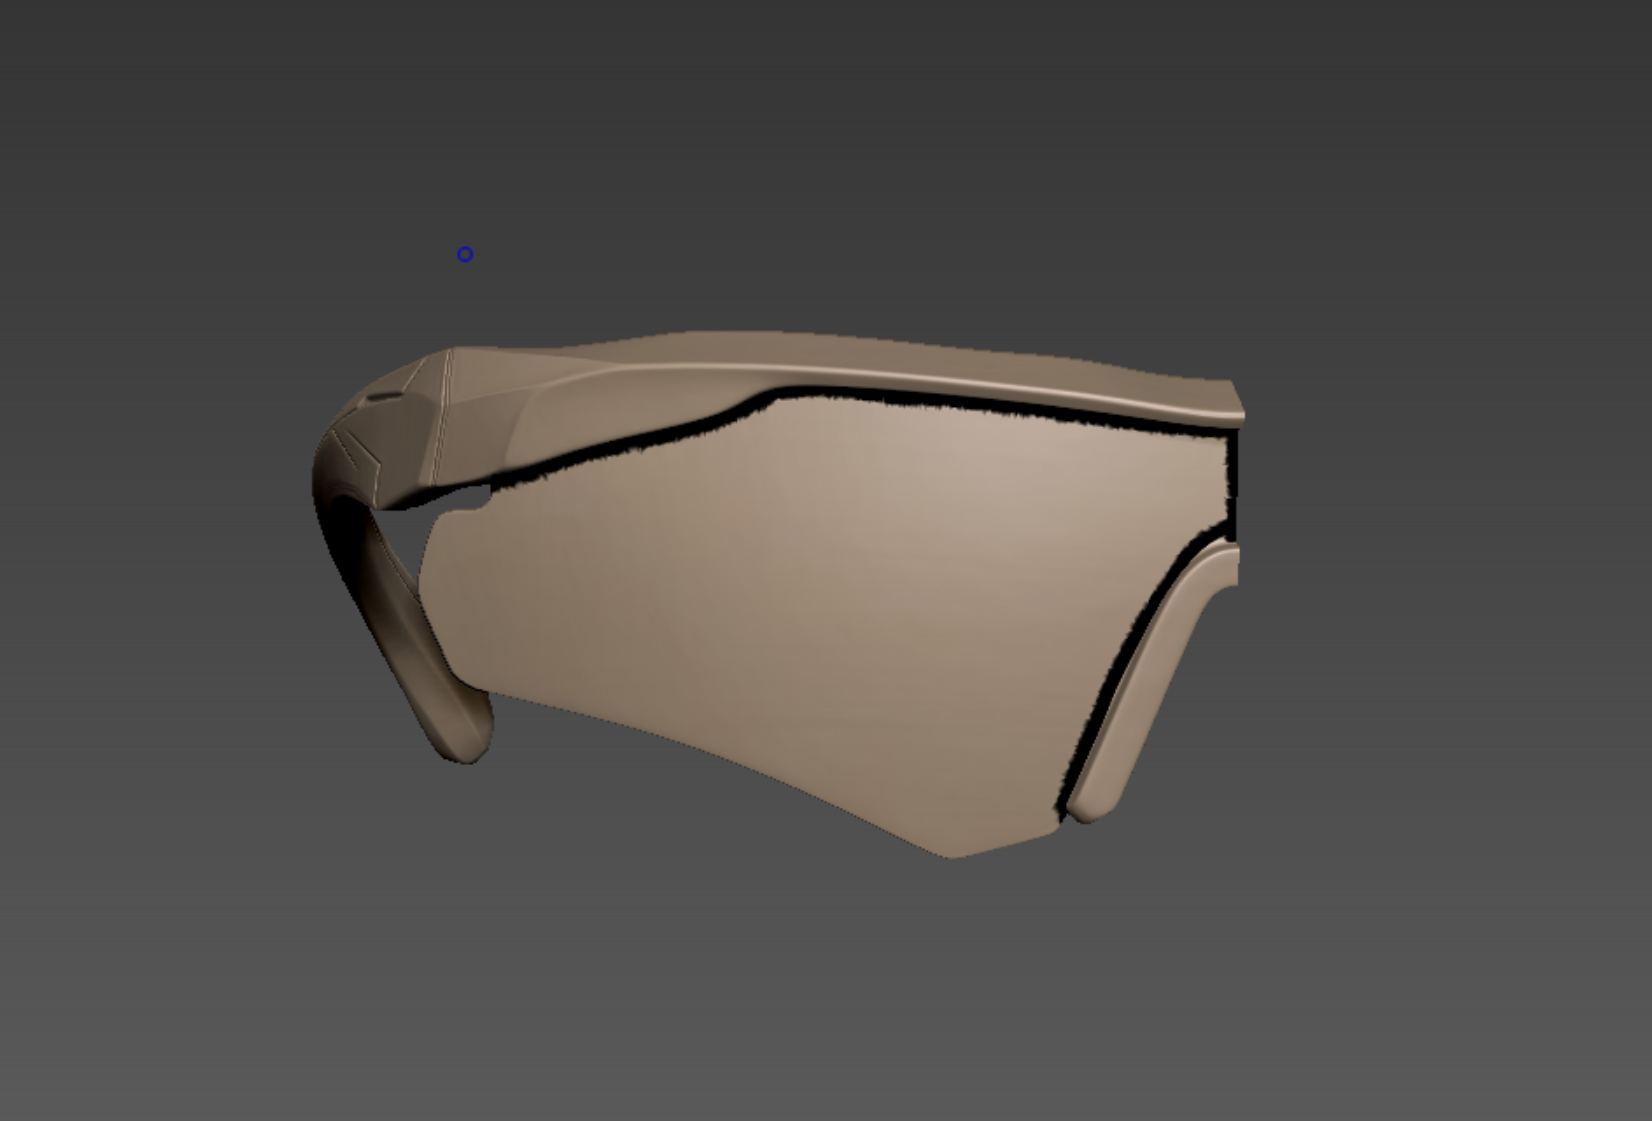
Now, use the Visibility (Ctrl+Shift) function to hide the frames, and then merge the remaining border group and the lens group into one using Group Visible (Ctrl+W).
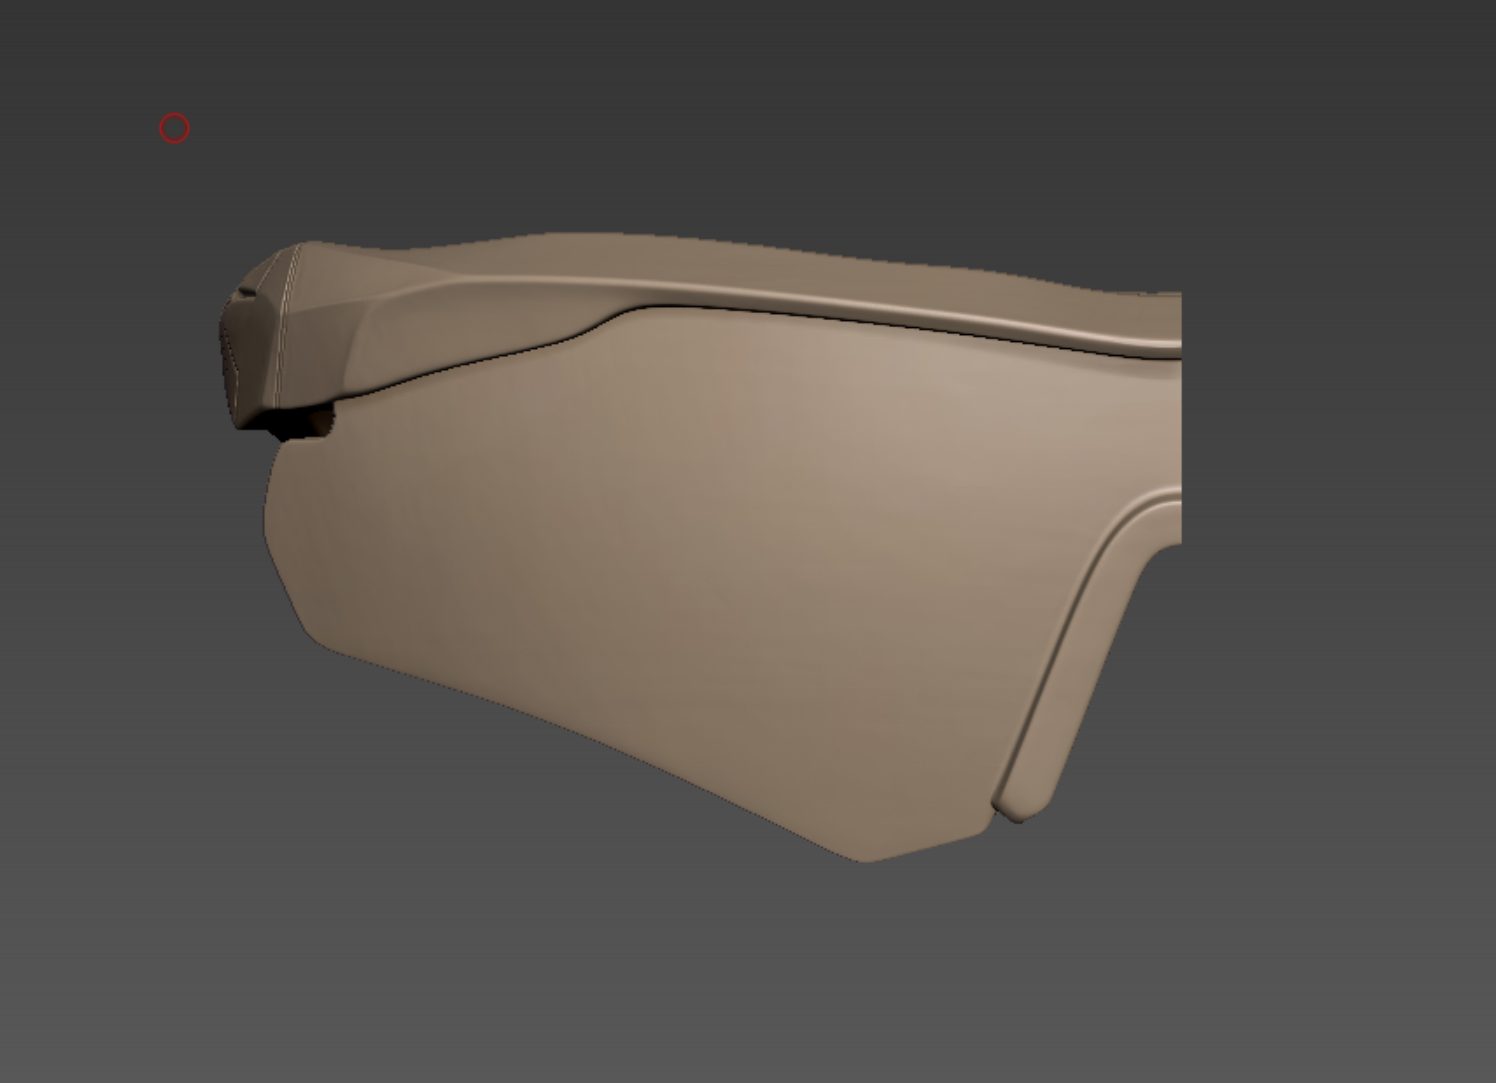
You can now see that the lenses and the frames are cleanly separated.
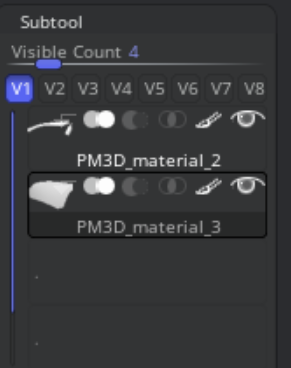
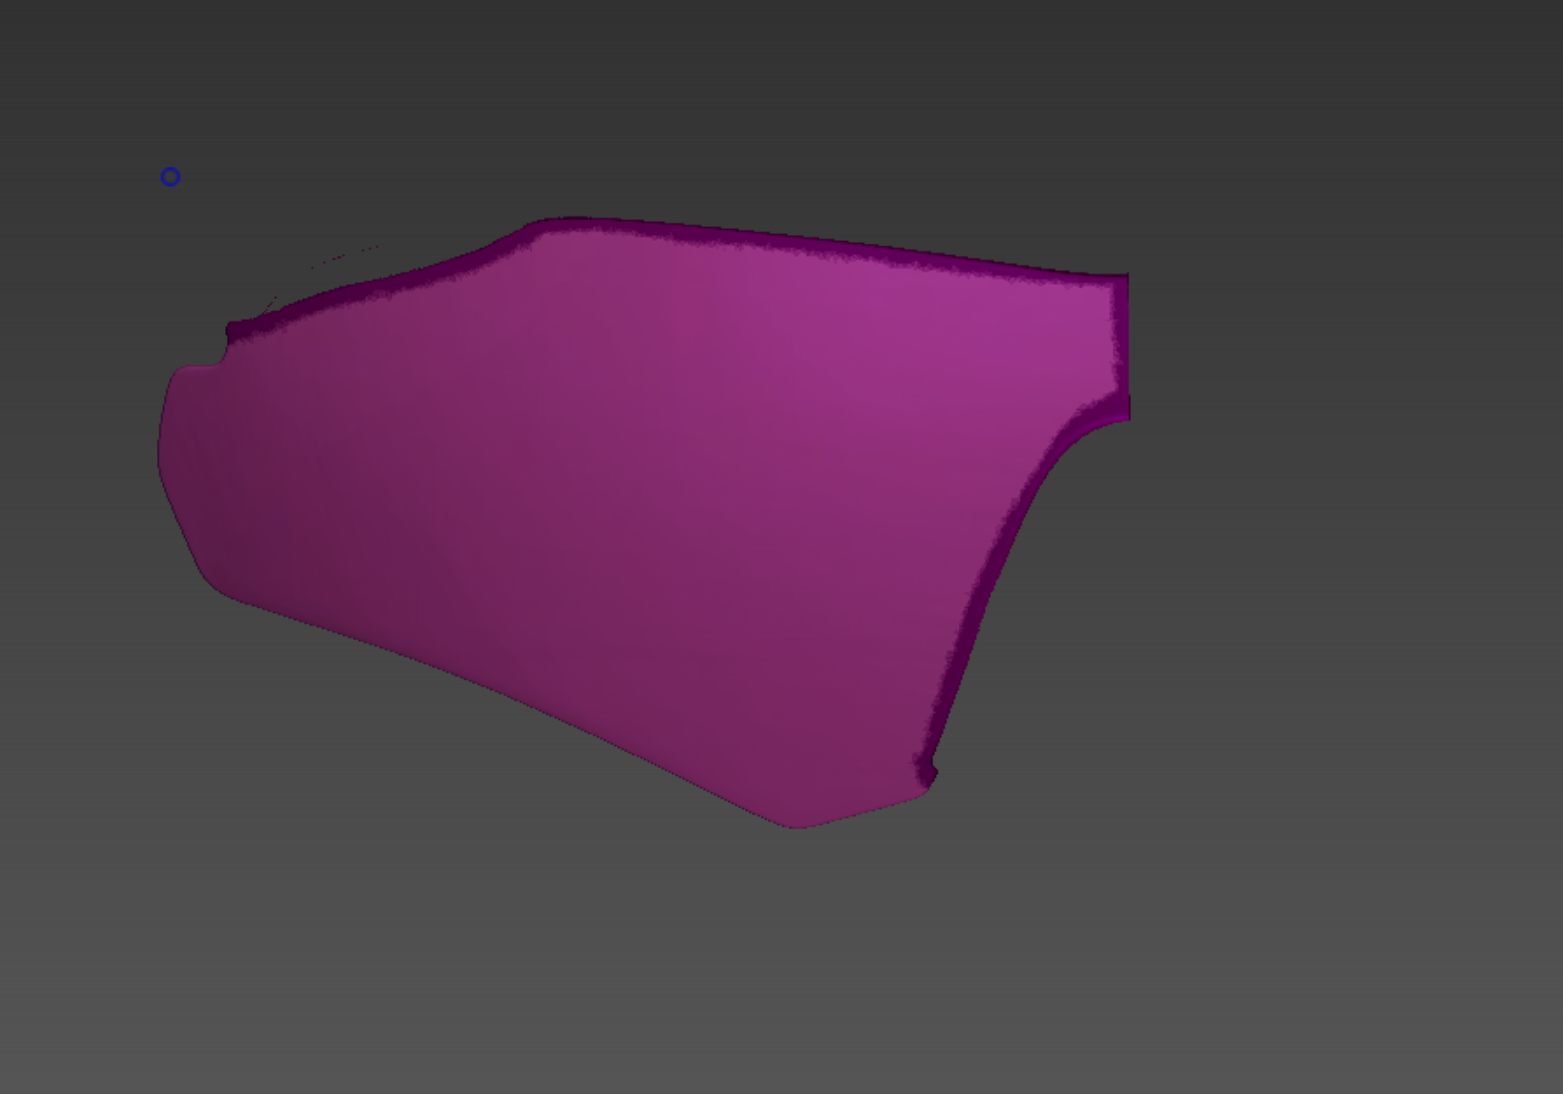
Execute Tool > SubTool > Split > Groups Split. You will confirm that the Polygroups have been neatly separated into individual SubTools.
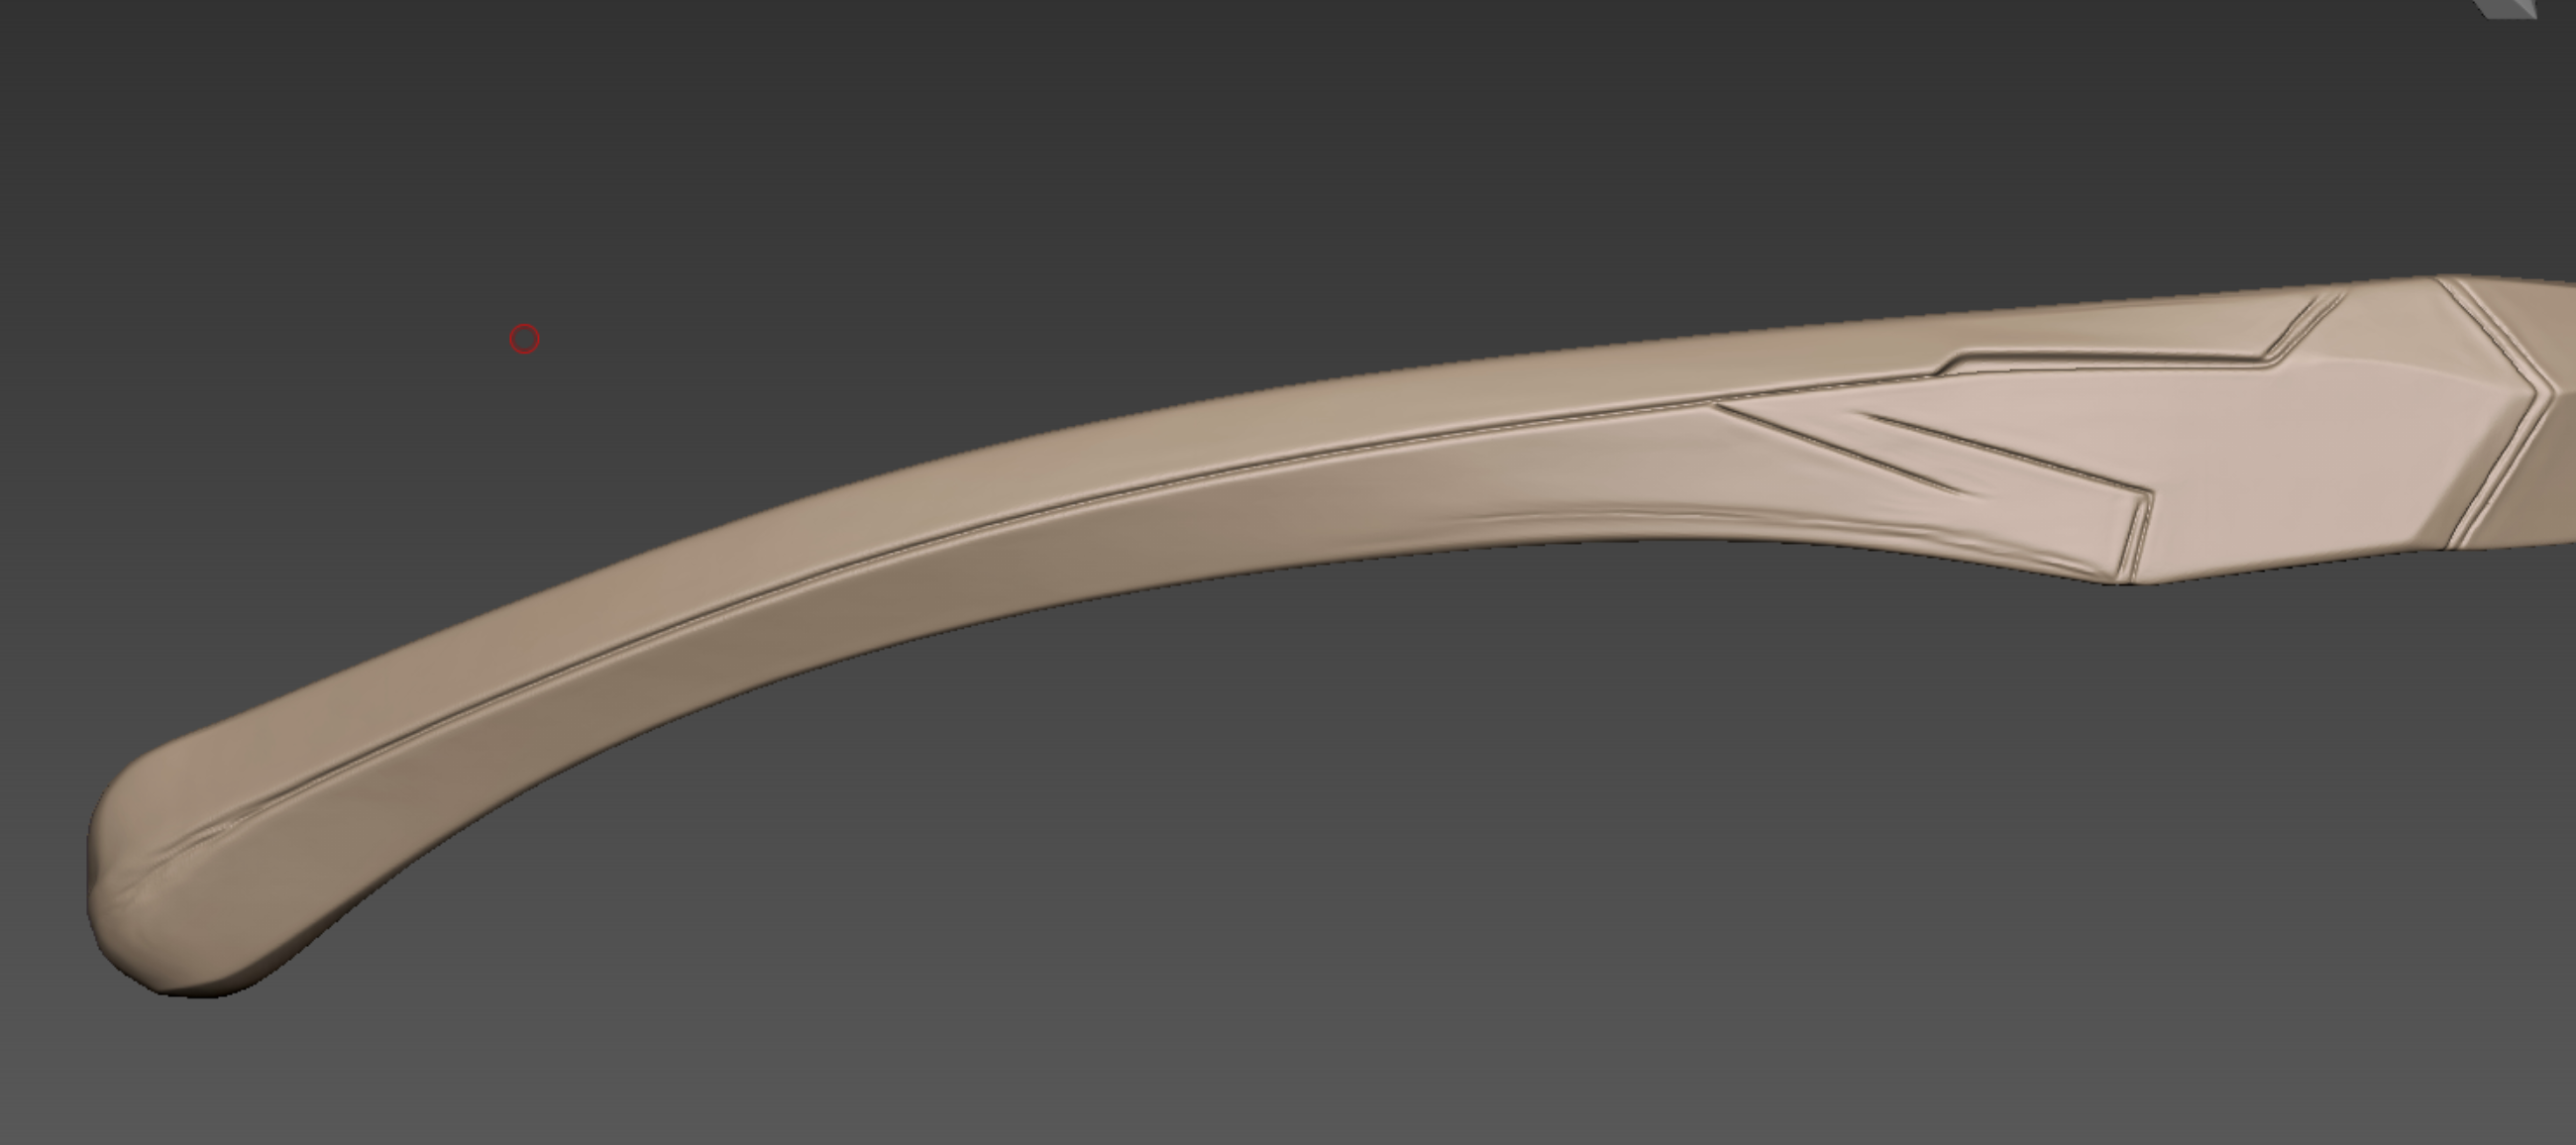
Before applying ZRemesher, use Tool > Deformation > Polish by Features to smooth out the jagged edges of the separated parts.
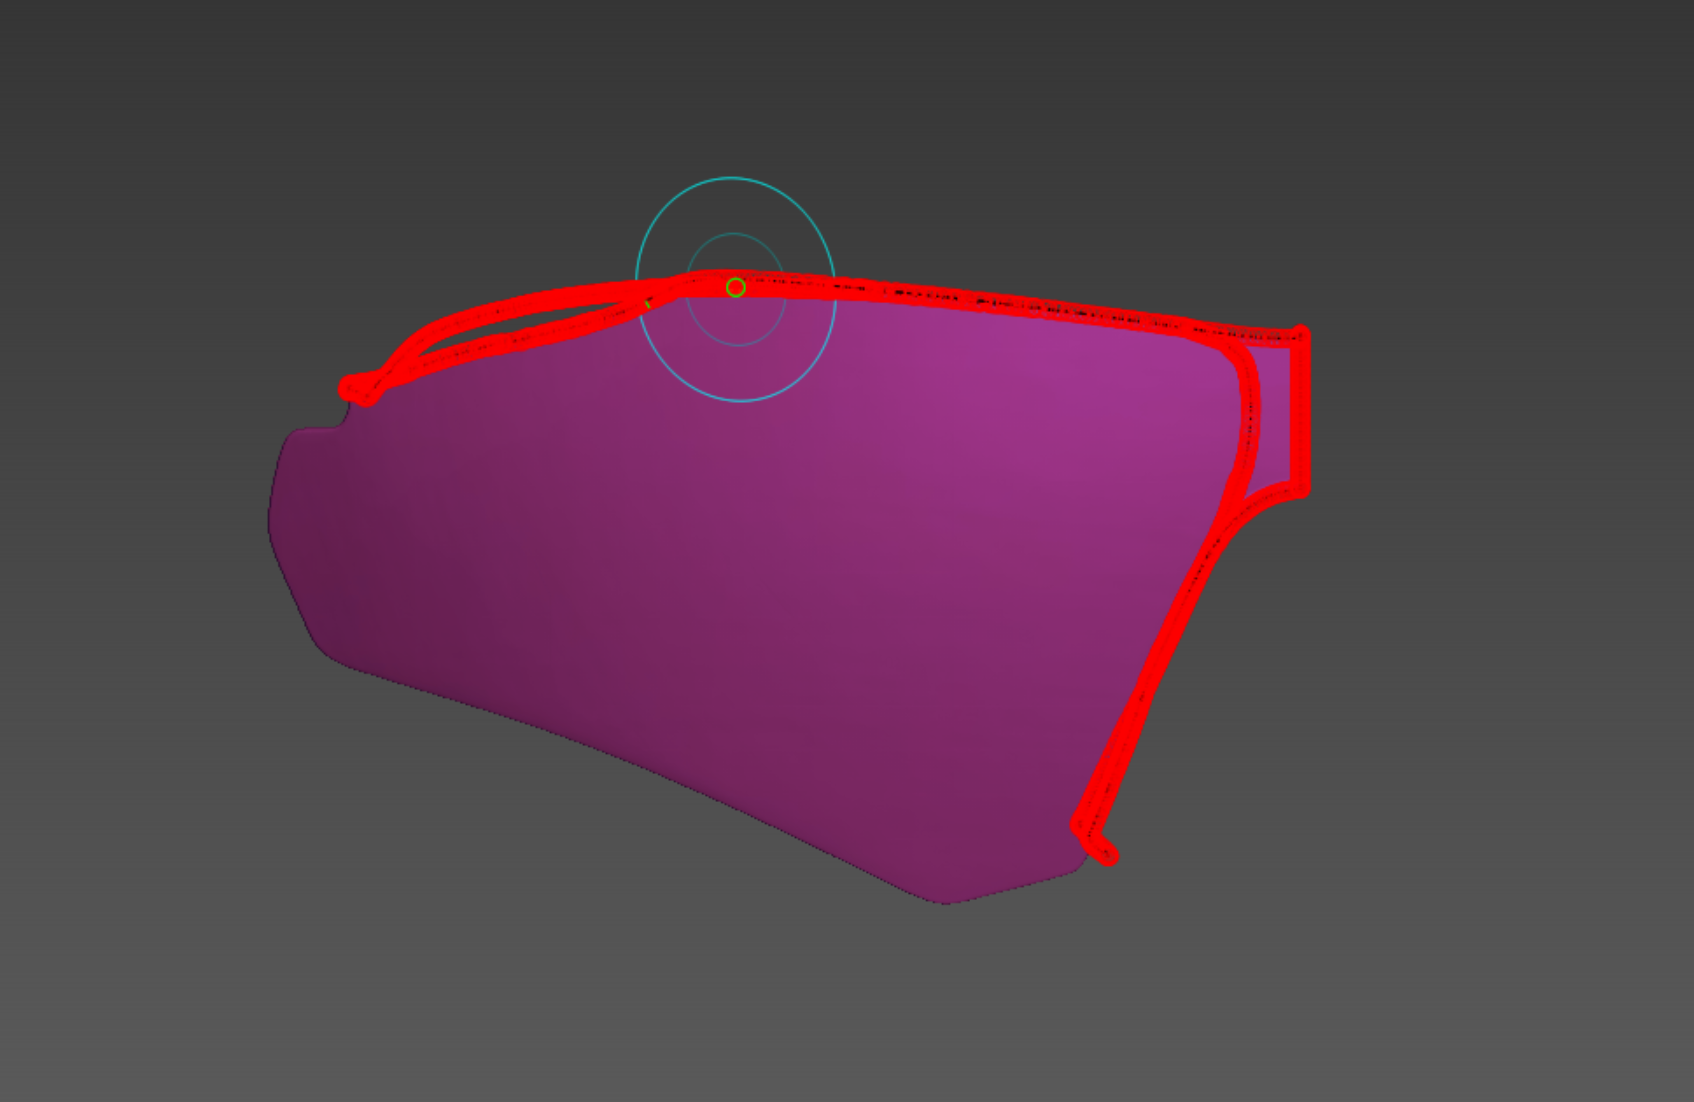
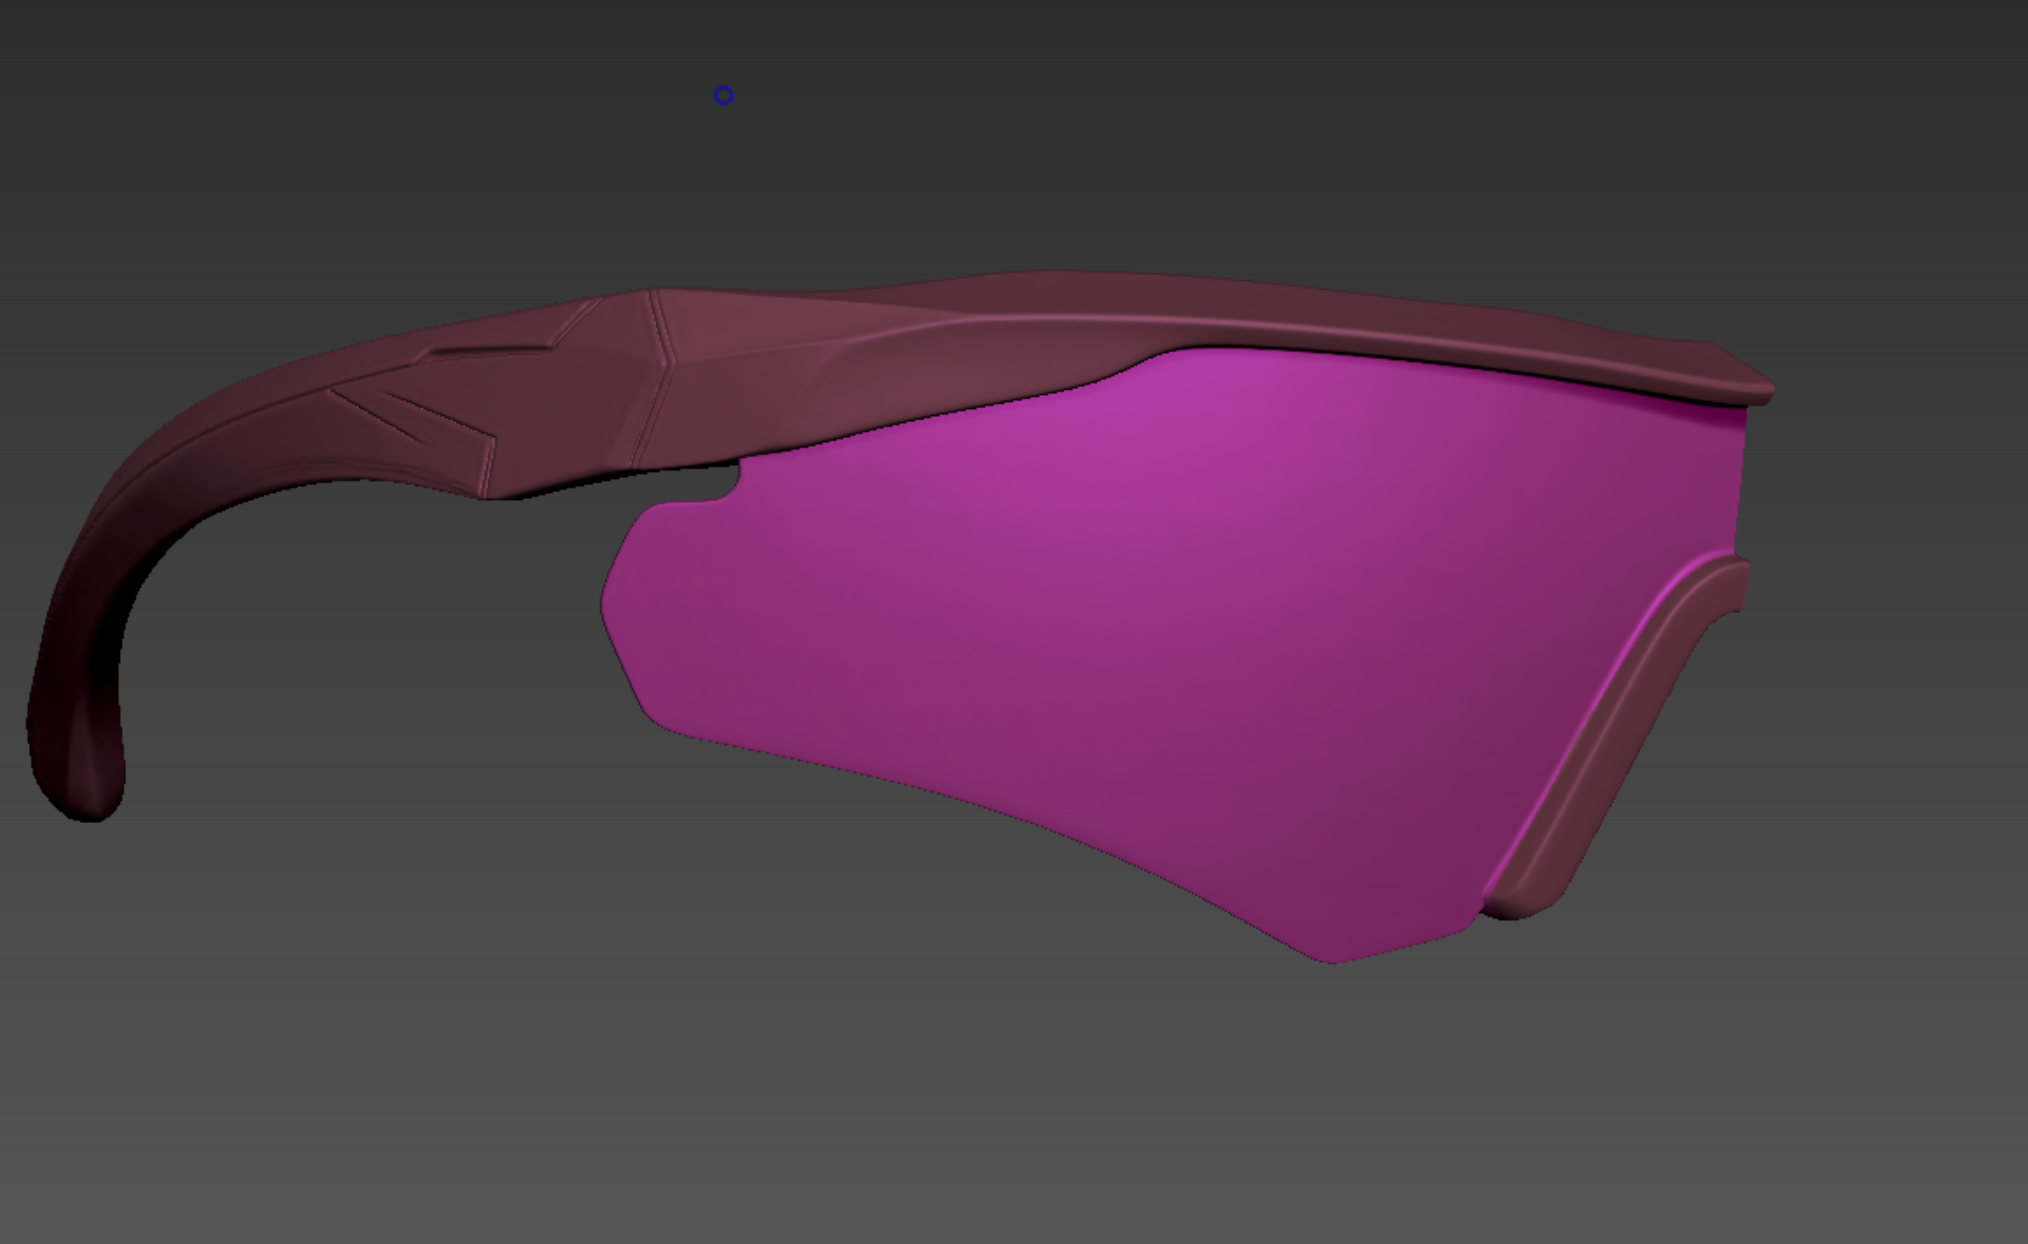
Next, press B-Z-R to select the ZRemesherGuides brush. Use this to draw curves that guide ZRemesher on the wireframe flow and edge placement. (Tip: If you hold Shift while drawing near the borders, it will snap to the edges automatically.)
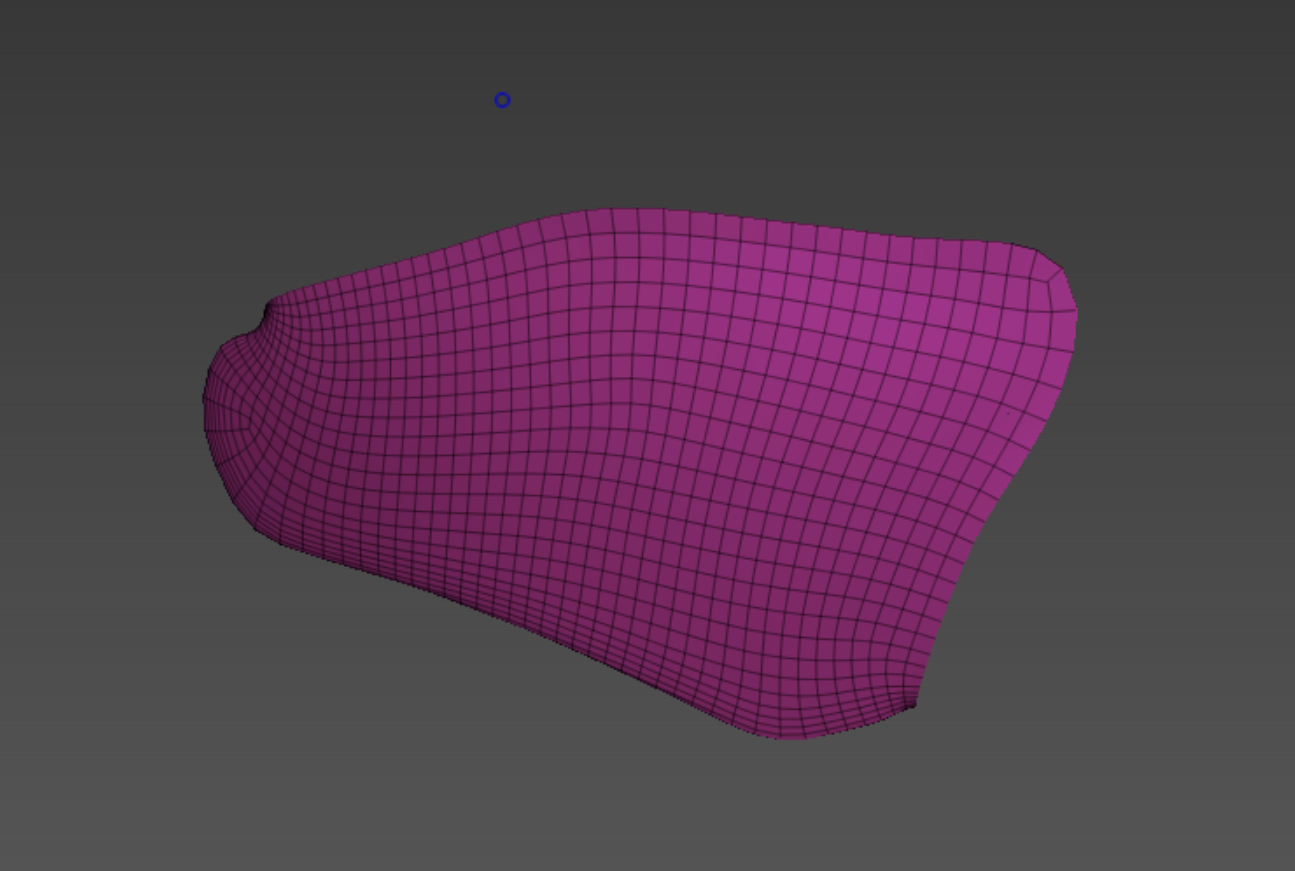
Run Tool > Geometry > ZRemesher to generate your desired topology. You could aim for a lower poly count, but be careful not to set it too low, or the shape might collapse. Find a balance where the form is preserved.
Now, repeat this process for the frames. However, if you run ZRemesher as is, the panel line details will get washed out (crushed).
Use ZPlugin > PolygroupIt again. Assign the painted panel line areas to a separate Polygroup.
Then, apply ZRemesher just like before. Crucial: Make sure 'Keep Groups' is enabled to maintain the group boundaries.
Now, to clean things up in Maya, use ZPlugin > FBX ExportImport to export the finished parts.

Even considering that we haven't used the Mirror function yet (so half is missing), you can see the file size has dropped significantly.
Now, to clean things up in Maya, use ZPlugin > FBX ExportImport to export the finished parts. Even considering that we haven't used the Mirror function yet (so half is missing), you can see the file size has dropped significantly.
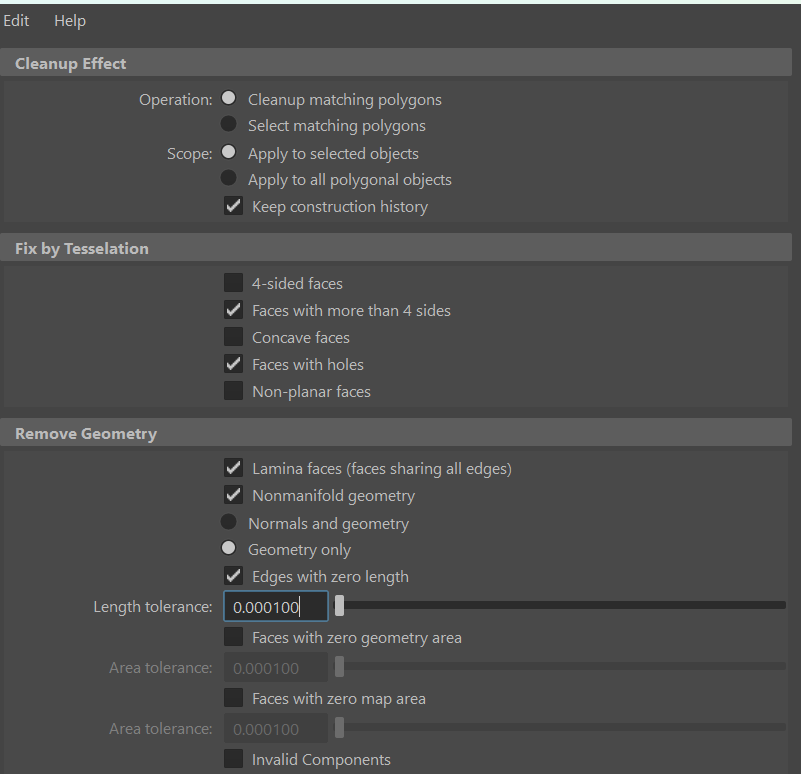
First, use Maya's Cleanup tool to check for geometry errors:
- Faces with more than 4 sides (N-gons): Finds polygons with 5 or more edges.
- Faces with holes: Finds faces that have holes inside them.
Using 'Cleanup matching polygons' will let Maya fix them automatically, but I recommend using 'Select matching polygons' so you can inspect and fix the problematic faces manually.
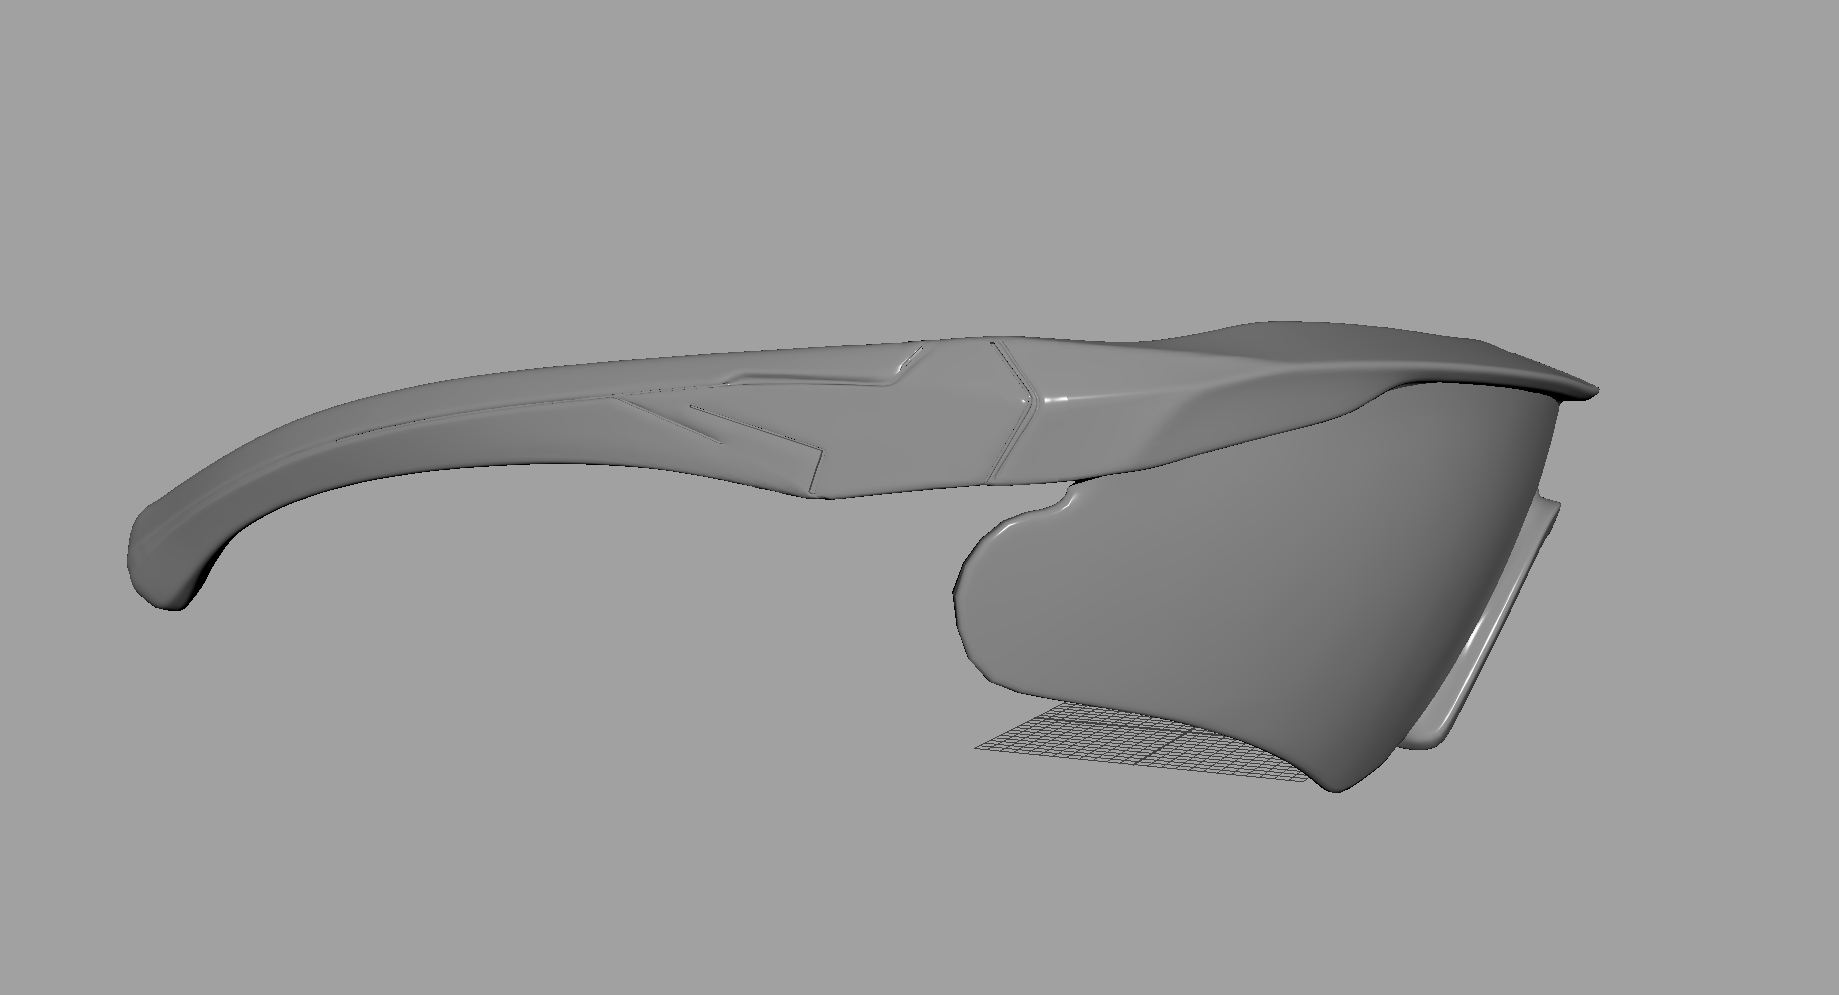
Once cleaned, use Bridge to fill in the panel lines.
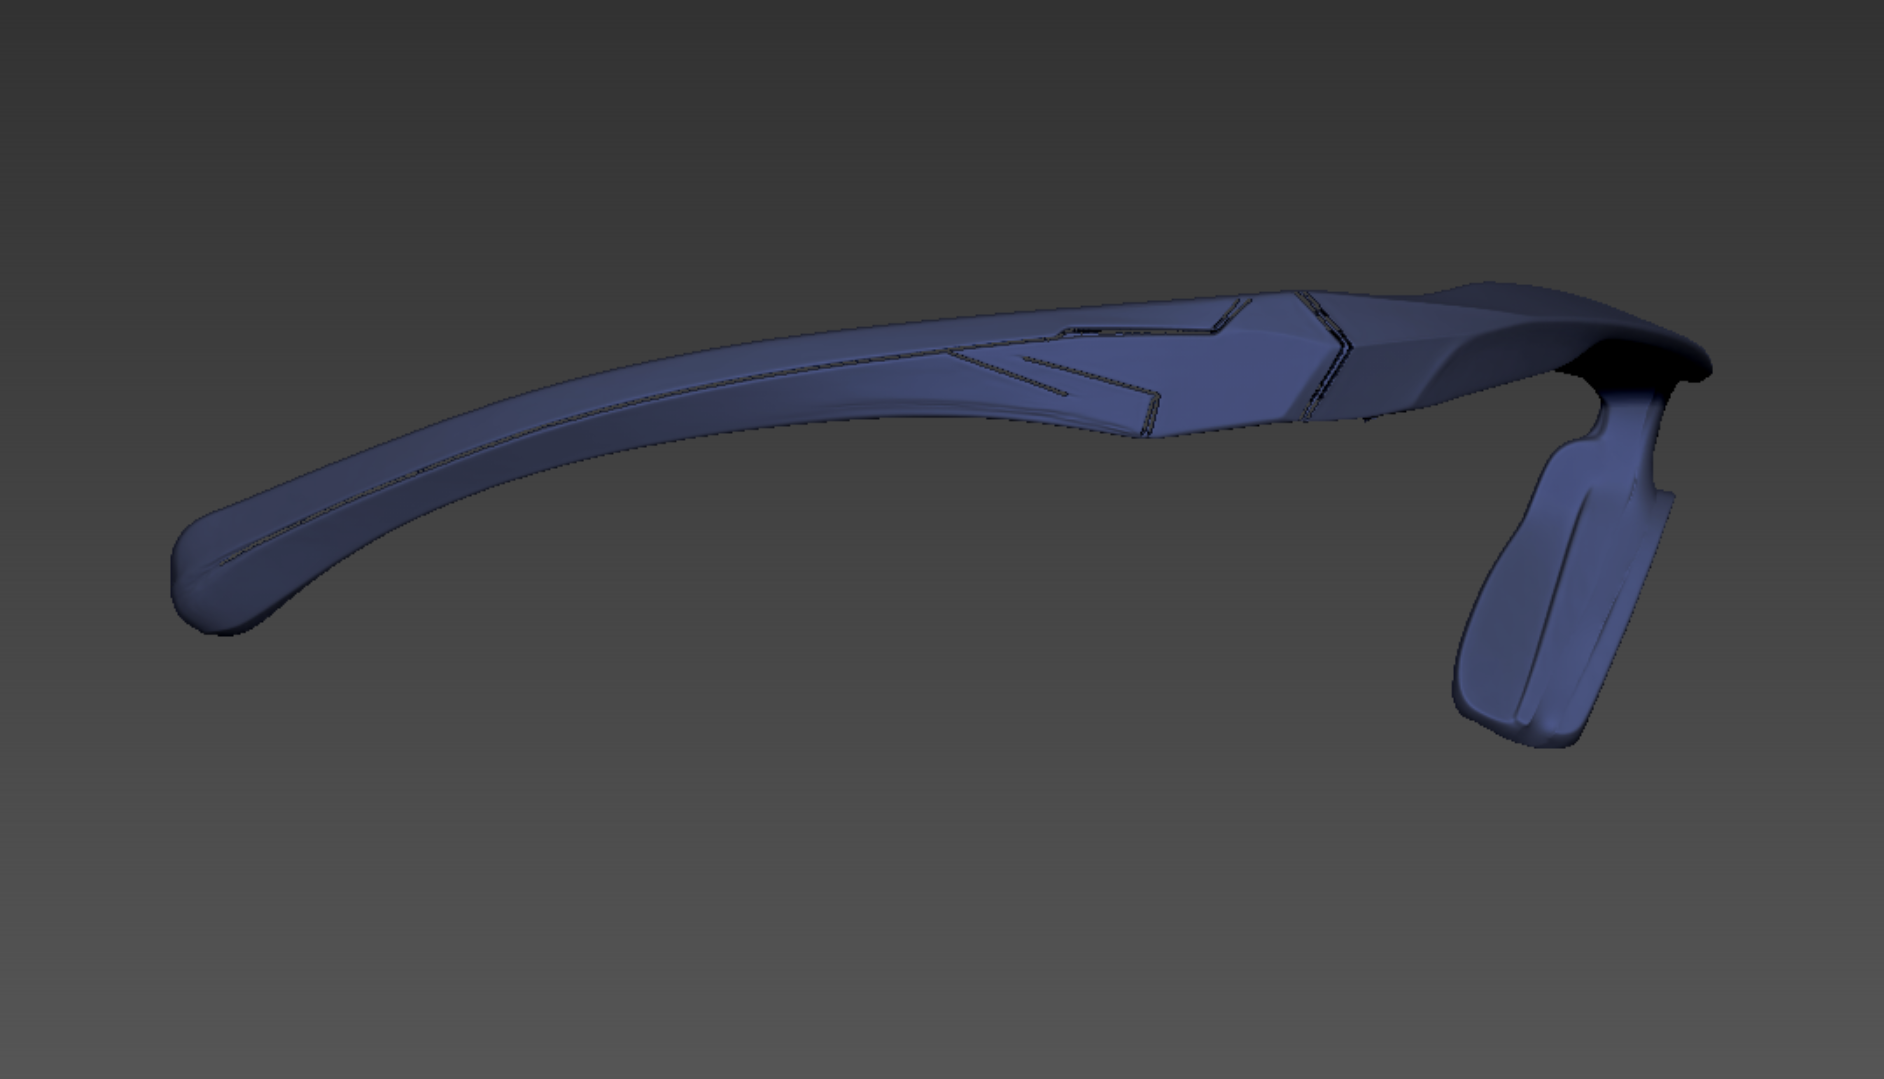
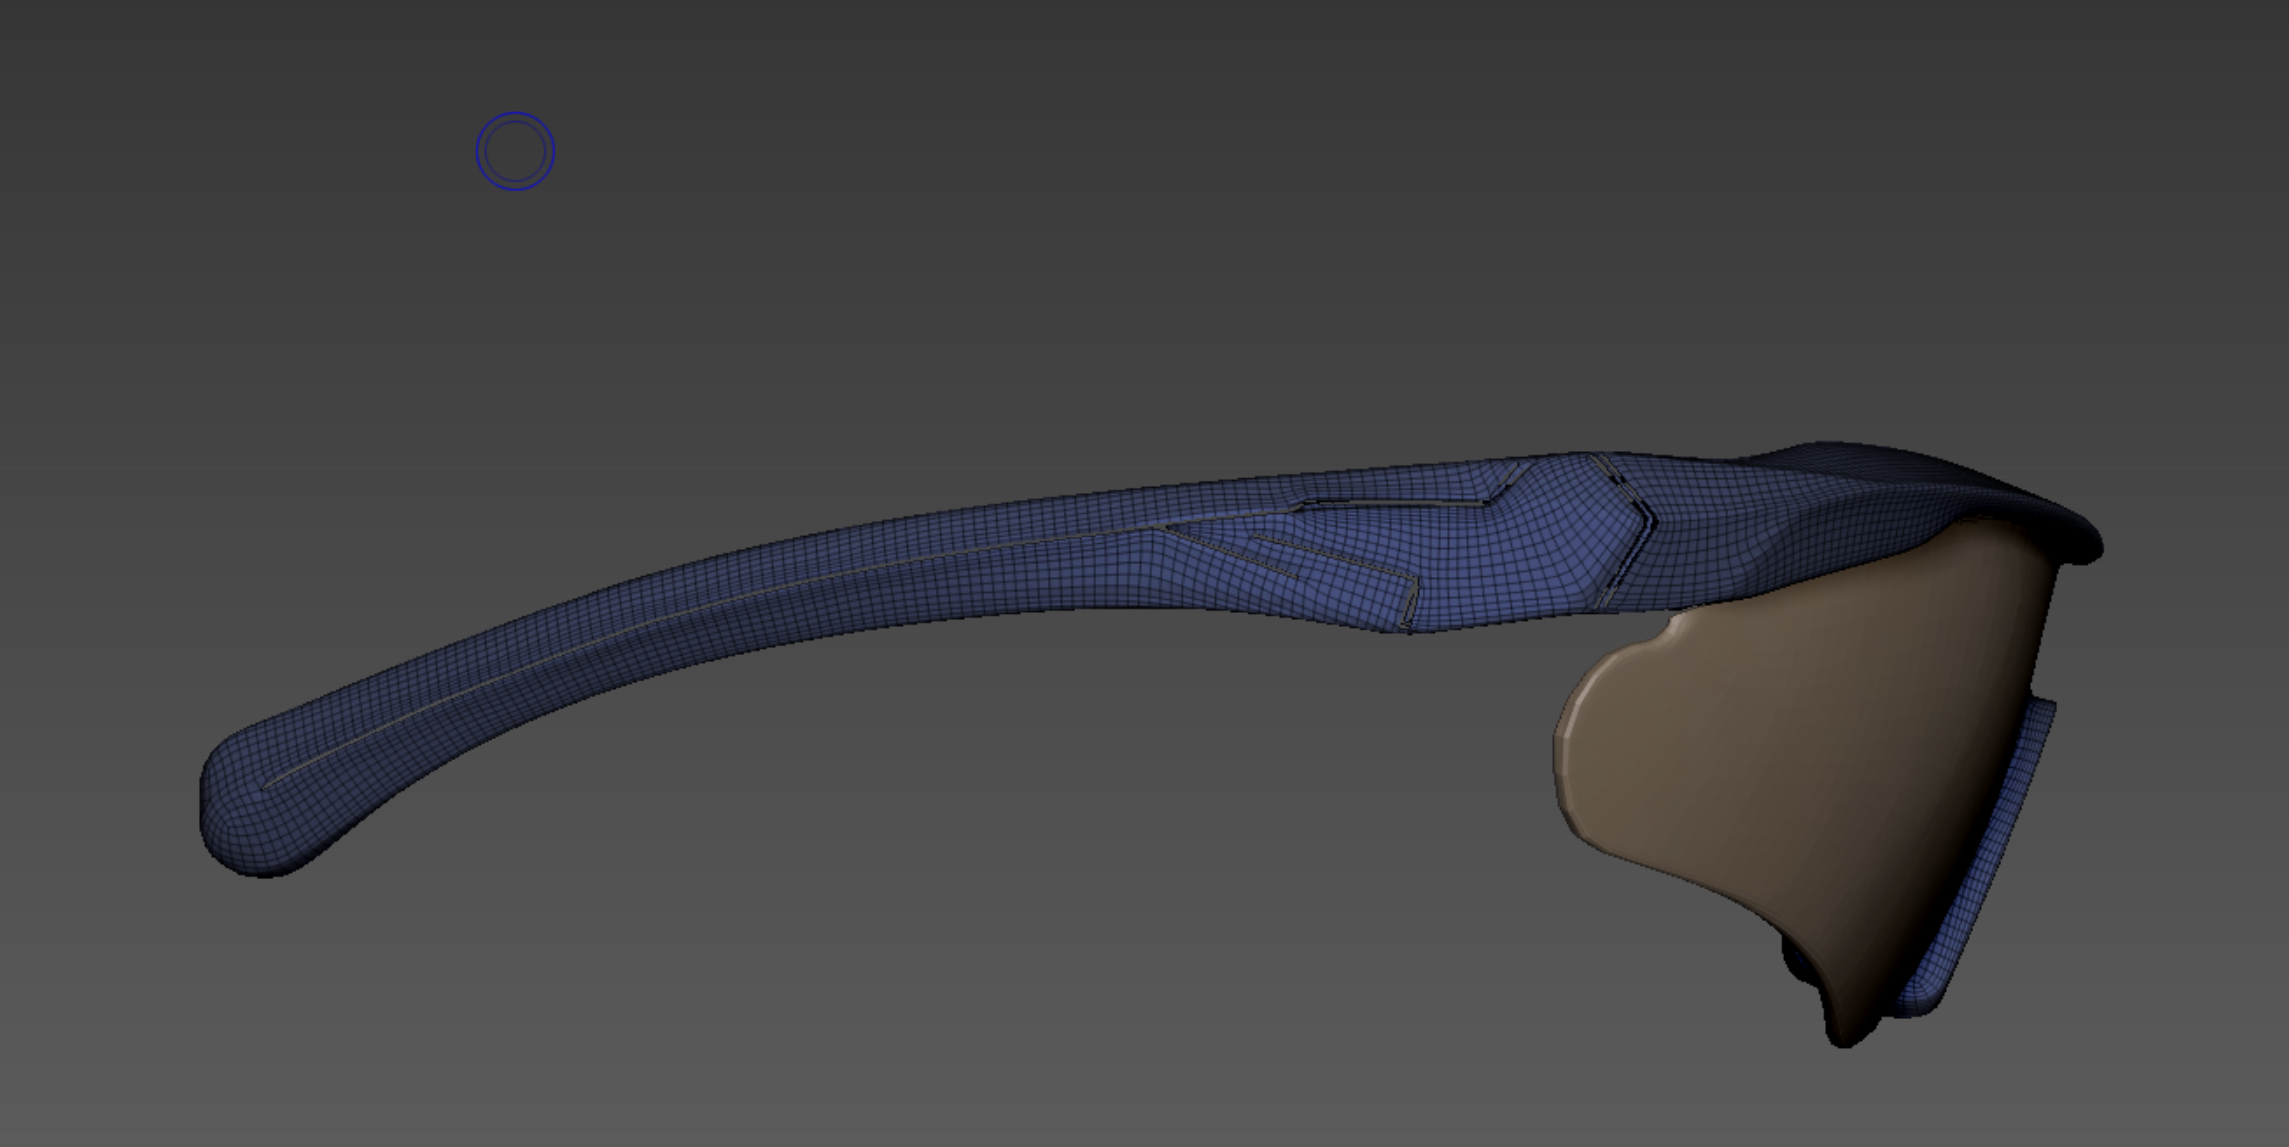
Finally, apply Mirror to complete the modeling.
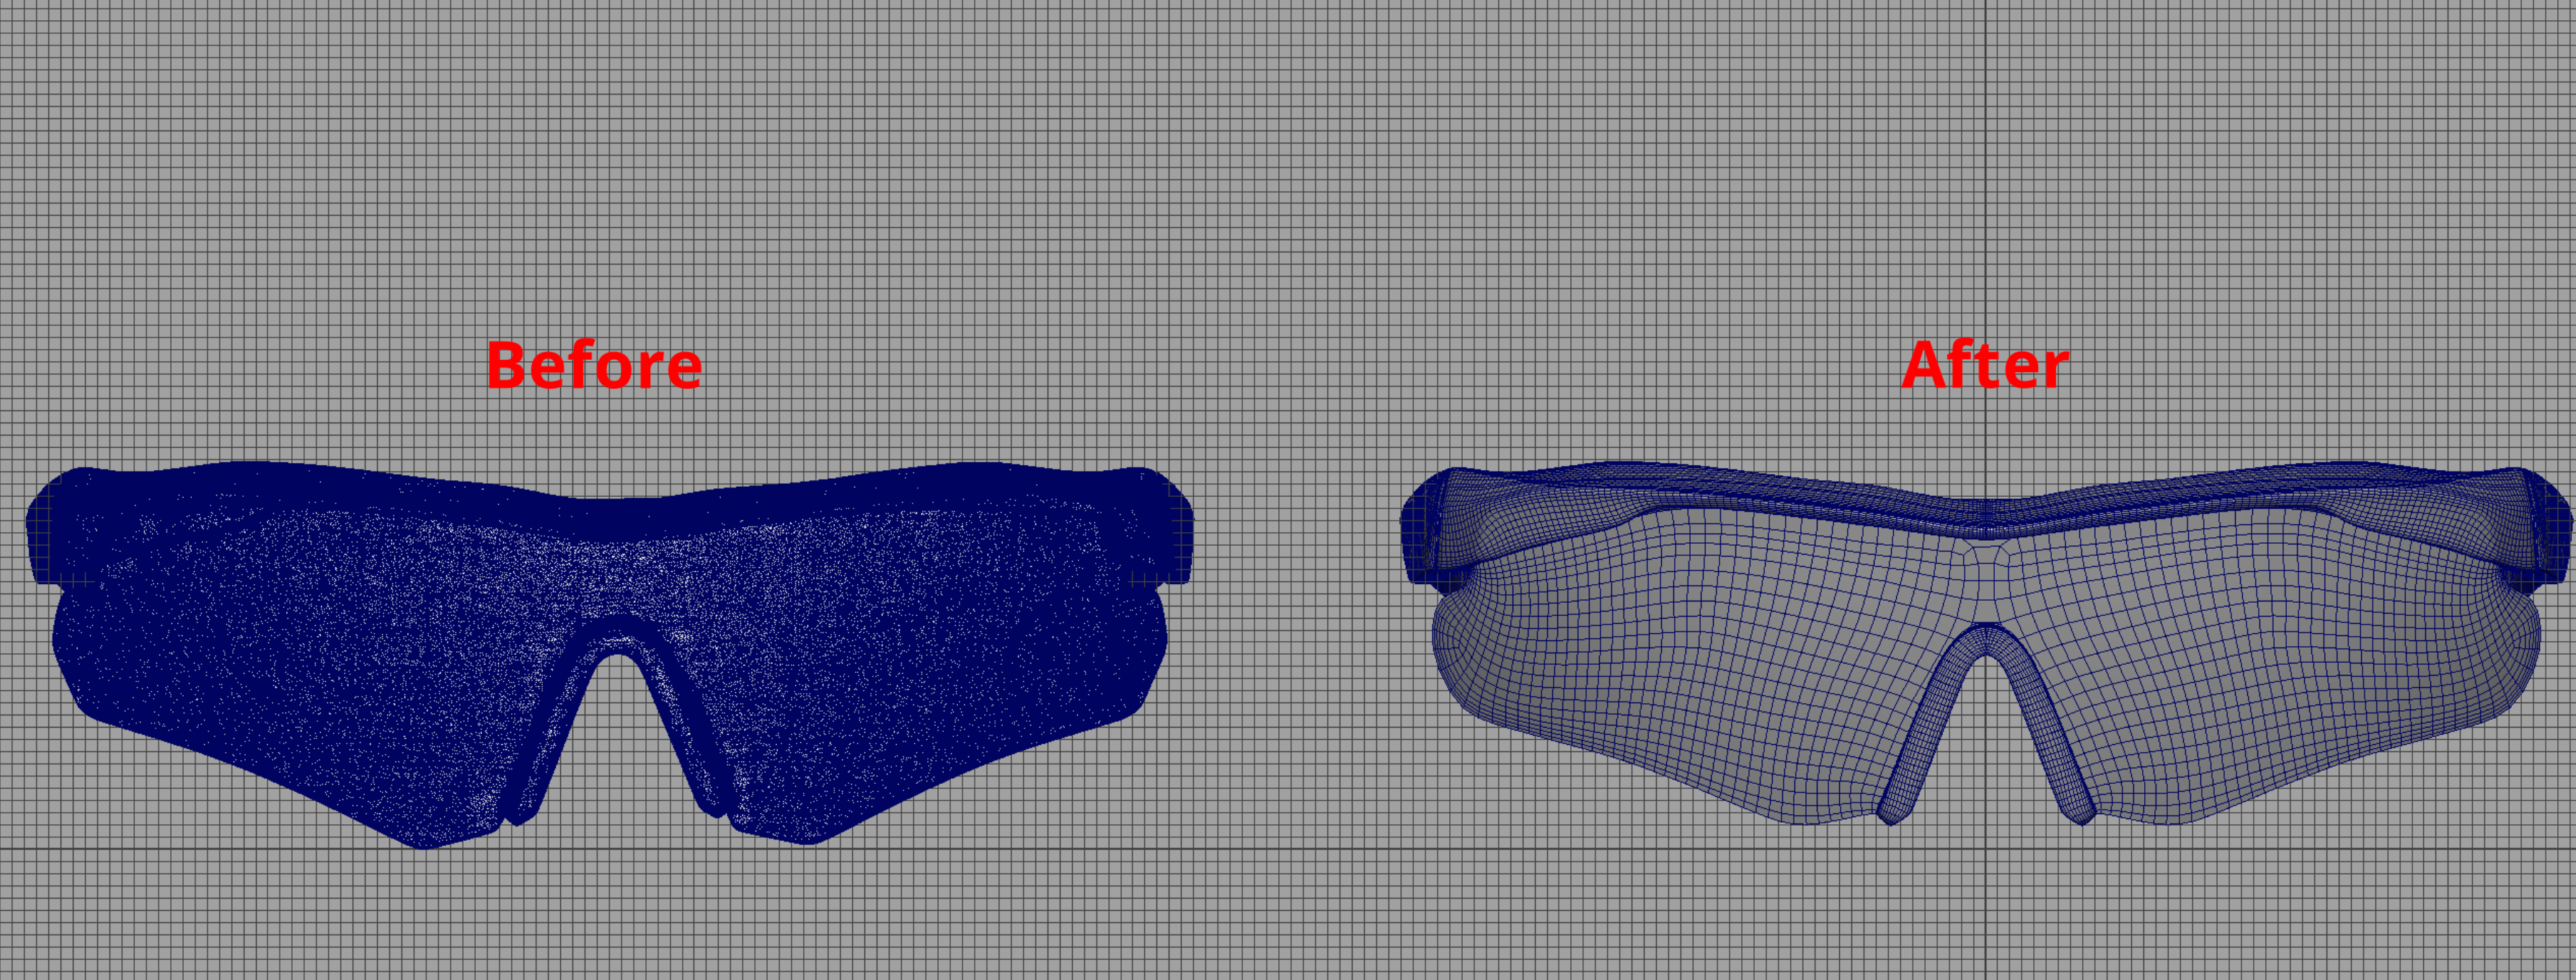


Here is a wireframe comparison: Before vs. After optimization. Model #03 is the one on the right.
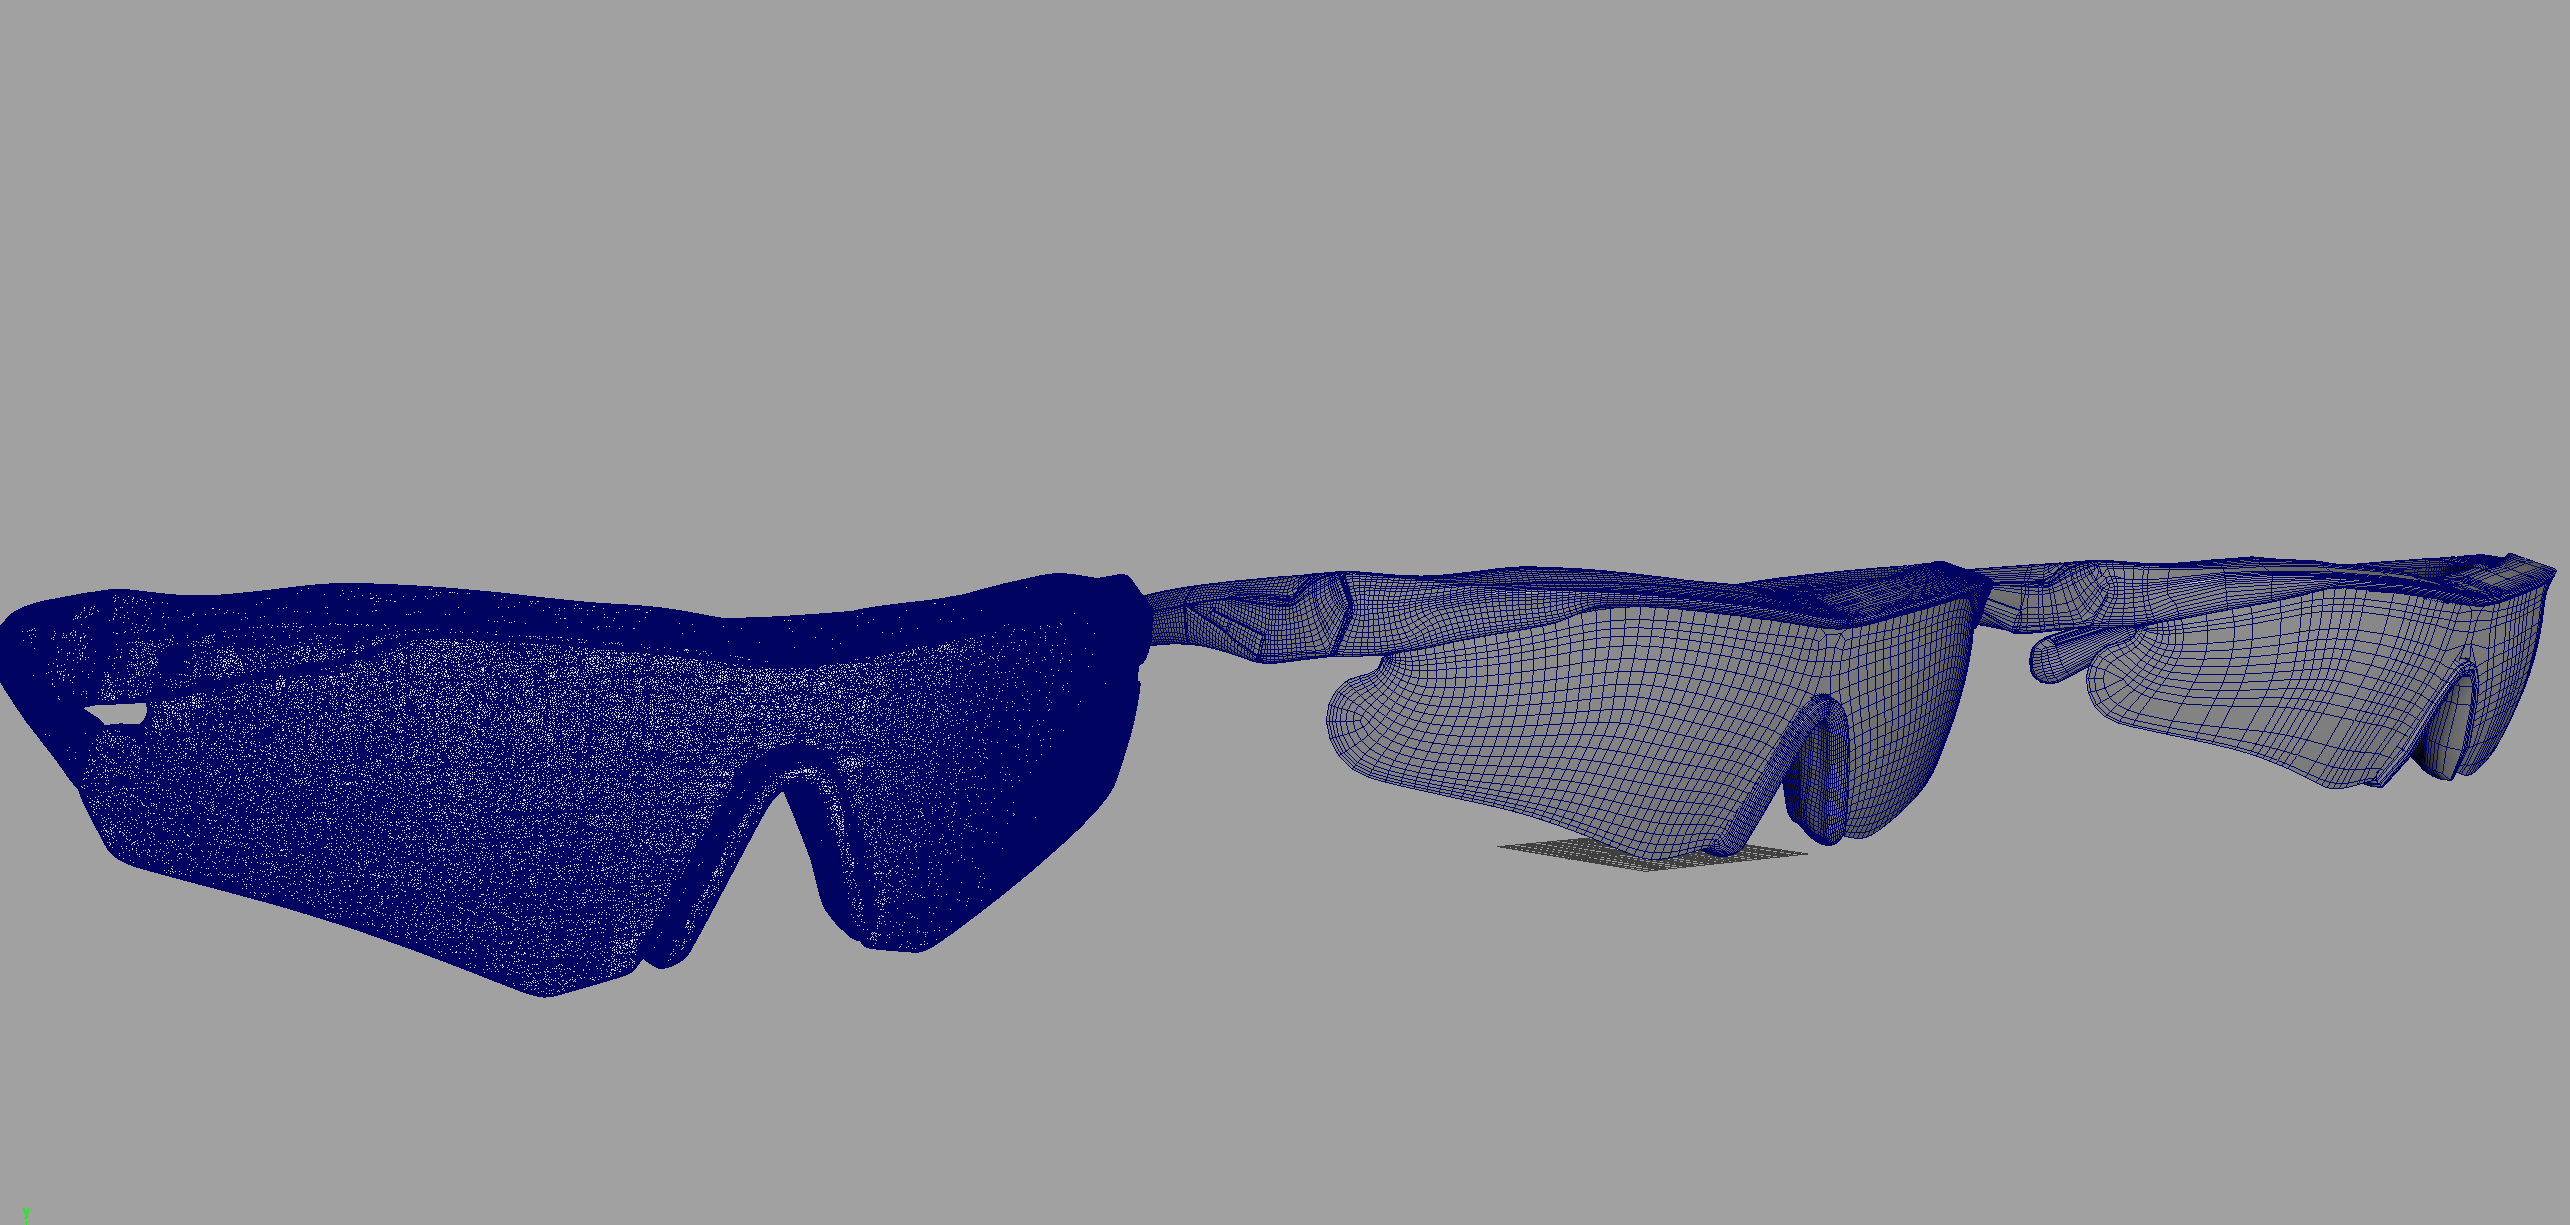
If you need to lower the polygon count further at this stage, you can use Maya's Reduce function for additional optimization.
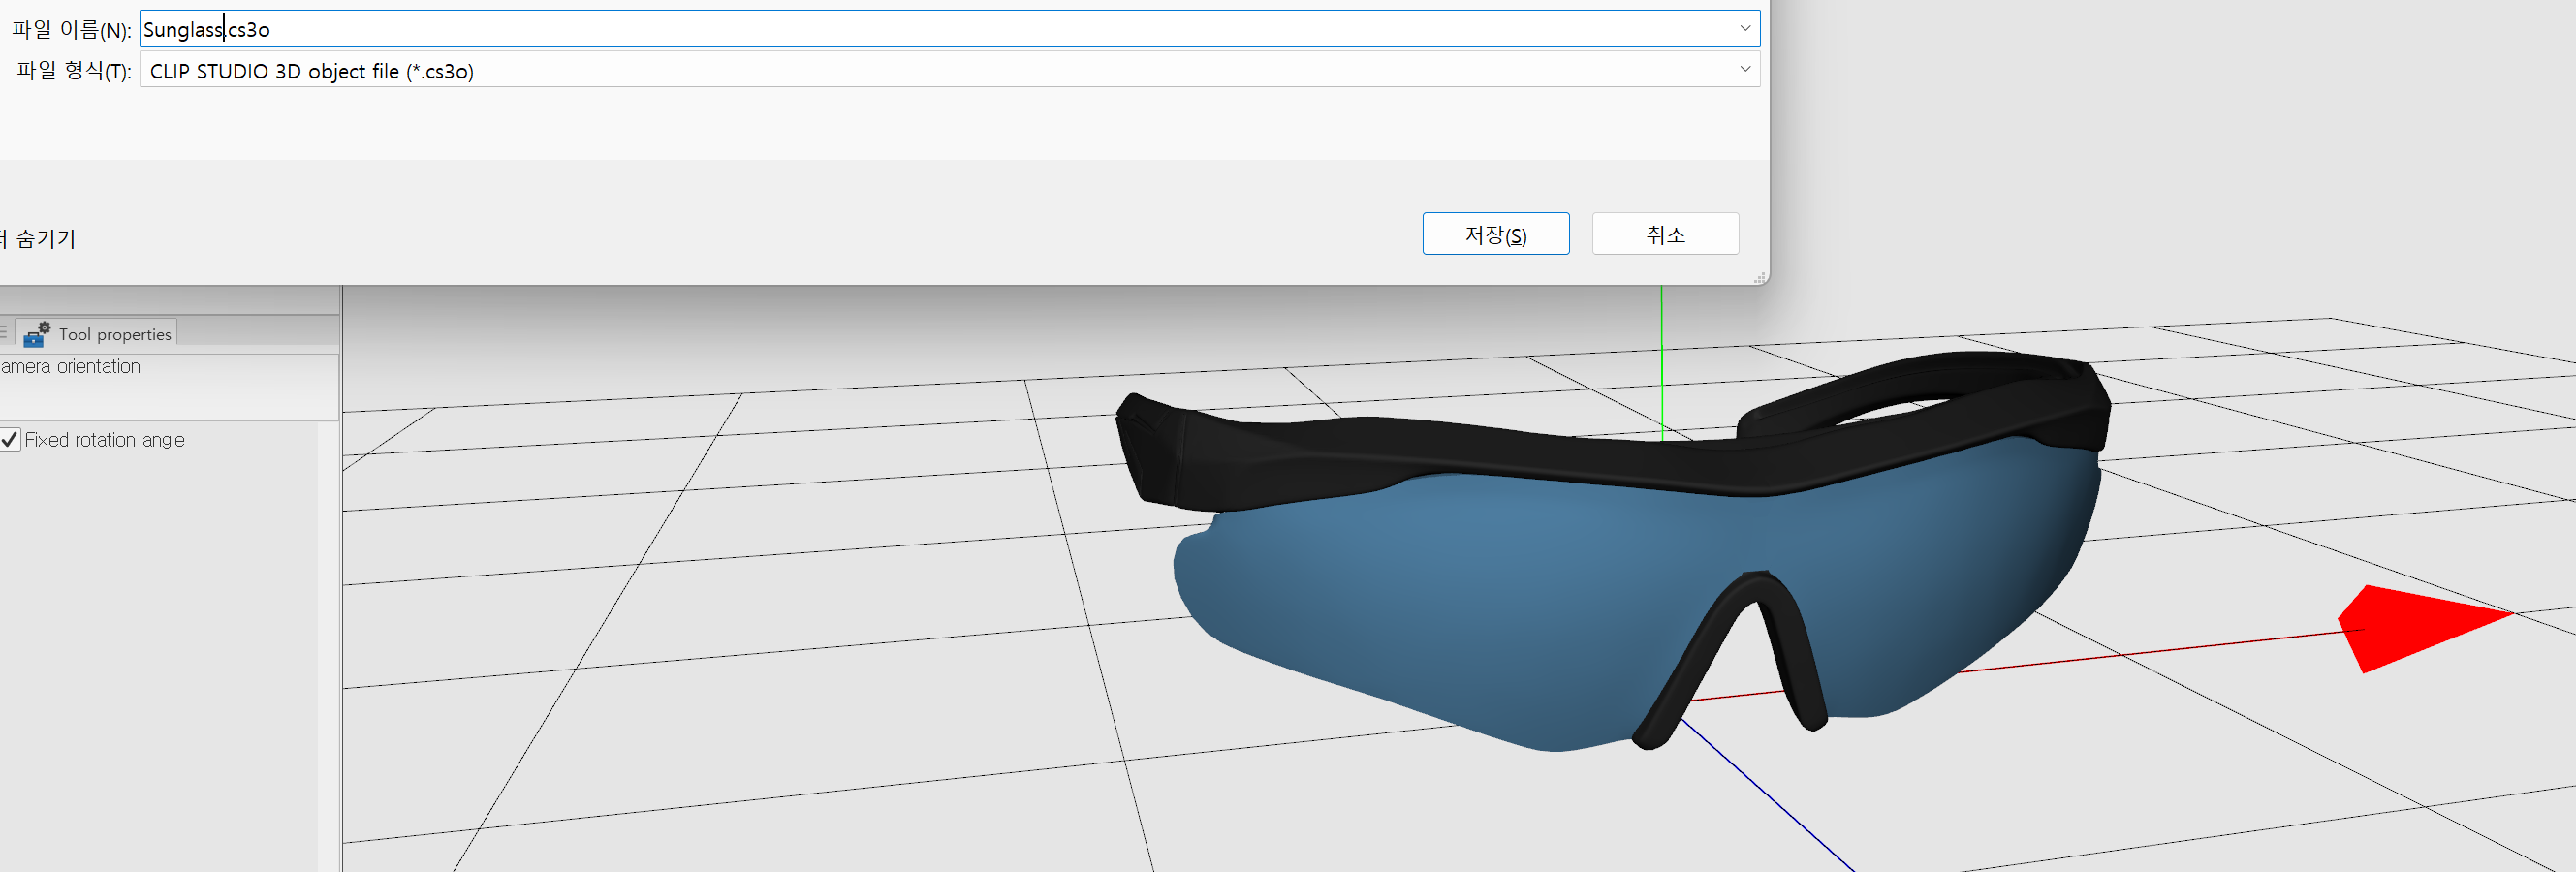
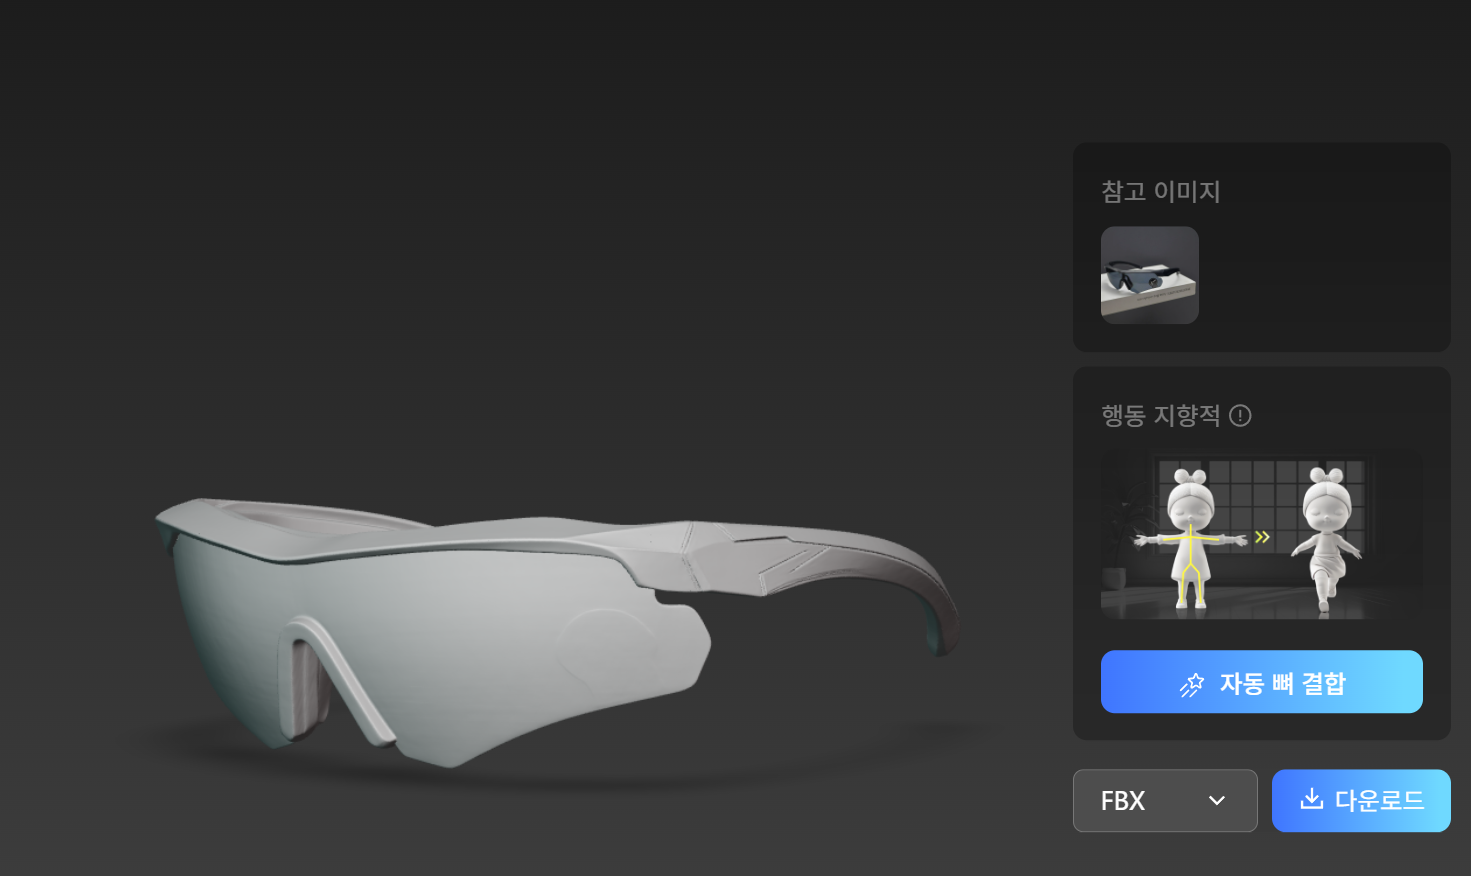
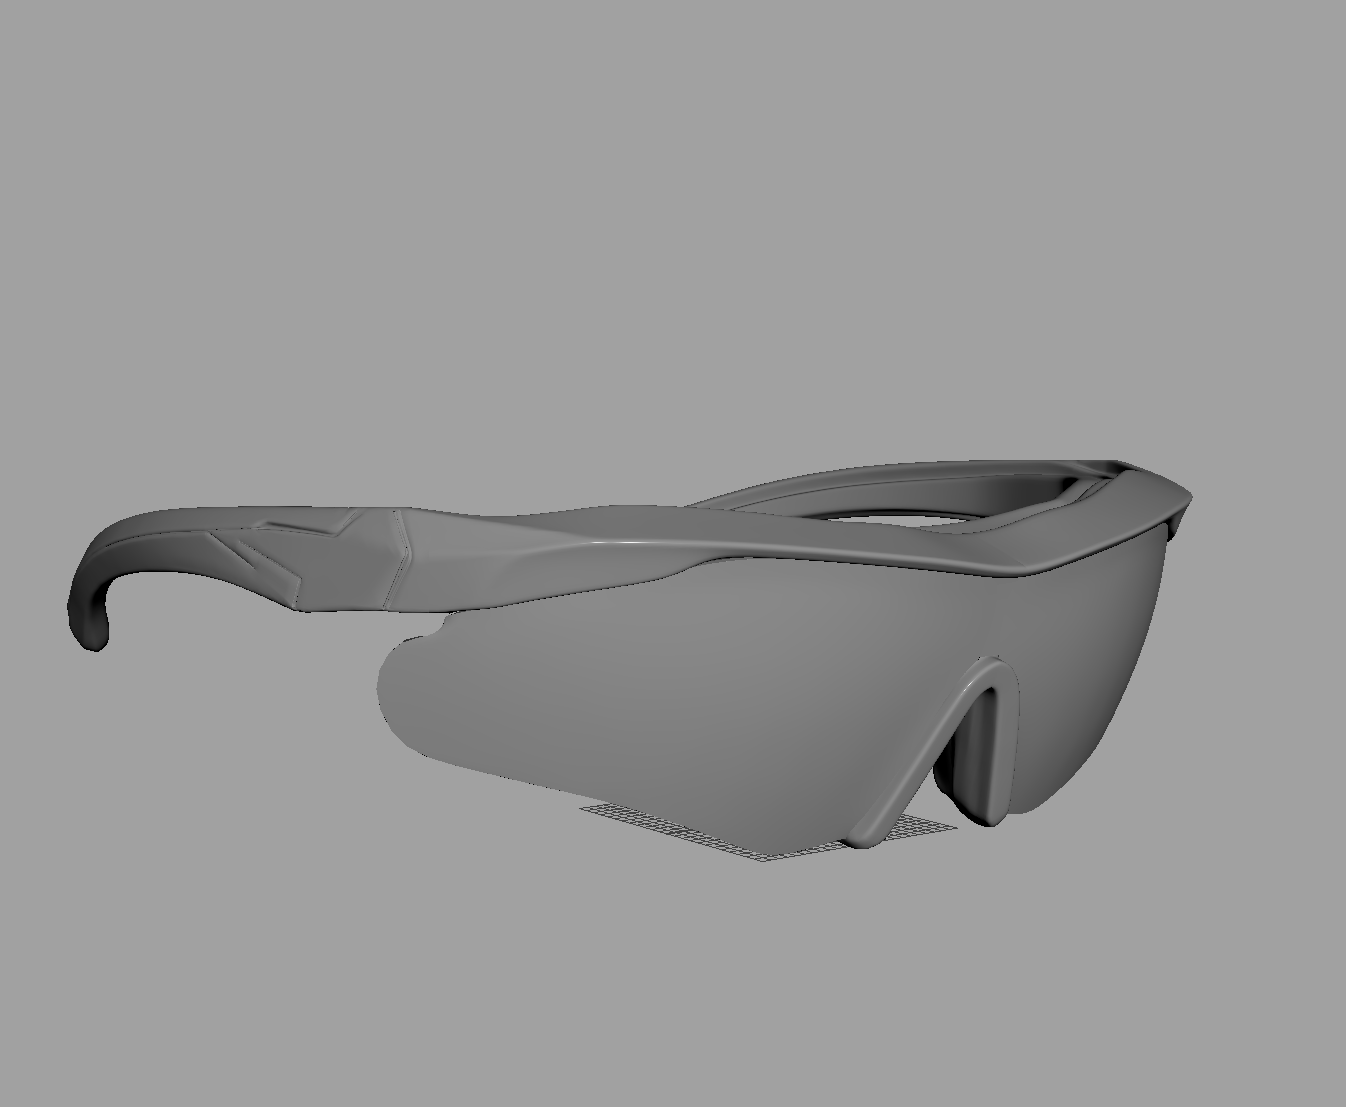
Finally, import this file into Clip Studio Modeler, set it up, and convert it to a .cs3o file to deliver to the artist.
.png)
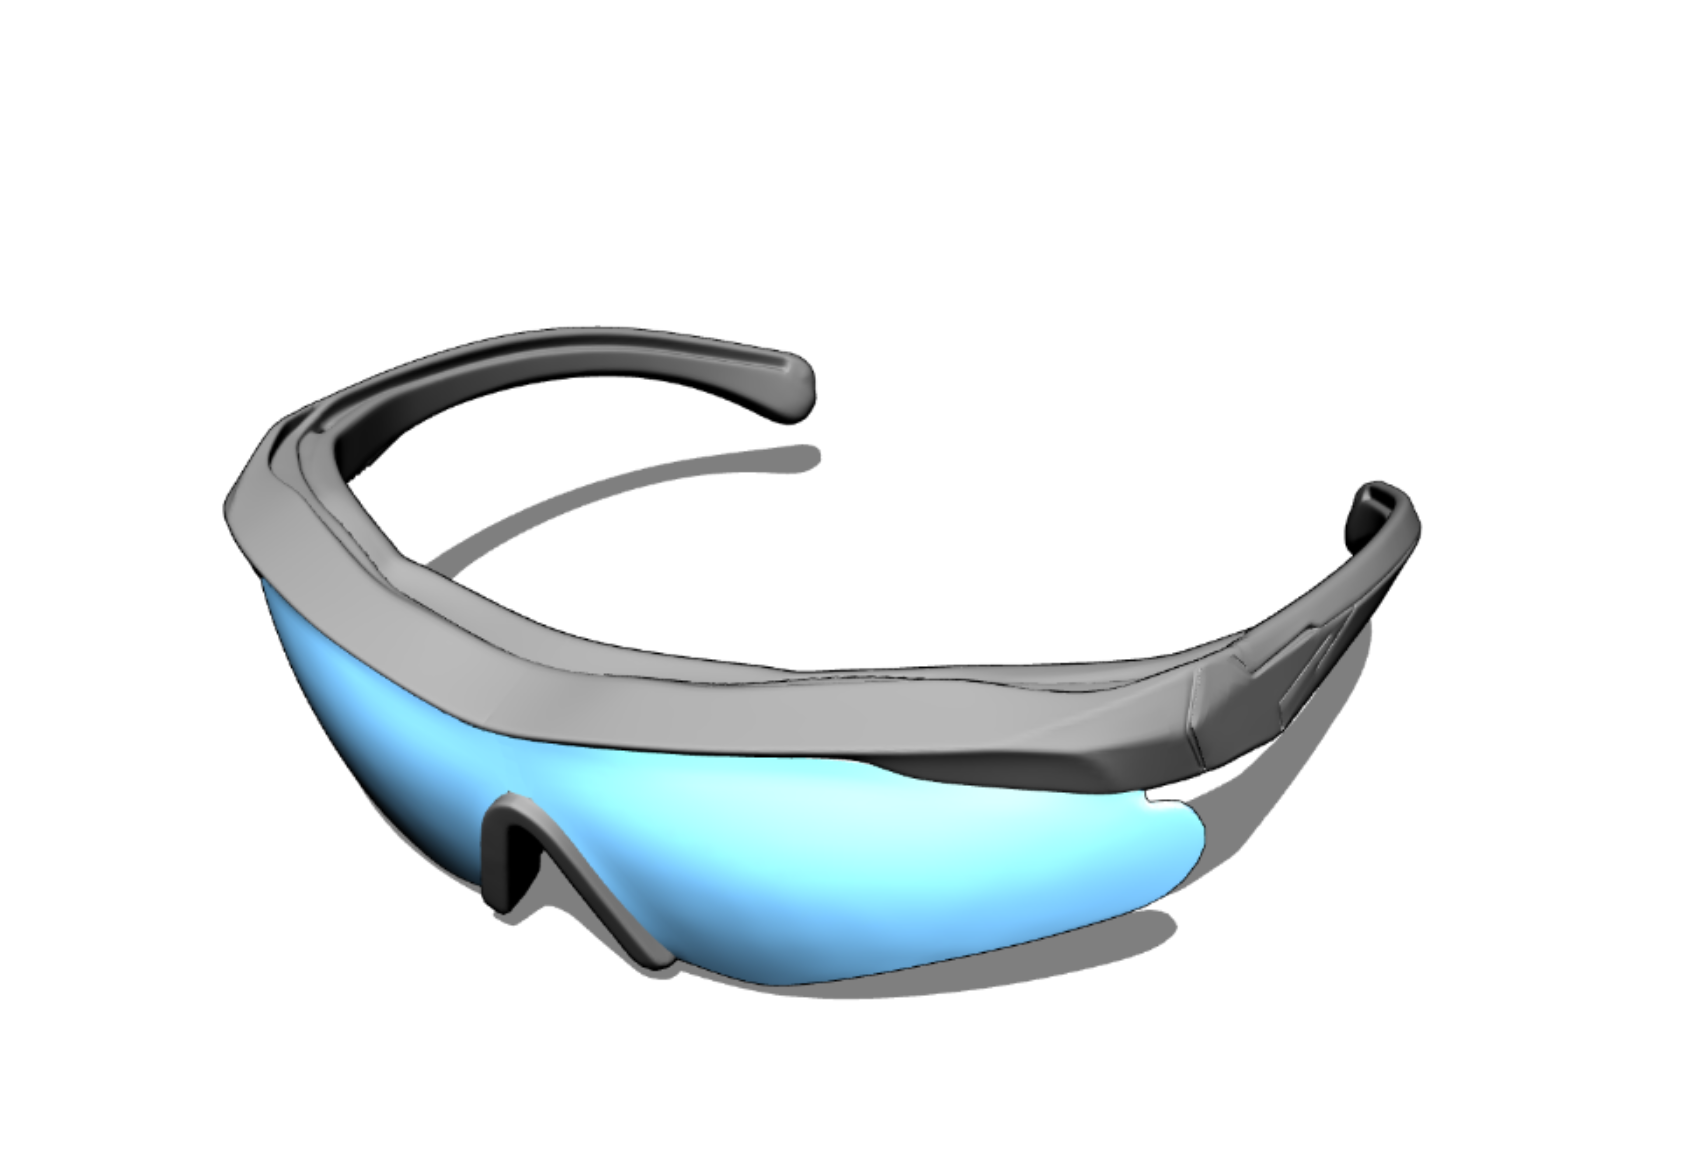
Here is how it looks inside Clip Studio.
AI Generates, Humans Refine.
Even for a seemingly simple object, the detailing of curves and panel lines typically requires a full day (8 hours) of work. However, by implementing the AI workflow, I completed the task in just 4 hours. This efficiency allowed us to reallocate the saved time to other critical processes, such as Level Design.
Our future objective is to further refine this pipeline to bring asset creation time under 2 hours, thereby maximizing productivity.
Through this demonstration, we have tangibly experienced the benefits of AI adoption—benefits that were previously just theoretical. We also confirmed the potential for collaboration across various production pipelines. The most significant achievement is that artists can reduce time spent on repetitive tasks and instead immerse themselves in 'Strategic Focus' to elevate visual quality.
This efficiency was achieved because AI took charge of the initial shaping and proportion setting. However, to ensure usability in production tools like Clip Studio, the professional post-processing skills of the 3D Team—specifically mesh separation and retopology—are indispensable.
The RealDraw 3D Team views this technological shift as a springboard for growth. We plan to continuously research and establish a 'Hybrid Workflow' where the speed of AI and the craftsmanship of humans coexist.
Ultimately, the process of refining AI models and breathing life into Webtoons is completed at the fingertips of humans—the 3D experts.
We are seeking individuals who can flexibly embrace the evolving 3D production landscape and are eager to unleash their full potential on the stage of Webtoons.
Join us. Be the reliable teammate who will tackle technical challenges with enthusiasm and break through boundaries together.